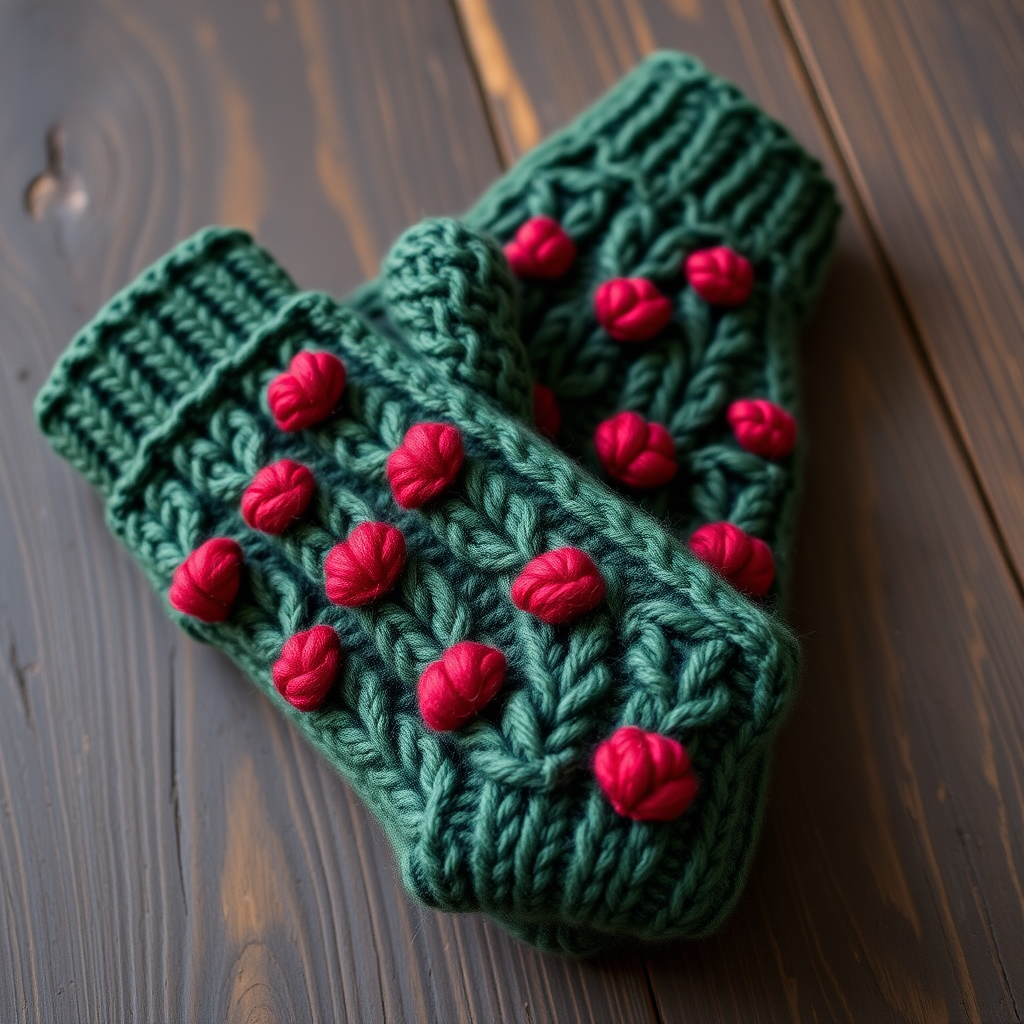
Frosted Berry Cable Mittens Free Pattern

Frosted Berry Cable Mittens: A Free Knitting Pattern for Cozy, Heirloom-Quality Hands
Wrap your hands in the cozy luxury of hand-dyed blues with these textured cable mittens. The intricate braided cables and ribbed cuffs create a timeless, heirloom-quality accessory that feels as beautiful as it looks. Whether you're a seasoned knitter looking for a satisfying project or a brave beginner ready to tackle cables, this free pattern will guide you through every step. The deep denim blue with a robin's egg accent stripe evokes frosty winter mornings and the sweet pop of berries—a perfect gift for someone special (or a treat for yourself!).
Materials Needed
Before you cast on, gather these supplies to ensure a smooth knitting experience:
- Yarn: Worsted weight yarn in two shades of blue. You'll need approximately 150g of Main Color (MC) and 50g of Contrast Color (CC). A great choice is Cascade 220 in 'Denim' (MC) and 'Robin's Egg' (CC).
- Needles: US 6 (4.0 mm) double-pointed needles (or a circular needle for the magic loop method). You'll also need a cable needle.
- Notions: Stitch markers, waste yarn (for holding thumb stitches), a tapestry needle for weaving in ends, and scissors.
- Gauge: 22 stitches and 28 rows = 4 inches in stockinette stitch. Always check your gauge to ensure a proper fit!
Step-by-Step Instructions
This pattern is written for an Adult Medium size (7.5" hand circumference, 10.5" length). Follow along carefully, and you'll have a beautiful pair of mittens in no time.
Abbreviations
- CO: Cast on
- K: Knit
- P: Purl
- K2tog: Knit two together (right-leaning decrease)
- SSK: Slip, slip, knit (left-leaning decrease)
- C4F: Slip 2 stitches to cable needle, hold to front, knit next 2 stitches, then knit 2 from cable needle
- C4B: Slip 2 stitches to cable needle, hold to back, knit next 2 stitches, then knit 2 from cable needle
- M1L: Make one left (increase)
- M1R: Make one right (increase)
- PM: Place marker
- RM: Remove marker
Cuff (Make Both Alike)
Using your Main Color (MC), CO 40 stitches. Distribute them evenly over 3 or 4 double-pointed needles (or use the magic loop method on a circular needle). Join in the round, being very careful not to twist your stitches.
Rounds 1-12: Work K2, P2 ribbing for 12 rounds (about 1.5 inches). This creates a snug, stretchy cuff that will keep the cold out.
Hand (Right Mitten)
Now we'll begin the cable pattern and shape the hand.
Round 13 (Increase Round): *K4, M1L, K4, M1R*; repeat from * to * around. You should now have 48 stitches on your needles.
Round 14: Knit all stitches.
Round 15 (Cable Round): *C4F, C4B*; repeat from * to * around (you'll create 6 cables total).
Rounds 16-17: Knit all stitches.
Round 18 (Cable Round): *C4B, C4F*; repeat from * to * around. This alternation creates the beautiful braided effect.
Rounds 19-20: Knit all stitches.
Thumb Gusset Setup
We'll now add increases to create space for your thumb.
Round 21: K24, PM, M1L, K1, M1R, PM, K23 (50 stitches total).
Round 22: Knit all stitches.
Round 23: K24, M1L, K3, M1R, K23 (52 stitches).
Round 24: Knit all stitches.
Round 25: K24, M1L, K5, M1R, K23 (54 stitches).
Continue increasing every other round (knit one plain round between increase rounds) until you have 13 stitches between the markers (after 6 increase rounds total).
Separating the Thumb
Next Round: K24, slip the 13 thumb stitches onto waste yarn, CO 1 stitch (to bridge the gap), K23. You should have 48 stitches back on your needles for the hand.
Continue the Hand
Work even in the cable pattern (repeat Rounds 15-20) until the mitten measures 4 inches from the thumb gap, ending with a Round 20. This ensures your cables are aligned for the decreases.
Decrease for the Top
Time to shape the rounded top of the mitten.
Round 1: *K4, K2tog*; repeat from * to * around (40 stitches).
Round 2: Knit all stitches.
Round 3: *K3, K2tog*; repeat from * to * around (32 stitches).
Round 4: Knit all stitches.
Round 5: *K2, K2tog*; repeat from * to * around (24 stitches).
Round 6: *K1, K2tog*; repeat from * to * around (16 stitches).
Round 7: K2tog around (8 stitches).
Cut your yarn, leaving a 6-inch tail. Thread the tail through a tapestry needle, slide it through the remaining 8 stitches, pull tight to close the top, and weave in the end securely.
Thumb
Transfer the 13 thumb stitches from the waste yarn back onto your needles. Pick up and knit 1 stitch from the CO edge at the base of the thumb to close any gap (14 stitches total).
Rounds 1-10: Knit all stitches (about 2 inches).
Decrease Round 11: K2tog around (7 stitches).
Cut yarn, thread through remaining stitches, pull tight, and weave in the end.
Left Mitten
Work the cuff and hand exactly as the right mitten, but place the thumb gusset at the end of the round for a mirror image:
Round 21 (Left Mitten): K23, PM, M1L, K1, M1R, PM, K24.
Continue the increases as for the right mitten, but after thumb separation, work as follows: K23, slip 13 thumb stitches onto waste yarn, CO 1, K24.
Finishing
Weave in all loose ends with your tapestry needle. Block the mittens gently to shape—this helps the cables relax and look their best. For a touch of contrast, you can add a CC (Contrast Color) stripe near the cuff by knitting 2 rounds with CC before starting the cable pattern, as shown in the photos.
And there you have it—a stunning pair of Frosted Berry Cable Mittens! These are perfect for keeping your hands warm on chilly walks, sipping hot cocoa by the fire, or gifting to someone you love. The combination of texture and color makes them a standout piece in any winter wardrobe.
Happy knitting, and enjoy your beautiful, handcrafted mittens!