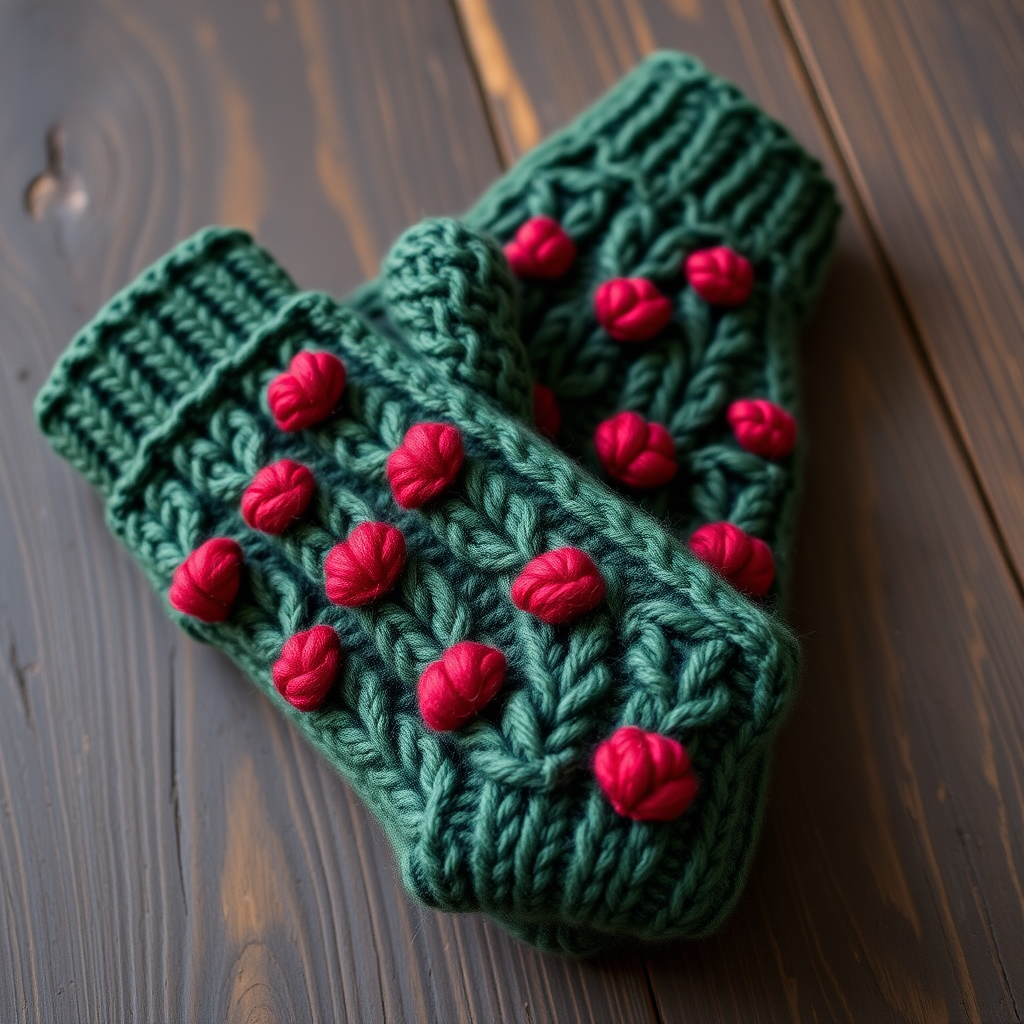
Starlight Mittens Free Pattern – Knit a Celestial Cable Dream

Starlight Mittens Free Pattern – Knit a Celestial Cable Dream
Wrap your hands in the night sky with these celestial cable mittens, featuring a shimmering star motif and a cozy, textured cuff. This pattern guides you through creating a truly unique, heirloom-quality accessory that feels like a warm hug from the cosmos. Whether you're a seasoned knitter looking for a new challenge or a brave beginner ready to learn cables, these mittens are a rewarding project that will keep your fingers toasty all winter long.
The deep navy body is adorned with intricate cables that weave their way up the back of the hand, while a silver-grey star bursts forth at the fingertips, creating a stunning celestial contrast. Knit in the round from the cuff up, this pattern is both meditative and exciting, with each section bringing a new technique to master. Let's dive into the cosmos and create something truly magical.
Materials Needed
Before we begin our celestial journey, let's gather all the necessary supplies. Having everything ready will make your knitting experience smooth and enjoyable.
Yarn
- Main Color (MC): Worsted weight yarn in deep navy blue – approximately 200g (400 yards)
- Contrast Color (CC): Worsted weight yarn in silver/light grey – approximately 50g (100 yards)
Pro tip: Choose a yarn with good stitch definition to make your cables pop. A wool or wool-blend yarn will give you the best results for this project.
Needles & Notions
- US 6 (4.0 mm) double-pointed needles (set of 4 or 5) – or a circular needle for magic loop method
- Cable needle
- Stitch markers (optional but helpful)
- Stitch holder or waste yarn for thumb stitches
- Tapestry needle for weaving in ends
- Scissors
Gauge
22 stitches and 28 rows = 4 inches in stockinette stitch
Adjust needle size up or down as needed to achieve this gauge. Getting the correct gauge is crucial for a proper fit.
Size
This pattern is written for a woman's medium size (7.5 inch hand circumference). The mittens have a relaxed, cozy fit.
Step-by-Step Instructions
This pattern is worked in the round from the cuff up. Don't be intimidated by the cables – they're easier than they look, and the rhythm of the pattern becomes second nature quickly. Let's begin!
Abbreviations
- CO: Cast on
- K: Knit
- P: Purl
- K2tog: Knit two together (right-leaning decrease)
- SSK: Slip, slip, knit (left-leaning decrease)
- M1L: Make one left (increase – pick up bar between stitches from front, knit through back loop)
- M1R: Make one right (increase – pick up bar between stitches from back, knit through front loop)
- C4F: Slip 2 stitches to cable needle, hold in front, knit 2, knit 2 from cable needle
- C4B: Slip 2 stitches to cable needle, hold in back, knit 2, knit 2 from cable needle
- St st: Stockinette stitch (knit every round)
- MC: Main color (navy)
- CC: Contrast color (silver)
Cuff
Let's start with the foundation of our mittens – the cozy ribbed cuff.
- CO 40 stitches with MC. Distribute evenly on 4 DPNs (10 stitches per needle).
- Join in the round, being very careful not to twist your stitches. Place a stitch marker to mark the beginning of the round.
- Work K2, P2 ribbing for 2 inches (approximately 14 rounds). This creates a stretchy, snug cuff that will keep the cold air out.
Tip: If you prefer a longer cuff for extra warmth, simply continue the ribbing for another inch or two before moving on.
Body (Right Mitten)
Now we'll shape the hand and begin our celestial cable pattern. The increases in the first few rounds will give your hand room to breathe.
- Round 1: Knit all stitches with MC.
- Round 2: Knit all stitches with MC.
- Round 3: *K4, M1L, K4, M1R* repeat from * to * around (increase 8 stitches, total 48 stitches).
Now we begin the cable and star pattern. The cables will form beautiful vertical columns that resemble celestial pathways winding up your hand.
- Round 4-5: Knit all stitches with MC.
- Round 6: *C4F, K4* repeat from * to * around (6 cables total).
- Round 7-8: Knit all stitches with MC.
- Round 9: *K4, C4B* repeat from * to * around.
- Round 10-11: Knit all stitches with MC.
- Round 12: *C4F, K4* repeat from * to * around.
- Round 13-14: Knit all stitches with MC.
- Round 15: *K4, C4B* repeat from * to * around.
- Round 16-17: Knit all stitches with MC.
- Round 18: *C4F, K4* repeat from * to * around.
- Round 19-20: Knit all stitches with MC.
You've now completed the main body of the mitten. The cables should be forming a lovely, twisted pattern that will continue up the back of your hand.
Thumb Gusset (Right Mitten)
Now we'll create the thumb opening. The gusset increases gradually, creating a wedge shape that accommodates your thumb comfortably.
- Round 21: K1, M1L, K2, M1R, K1 (gusset stitches: 4), knit to end of round.
- Round 22: Knit all stitches.
- Round 23: K1, M1L, K4, M1R, K1 (gusset stitches: 6), knit to end.
- Round 24: Knit all stitches.
- Round 25: K1, M1L, K6, M1R, K1 (gusset stitches: 8), knit to end.
- Round 26: Knit all stitches.
- Round 27: K1, M1L, K8, M1R, K1 (gusset stitches: 10), knit to end.
- Round 28: Knit all stitches.
- Round 29: K1, M1L, K10, M1R, K1 (gusset stitches: 12), knit to end.
- Round 30: Knit all stitches.
- Round 31: K1, M1L, K12, M1R, K1 (gusset stitches: 14), knit to end.
- Round 32: Knit all stitches.
- Round 33: K1, M1L, K14, M1R, K1 (gusset stitches: 16), knit to end.
- Round 34: Knit all stitches.
Now place the 16 gusset stitches on a stitch holder or waste yarn. These will become your thumb. Continue knitting the rest of the round (32 stitches remain on needles).
Hand (After Thumb)
With the thumb stitches safely held aside, we'll continue the cable pattern up the hand.
- Continue in the cable pattern as established (cables every 6 rounds) for 2 more cable repeats (12 rounds).
At this point, your mitten should reach the base of your fingers. If you have longer fingers, you may want to add an extra repeat before starting the decreases.
Star Motif (Worked in CC)
Now for the magical part – the celestial star that will crown your mitten! Switch to your silver/light grey yarn and follow these decrease rounds to form a beautiful geometric star.
- Round 1: With CC, *K1, K2tog, K2, SSK, K1* repeat from * to * around (decrease 8 stitches, total 24 stitches).
- Round 2: With CC, knit all stitches.
- Round 3: With CC, *K2tog, K2, SSK* repeat from * to * around (decrease 8 stitches, total 16 stitches).
- Round 4: With CC, knit all stitches.
- Round 5: With CC, *K2tog, K1, SSK* repeat from * to * around (decrease 8 stitches, total 8 stitches).
- Round 6: With CC, *K2tog* repeat around (decrease 4 stitches, total 4 stitches).
Cut yarn, leaving a 6-inch tail. Thread through remaining stitches, pull tight to close the top, and weave in the end securely.
Thumb
Let's give your thumb some love! This section is quick and straightforward.
- Pick up the 16 gusset stitches from holder onto DPNs.
- Pick up 2 stitches from the gap at the base of the thumb (total 18 stitches).
- Knit in St st for 1.5 inches (approximately 10 rounds).
- Next round: *K2tog, K1* repeat around (decrease 6 stitches, total 12 stitches).
- Next round: *K2tog* repeat around (decrease 6 stitches, total 6 stitches).
Cut yarn, thread through remaining stitches, pull tight, and weave in end.
Left Mitten
Now for the second mitten! Work the same as the right mitten, but mirror the thumb gusset placement. This ensures your thumbs fit correctly on each hand.
- Work the cuff and body identically to the right mitten.
- For the thumb gusset, on Round 21, knit to the last 5 stitches of the round, then work: K1, M1L, K2, M1R, K1.
- Continue the gusset increases in the same manner, always placing the increases at the end of the round.
- Complete the rest of the mitten as for the right.
Finishing
You're almost done! A few final touches will make your mittens truly shine.
- Weave in all loose ends carefully with your tapestry needle.
- Block the mittens gently to shape. This helps the cables relax and the star motif lie flat.
- Optionally, add a small embroidered star on the back of the hand using CC yarn for extra celestial charm.
To embroider a star: Using CC yarn and a tapestry needle, create a simple five-pointed star by making small straight stitches in a star shape on the back of the hand. This adds a lovely extra detail that catches the light.
Final Thoughts
Congratulations! You've just created a pair of Starlight Mittens that are as beautiful as they are functional. These mittens make wonderful gifts for loved ones (if you can bear to part with them!) and are perfect for chilly winter walks, cozy evenings by the fire, or adding a touch of celestial elegance to any winter outfit.
The combination of the deep navy cables and the shimmering silver star creates a truly unique accessory that will be treasured for years to come. Remember, practice makes perfect – if this is your first cable project, don't be discouraged if it takes a few rounds to get into the rhythm. The result is absolutely worth it.
Happy knitting, and may your hands always be wrapped in starlight!