Frosted Fern Fingerless Gloves Free Pattern

Frosted Fern Fingerless Gloves: A Free Knitting Pattern for Cozy Winter Days
Embrace the quiet beauty of winter with these textured fingerless gloves, featuring a delicate leaf motif that climbs the back of your hand. Knitted in a soft, heathered yarn, they offer both warmth and dexterity for crisp morning walks or cozy coffee breaks. This free pattern is perfect for intermediate knitters looking to expand their skills with simple increases, decreases, and yarn overs—all while creating a stunning, botanical-inspired accessory.
The Frosted Fern gloves are worked flat from the cuff up, then seamed, leaving a thoughtful opening for your thumb. The result is a pair of gloves that feel like a warm hug for your hands, with the freedom to text, turn pages, or sip your favorite latte without removing them. Let’s dive into this rewarding project!
Materials Needed
Before you begin, gather the following supplies. This pattern calls for simple, readily available materials:
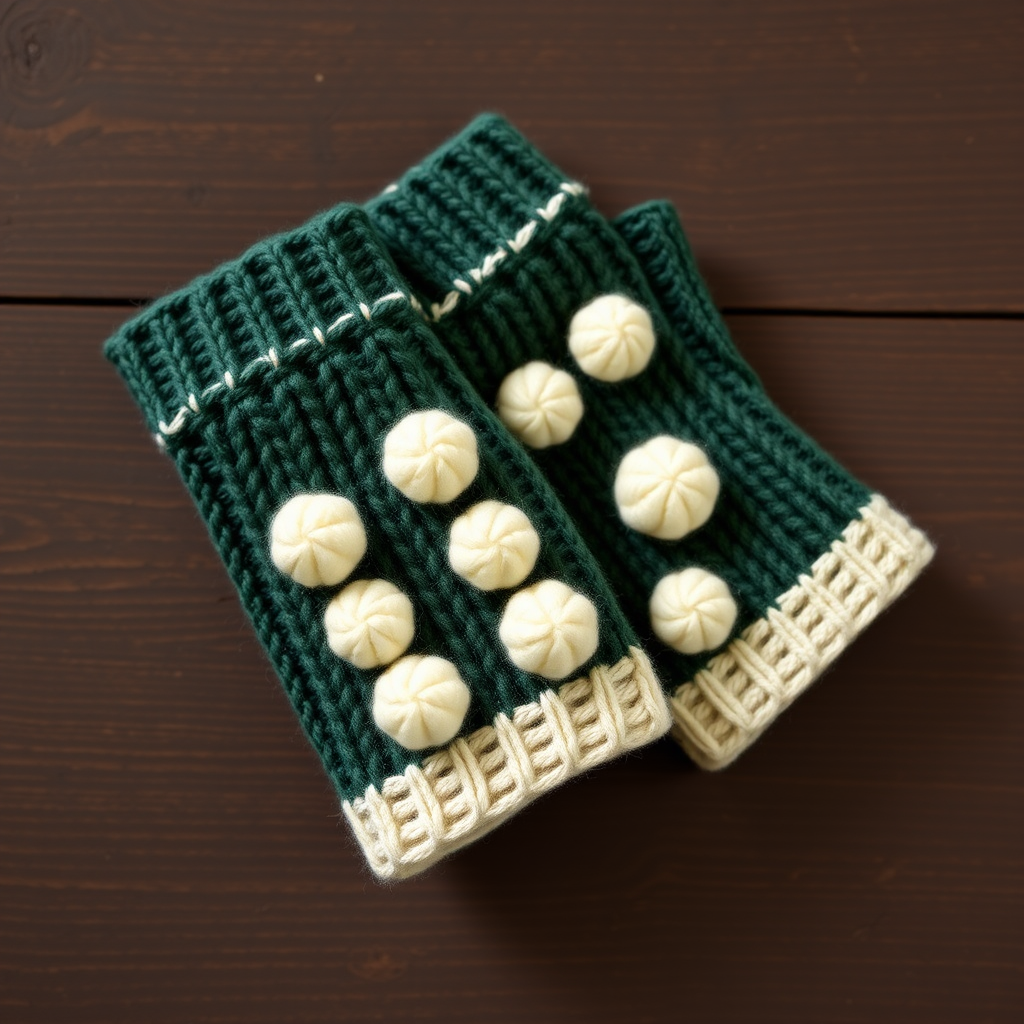
- Yarn: Worsted weight yarn (Aran/10 ply), approximately 150-200 yards. The sample shown uses Cascade 220 Heathers in "Forest Heather," a beautiful blend of deep green, grey, and blue tones that adds depth to the leaf pattern. Any worsted weight yarn will work beautifully.
- Knitting Needles: US Size 6 (4.0 mm) needles for the ribbing and US Size 7 (4.5 mm) needles for the main body. If you prefer circular needles for flat knitting, that works perfectly too.
- Notions: A tapestry needle for weaving in ends, a stitch holder or scrap yarn for the thumb stitches, and stitch markers (optional but helpful).
- Gauge: 20 stitches and 26 rows = 4 inches in stockinette stitch on larger needles. Gauge is not critical for this project, but it will affect the final fit. If you knit loosely, consider going down a needle size; if tightly, go up.
Step-by-Step Instructions
This pattern is worked flat from the cuff up, then seamed, leaving an opening for the thumb. The leaf motif is created with simple increases and decreases. Follow along carefully, and you'll have a beautiful pair of gloves in no time.
Abbreviations
- CO: Cast on
- K: Knit
- P: Purl
- K2tog: Knit two stitches together (right-leaning decrease)
- SSK: Slip, slip, knit (left-leaning decrease)
- YO: Yarn over
- M1L: Make one left (increase)
- M1R: Make one right (increase)
- St(s): Stitch(es)
- RS: Right side
- WS: Wrong side
Pattern (Make 2)
Note: For the second glove, you'll mirror the thumb placement. Instructions for this are at the end.
Cuff
Using smaller needles (US 6), CO 38 sts.
- Row 1 (RS): *K2, P2; repeat from * to last 2 sts, K2.
- Row 2 (WS): *P2, K2; repeat from * to last 2 sts, P2.
Repeat Rows 1-2 until cuff measures 2.5 inches from cast-on edge, ending with a WS row. This ribbed cuff will provide a snug, comfortable fit around your wrist.
Hand (Increase Section)
Switch to larger needles (US 7). This section creates the shaping for your palm and the base of your thumb.
- Row 1 (RS): K18, M1L, K2, M1R, K18. (40 sts)
- Row 2 (WS): Purl all sts.
- Row 3 (RS): K18, M1L, K4, M1R, K18. (42 sts)
- Row 4 (WS): Purl all sts.
- Row 5 (RS): K18, M1L, K6, M1R, K18. (44 sts)
- Row 6 (WS): Purl all sts.
- Row 7 (RS): K18, M1L, K8, M1R, K18. (46 sts)
- Row 8 (WS): Purl all sts.
- Row 9 (RS): K18, M1L, K10, M1R, K18. (48 sts)
- Row 10 (WS): Purl all sts.
Thumb Gusset
Now we'll shape the thumb opening with a series of increases. Place markers to help you keep track of the gusset section.
- Row 11 (RS): K18, place a marker, M1L, K12, M1R, place a marker, K18. (50 sts)
- Row 12 (WS): Purl all sts.
- Row 13 (RS): K18, M1L, K14, M1R, K18. (52 sts)
- Row 14 (WS): Purl all sts.
- Row 15 (RS): K18, M1L, K16, M1R, K18. (54 sts)
- Row 16 (WS): Purl all sts.
- Row 17 (RS): K18, M1L, K18, M1R, K18. (56 sts)
- Row 18 (WS): Purl all sts.
- Row 19 (RS): K18, M1L, K20, M1R, K18. (58 sts)
- Row 20 (WS): Purl all sts.
- Row 21 (RS): K18, M1L, K22, M1R, K18. (60 sts)
- Row 22 (WS): Purl all sts.
Separate Thumb
This is where we set aside the thumb stitches to work on the main hand body.
- Row 23 (RS): K18, place the next 24 sts onto a stitch holder or waste yarn for the thumb, K18. (36 sts remain for the hand).
Hand Body (Leaf Motif)
This is the heart of the pattern! The leaf motif is created by a central column of yarn overs and decreases. The stitch count remains constant at 36 sts throughout this section. Follow each row carefully—the pattern is symmetrical.
- Row 24 (WS): Purl all sts.
- Row 25 (RS): K17, SSK, YO, K1, YO, K2tog, K14. (36 sts)
- Row 26 (WS): Purl all sts.
- Row 27 (RS): K16, SSK, K1, YO, K1, YO, K1, K2tog, K13. (36 sts)
- Row 28 (WS): Purl all sts.
- Row 29 (RS): K15, SSK, K2, YO, K1, YO, K2, K2tog, K12. (36 sts)
- Row 30 (WS): Purl all sts.
- Row 31 (RS): K14, SSK, K3, YO, K1, YO, K3, K2tog, K11. (36 sts)
- Row 32 (WS): Purl all sts.
- Row 33 (RS): K13, SSK, K4, YO, K1, YO, K4, K2tog, K10. (36 sts)
- Row 34 (WS): Purl all sts.
- Row 35 (RS): K12, SSK, K5, YO, K1, YO, K5, K2tog, K9. (36 sts)
- Row 36 (WS): Purl all sts.
- Row 37 (RS): K11, SSK, K6, YO, K1, YO, K6, K2tog, K8. (36 sts)
- Row 38 (WS): Purl all sts.
- Row 39 (RS): K10, SSK, K7, YO, K1, YO, K7, K2tog, K7. (36 sts)
- Row 40 (WS): Purl all sts.
- Row 41 (RS): K9, SSK, K8, YO, K1, YO, K8, K2tog, K6. (36 sts)
- Row 42 (WS): Purl all sts.
- Row 43 (RS): K8, SSK, K9, YO, K1, YO, K9, K2tog, K5. (36 sts)
- Row 44 (WS): Purl all sts.
- Row 45 (RS): K7, SSK, K10, YO, K1, YO, K10, K2tog, K4. (36 sts)
- Row 46 (WS): Purl all sts.
- Row 47 (RS): K6, SSK, K11, YO, K1, YO, K11, K2tog, K3. (36 sts)
- Row 48 (WS): Purl all sts.
- Row 49 (RS): K5, SSK, K12, YO, K1, YO, K12, K2tog, K2. (36 sts)
- Row 50 (WS): Purl all sts.
- Row 51 (RS): K4, SSK, K13, YO, K1, YO, K13, K2tog, K1. (36 sts)
- Row 52 (WS): Purl all sts.
- Row 53 (RS): K3, SSK, K14, YO, K1, YO, K14, K2tog, K0. (36 sts)
- Row 54 (WS): Purl all sts.
- Row 55 (RS): K2, SSK, K15, YO, K1, YO, K15, K2tog. (36 sts)
- Row 56 (WS): Purl all sts.
- Row 57 (RS): K1, SSK, K16, YO, K1, YO, K16, K2tog. (36 sts)
- Row 58 (WS): Purl all sts.
- Row 59 (RS): SSK, K17, YO, K1, YO, K17, K2tog. (36 sts)
- Row 60 (WS): Purl all sts.
Top Ribbing
Switch back to smaller needles (US 6) for a neat, stretchy finish at the top of the glove.
- Row 61 (RS): *K2, P2; repeat from * to end. (36 sts)
- Row 62 (WS): *P2, K2; repeat from * to end.
Repeat Rows 61-62 until ribbing measures 1 inch. Bind off loosely in pattern (knit the knits and purl the purls as you bind off).
Thumb
Now we'll finish the thumb. Transfer the 24 thumb sts from holder to larger needles (US 7).
- Row 1 (RS): K24, pick up and knit 2 sts from the gap at the base of the thumb. (26 sts)
- Row 2 (WS): Purl all sts.
- Row 3 (RS): K2tog, K22, SSK. (24 sts) This closes the gap neatly.
- Row 4 (WS): Purl all sts.
Switch to smaller needles (US 6).
- Row 5 (RS): *K2, P2; repeat from * to end.
- Row 6 (WS): *P2, K2; repeat from * to end.
Repeat Rows 5-6 until thumb ribbing measures 0.5 inch. Bind off loosely in pattern.
Finishing
Weave in all ends using your tapestry needle. Fold the piece in half with the right sides together, aligning the thumb opening. Sew the side seam from the cuff up to the thumb opening, then continue sewing from the thumb opening to the top ribbing. Use a mattress stitch or whip stitch for a clean, invisible seam.
Making the Second Glove (Mirror Image)
For the second glove, you'll want the thumb to be on the opposite side so they're a matching pair. To do this, simply reverse the thumb gusset placement. Instead of working the increases after K18, work them before the last 18 stitches. Here's how:
- Row 1 (RS): K18, M1R, K2, M1L, K18. (40 sts) Note the swapped M1R and M1L.
Continue with the same pattern, but always place the increases at the end of the row (before the final K18) instead of the beginning. When you reach the "Separate Thumb" row, you'll knit 18, place the next 24 sts on a holder, then knit the remaining 18. This will create a mirror-image glove.
And that's it! You've created a beautiful pair of Frosted Fern Fingerless Gloves. These make wonderful gifts for loved ones (or a treat for yourself). The textured leaf pattern is sure to spark conversation, and the practical design means they'll be worn