January Sky Fingerless Gloves Free Pattern – A Knitted Winter Dawn Wrap

January Sky Fingerless Gloves: A Free Knitting Pattern for Cozy Winter Mornings
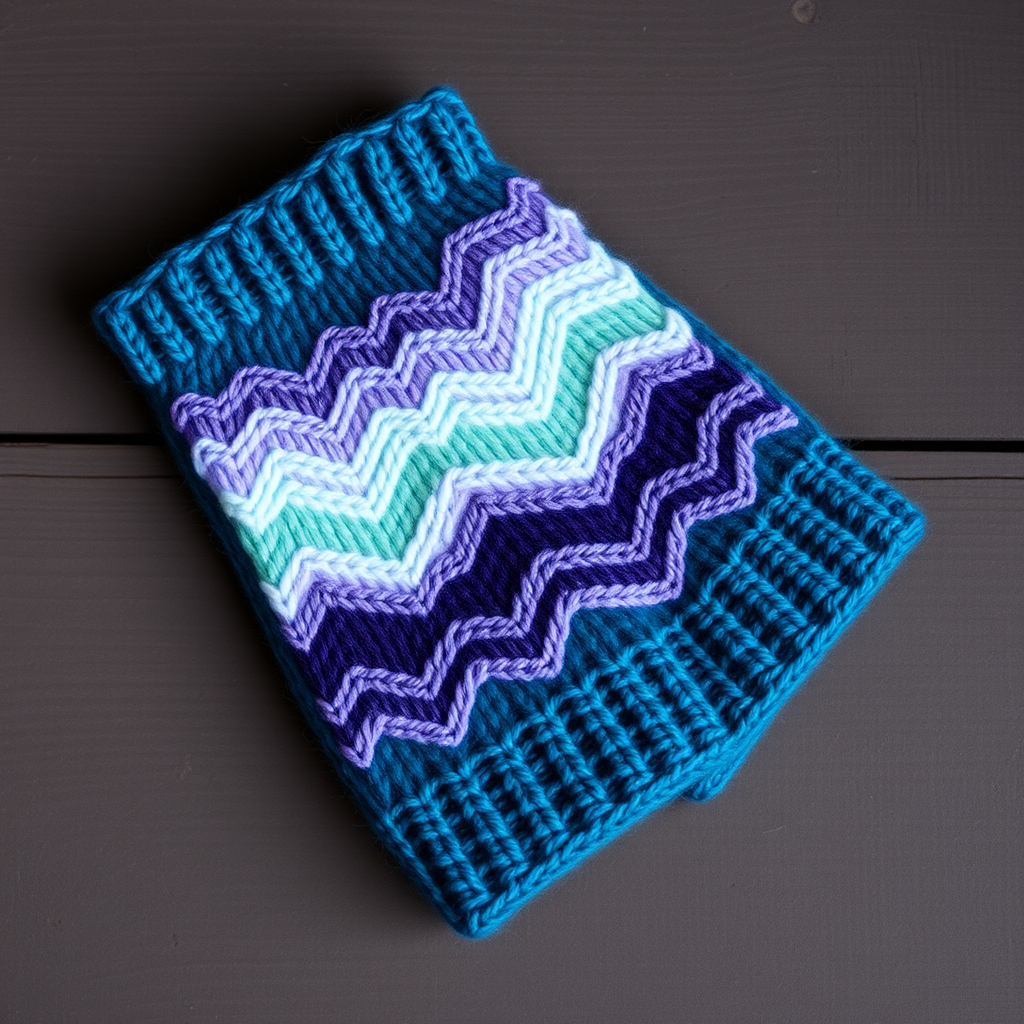
Wrap your hands in the quiet beauty of a winter sunrise with these textured fingerless gloves. Featuring a breathtaking gradient of icy blues, pale lavender, and soft white, this pattern captures the layered clouds of a January morning. The intricate cable and ribbing design keeps you cozy without sacrificing dexterity—perfect for sipping hot cocoa, scrolling on your phone, or typing away at your desk. Whether you're a seasoned knitter or looking for your next rewarding project, these hand warmers are a delightful way to celebrate the season.
This free pattern is designed with clarity in mind, offering step-by-step instructions that even a beginner can follow with confidence. Let's dive into creating your own pair of January Sky gloves!
Materials Needed
Before you begin, gather the following supplies. Having everything ready will make your knitting session smooth and enjoyable.
- Yarn: Worsted weight yarn in three shades:
- Color A (icy blue) – approximately 70g
- Color B (pale lavender) – approximately 70g
- Color C (soft white) – approximately 60g
- Knitting Needles: US 6 (4.0 mm) straight needles (or circular needles for the flat sections)
- Cable Needle: For the cable motif (optional but recommended)
- Stitch Markers: At least 4 markers
- Stitch Holder or Waste Yarn: For holding thumb stitches
- Tapestry Needle: For weaving in ends and seaming
Gauge: 20 stitches and 28 rows = 4 inches in stockinette stitch. Always check your gauge to ensure a proper fit!
Step-by-Step Instructions
This pattern is worked flat and seamed, creating a tailored fit. Instructions are for a medium size; to adjust, add or subtract stitches in multiples of 4. We'll walk through each section carefully.
Cuff (Worked in the Round, Then Continued Flat)
Step 1: With Color A, cast on 40 stitches. Join in the round, being careful not to twist your work. Place a stitch marker to mark the beginning of the round.
Step 2: Work K2, P2 ribbing (knit 2, purl 2) for 2 inches. This creates a snug, stretchy cuff that will keep the gloves securely on your hands.
Step 3: Switch to working flat (back and forth) for the hand portion. Turn your work so the wrong side is facing you.
Hand Section (Worked Flat)
Step 4 (Row 1 - Right Side): With Color A, K2, P2 across the row, ending with K2. This maintains the ribbing pattern.
Step 5 (Row 2 - Wrong Side): P2, K2 across the row, ending with P2. This mirrors the right side, creating a neat ribbed texture.
Step 6: Repeat Rows 1 and 2 for 1 inch, then switch to Color B (pale lavender).
Step 7: Continue in K2, P2 ribbing with Color B for 1 inch. The color transition mimics the soft shift of dawn light.
Step 8: Switch to Color C (soft white) and work in stockinette stitch (knit on the right side, purl on the wrong side) for 2 inches. On the first row of stockinette, increase 4 stitches evenly across the row—you should now have 44 stitches. Tip: To increase evenly, knit 10, M1 (make one), repeat from * to end.
Thumb Gusset
The thumb gusset adds width for your thumb, ensuring a comfortable fit. Follow these increases carefully.
Step 9 (Next Right Side Row): K22, place a marker, M1 (make one), K1, M1, place a marker, K21. You now have 46 stitches.
Step 10: Work 3 rows even in stockinette stitch (no increases).
Step 11 (Increase Row): K22, M1, K3, M1, K21. You now have 48 stitches.
Step 12: Work 3 rows even.
Step 13: Continue increasing every 4th row, adding 2 stitches to the gusset section each time (between the markers). Repeat this until you have 13 stitches between the markers. Your total stitch count will now be 54 stitches.
Thumb Opening
Step 14 (Next Right Side Row): K22, place the 13 gusset stitches onto a stitch holder or waste yarn, cast on 1 stitch, K21. You now have 44 stitches on your needles.
Step 15: Continue in stockinette stitch for 2 more inches. Then, switch to Color B and work K2, P2 ribbing for 1 inch. Bind off loosely in pattern to maintain stretch.
Thumb
Step 16: Pick up the 13 held stitches, plus 3 stitches from the cast-on edge (total 16 stitches). Distribute these onto three double-pointed needles (or use the magic loop method) and join in the round.
Step 17: Work in K2, P2 ribbing with Color B for 1 inch. Bind off loosely.
Finishing
Step 18: Weave in all loose ends using your tapestry needle. Sew the side seam from the cuff to the thumb opening, then from the thumb opening to the top edge. Use the mattress stitch for an invisible, professional-looking seam.
Step 19: Repeat all steps for the second glove, ensuring the thumb gusset is mirrored—place the increases on the opposite side so the thumbs face each other correctly when worn.
Pro Tips for a Perfect Finish
- Color Transitions: When switching colors, knit the first stitch of the new color loosely to avoid puckering.
- Seaming: The mattress stitch creates a seamless look. Take your time and match stitch-for-stitch for a polished result.
- Blocking: After finishing, gently block your gloves to even out the stitches and enhance the cable definition. Lay them flat to dry.
These January Sky fingerless gloves are more than just an accessory—they're a wearable piece of winter art. The gradient colors and textured stitches make them a joy to knit and a treasure to wear. Whether you're making them for yourself or as a heartfelt gift, this pattern is sure to bring warmth and beauty to any chilly day.
Happy knitting, and may your mornings be as serene as a January sky!