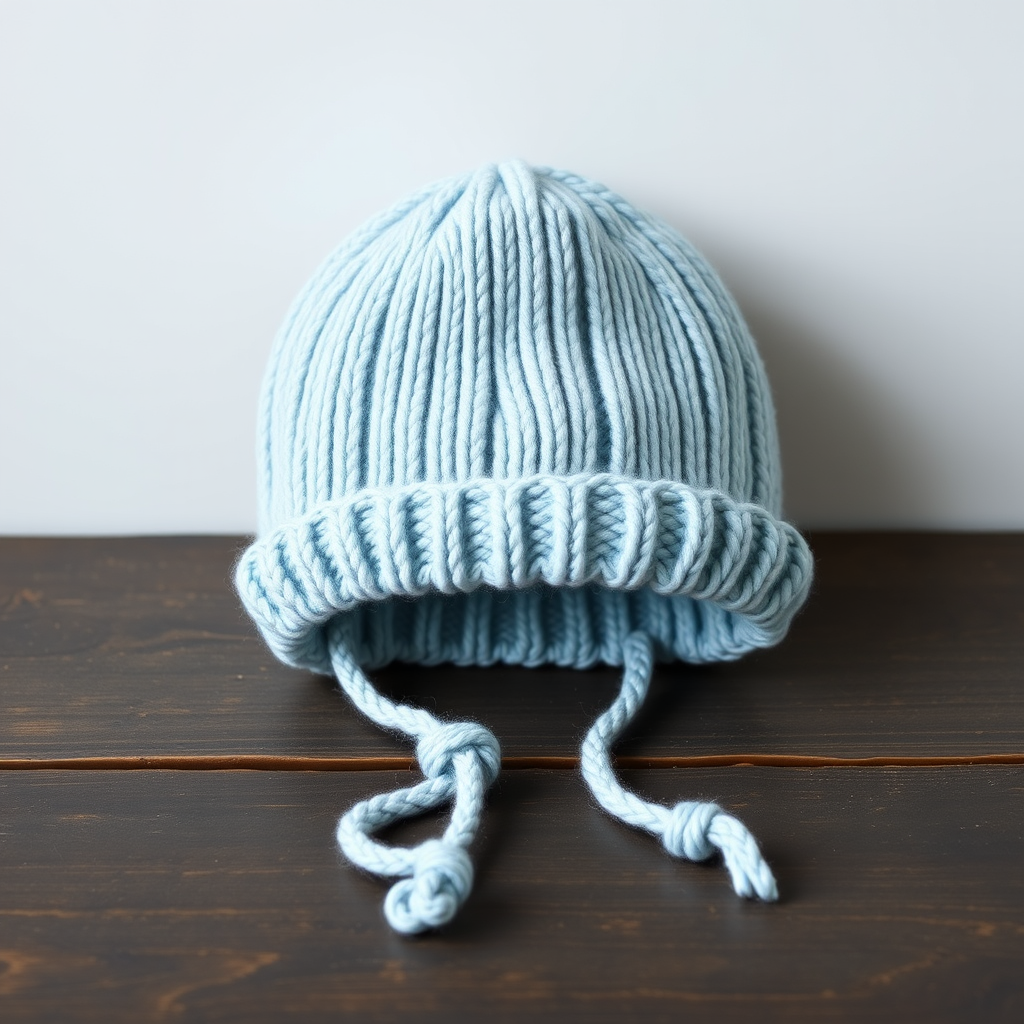
Moonlit Meadow Newborn Cocoon & Hat Free Knitting Pattern
Moonlit Meadow Newborn Cocoon & Hat: A Free Knitting Pattern for Heirloom-Quality Baby Gifts
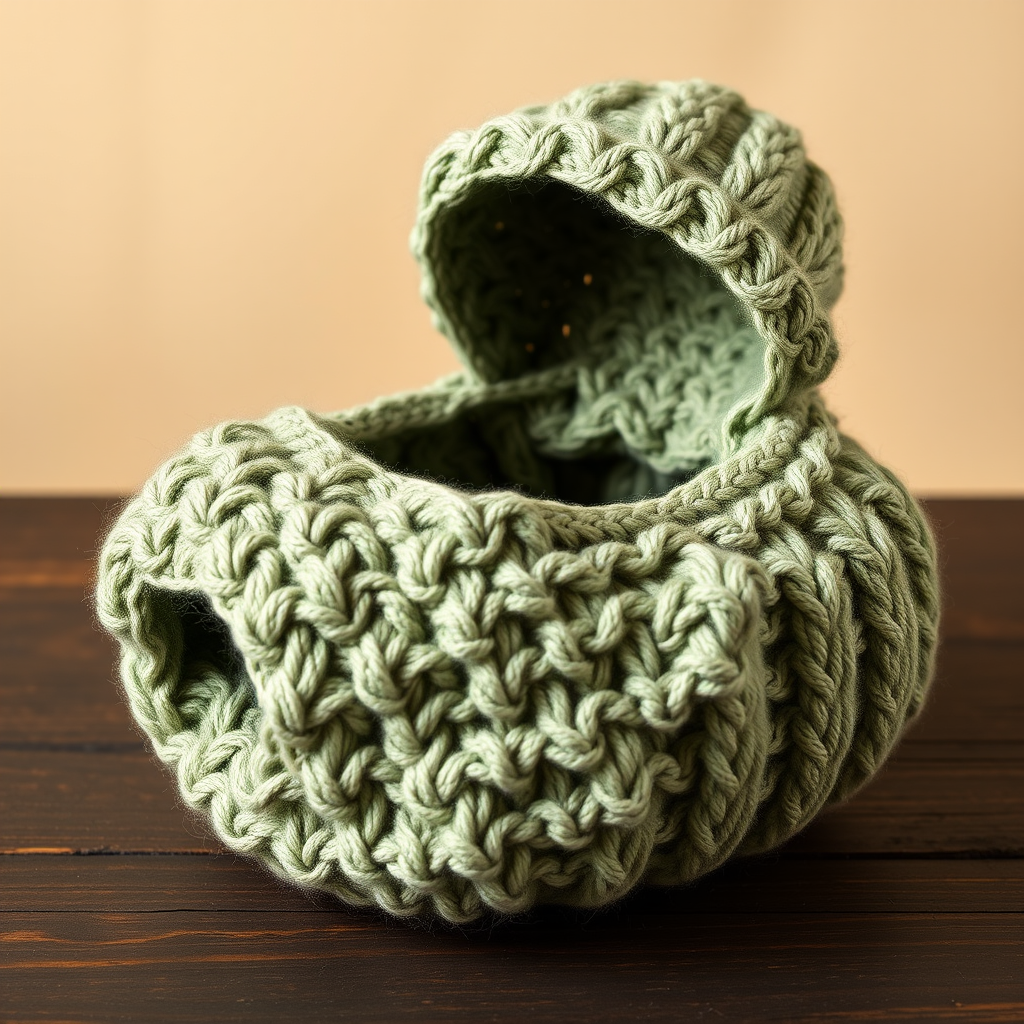
There is something truly magical about creating a handmade gift for a new baby. The Moonlit Meadow Newborn Cocoon & Hat is designed to wrap your little one in the softest clouds, combining a dreamy, textured cable pattern with the classic, nubby charm of seed stitch. This heirloom-quality set is as cozy as it is beautiful, making it the perfect project for knitters looking to create a memorable, practical gift. The gentle taper of the cocoon and the snug, fold-over brim of the matching hat ensure your baby stays warm and snug, while the muted sage green yarn gives it a soft, organic, and timeless aesthetic.
Whether you are a seasoned knitter or a confident beginner ready for a new challenge, this free pattern is broken down into clear, step-by-step instructions. We will guide you through every cable twist and decrease, ensuring you can recreate this stunning set at home without confusion. Let’s pick up our needles and start crafting a piece that will be treasured for years to come.
Materials Needed
Before you begin, gather the following materials. Using the specified yarn weight and needle sizes is crucial to achieving the correct gauge and the soft, plush drape seen in the photos.
- Yarn: Worsted weight (4) super soft baby yarn in a light sage green. You will need approximately 300 grams for the cocoon and 50 grams for the hat. (Look for a machine-washable blend for easy care).
- Needles:
- US 7 (4.5mm) circular needles, 24-inch length (for the cocoon, knitted flat).
- US 7 (4.5mm) double-pointed needles (DPNs) (for the hat, knitted in the round).
- Notions: Cable needle, tapestry needle (for seaming and weaving in ends), stitch markers (optional, but helpful for tracking pattern repeats), scissors.
- Gauge: 20 stitches and 28 rows = 4 inches in stockinette stitch (after blocking). Always knit a swatch to ensure your gauge matches to achieve the correct finished size.
Step-by-Step Instructions
This pattern is worked in two parts: the cocoon (knitted flat and seamed) and the hat (knitted in the round). Follow the instructions carefully, paying close attention to the cable (C6F) and decrease sections.
Part 1: The Cocoon (Knitted Flat)
The cocoon is worked from the bottom up, starting with a seed stitch border, moving into the cable pattern, and then decreasing to shape the rounded top.
Foundation & Seed Stitch Border
- Cast on 80 stitches onto your US 7 circular needle.
- Rows 1-6: Work in Seed Stitch.
- Row 1: *K1, P1; repeat from * to end of row.
- Row 2: *P1, K1; repeat from * to end of row. (You are knitting the purls and purling the knits from the previous row).
- Repeat Rows 1 and 2 for a total of 6 rows. This creates a sturdy, non-rolling edge.
Main Cable Pattern
Now you will establish the cable and seed stitch pattern. The pattern repeat is worked over 16 stitches.
- Row 7 (Right Side): K4, *P2, K6, P2, K4; repeat from * to end of row.
- Row 8 (Wrong Side): P4, *K2, P6, K2, P4; repeat from * to end of row.
- Row 9 (Cable Row - Right Side): K4, *P2, C6F (Slip 3 stitches to cable needle, hold to FRONT, knit next 3 stitches, then knit 3 stitches from cable needle), P2, K4; repeat from * to end of row.
- Row 10 (Wrong Side): Same as Row 8 (P4, *K2, P6, K2, P4; repeat from *).
- Row 11 (Right Side): Same as Row 7 (K4, *P2, K6, P2, K4; repeat from *).
- Row 12 (Wrong Side): Same as Row 8.
- Repeat Rows 7-12 until your piece measures 12 inches from the cast-on edge, ending with a Wrong Side row (Row 8, 10, or 12).
Shaping the Top (Decreases)
You will now decrease stitches to close the top of the cocoon. Work these rows sequentially, maintaining the seed stitch borders at the edges.
- Next Row (Right Side): K4, *P2, K2tog, K2, K2tog, P2, K4; repeat from * to end. (You have decreased 2 stitches per repeat, leaving 70 stitches).
- Next Row (Wrong Side): P4, *K2, P4, K2, P4; repeat from * to end.
- Next Row (Right Side): K4, *P2, K2tog, K2tog, P2, K4; repeat from * to end. (60 stitches remaining).
- Next Row (Wrong Side): P4, *K2, P2, K2, P4; repeat from * to end.
- Next Row (Right Side): K4, *P2, K2tog, P2, K4; repeat from * to end. (50 stitches remaining).
- Next Row (Wrong Side): P4, *K2, P1, K2, P4; repeat from * to end.
- Next Row (Right Side): K4, *P1, K2tog, P1, K4; repeat from * to end. (40 stitches remaining).
- Next Row (Wrong Side): P4, *K1, P1, K1, P4; repeat from * to end.
- Next Row (Right Side): K4, *P1, K2tog, P4; repeat from * to end. (30 stitches remaining).
- Next Row (Wrong Side): P4, *K1, P1, P4; repeat from * to end. (Note: This row purls the purls and knits the knits as they appear).
- Next Row (Right Side): K4, *P1, K2tog, P4; repeat from * to end. (20 stitches remaining).
- Next Row (Wrong Side): Purl all stitches.
- Next Row (Right Side): *K2tog; repeat from * to end. (10 stitches remaining).
- Finishing the Top: Cut the yarn, leaving a 12-inch tail. Thread the tail onto a tapestry needle, slide it through the remaining 10 stitches, and pull tight to gather the top. Secure with a knot.
Seaming the Cocoon
- Fold the cocoon in half with the Right Sides together, aligning the side edges.
- Using the mattress stitch and a tapestry needle, seam the side edges together from the bottom cast-on edge up to the gathered top. Leave the bottom open for the baby's legs.
- Weave in all loose ends securely.
Part 2: The Matching Hat (Knitted in the Round)
The hat is worked seamlessly in the round from the bottom up, featuring the same beautiful cable pattern.
Cast On & Brim
- Cast on 60 stitches onto your double-pointed needles. Distribute the stitches evenly (e.g., 20 stitches on each of 3 needles).
- Place a stitch marker and join in the round, being careful not to twist the stitches.
- Rounds 1-6: Work in Seed Stitch in the round.
- Round 1: *K1, P1; repeat from * to end.
- Round 2: *P1, K1; repeat from * to end. (Knit the purls and purl the knits).
- Repeat Rounds 1 and 2 for a total of 6 rounds. This forms the fold-over brim.
Main Cable Pattern
- Round 7: *P2, K6, P2; repeat from * to end of round.
- Round 8: *P2, K6, P2; repeat from * to end.
- Round 9 (Cable Round): *P2, C6F (Slip 3 stitches to cable needle, hold to front, knit next 3, knit 3 from cable needle), P2; repeat from * to end.
- Round 10: *P2, K6, P2; repeat from * to end.
- Round 11: *P2, K6, P2; repeat from * to end.
- Round 12: *P2, K6, P2; repeat from * to end.
- Repeat Rounds 7-12 until the hat measures 5 inches from the cast-on edge. (If you want a longer fold-over brim, you can knit a bit more before starting the decreases).
Shaping the Crown (Decreases)
Work the following decrease rounds to shape the top of the hat.
- Round 1: *P2, K2tog, K2, K2tog, P2; repeat from * to end. (48 stitches remain).
- Round 2: *P2, K4, P2; repeat from * to end.
- Round 3: *P2, K2tog, K2tog, P2; repeat from * to end. (36 stitches remain).
- Round 4: *P2, K2, P2; repeat from * to end.
- Round 5: *P2, K2tog, P2; repeat from * to end. (24 stitches remain).
- Round 6: *P1, K2tog, P1; repeat from * to end. (16 stitches remain).
- Round 7: *K2tog; repeat from * to end. (8 stitches remain).
Finishing the Hat
- Cut the yarn, leaving a 10-inch tail. Thread the tail onto a tapestry needle, slide it through the remaining 8 stitches, and pull tight to close the top of the hat.
- Secure with a knot and weave in all loose ends on the inside of the hat.
Final Touches & Care
Once you have completed both pieces, give your Moonlit Meadow set a gentle hand wash in lukewarm water with a mild wool wash. Lay flat to dry, gently shaping the cocoon and hat to their proper dimensions. Blocking will help even out the cables and seed stitch, giving your work that polished, professional look.
This beautiful set is not just a knitting project; it's a gift of warmth and love. The combination of the plump cables and the bumpy seed stitch creates a tactile experience that babies adore and parents cherish. We hope you enjoy knitting this heirloom-quality piece. Happy knitting!