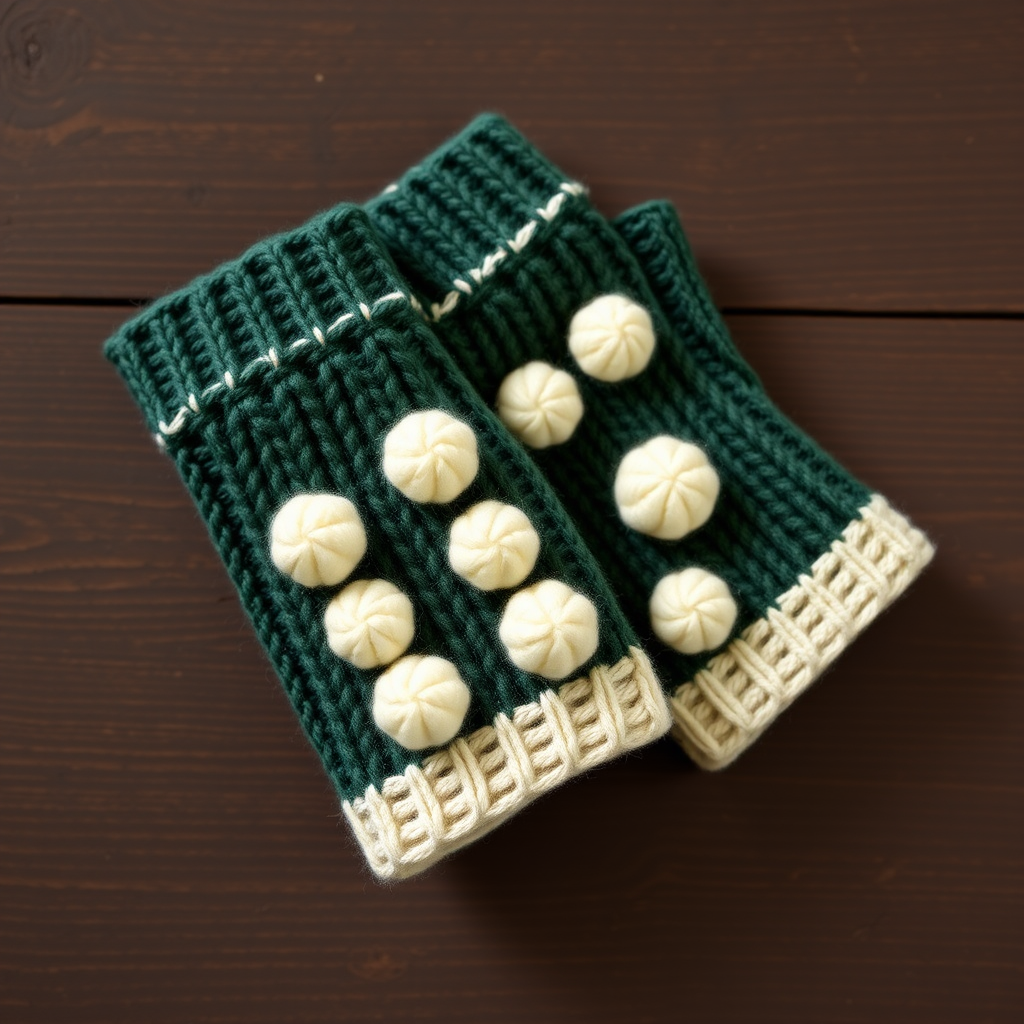
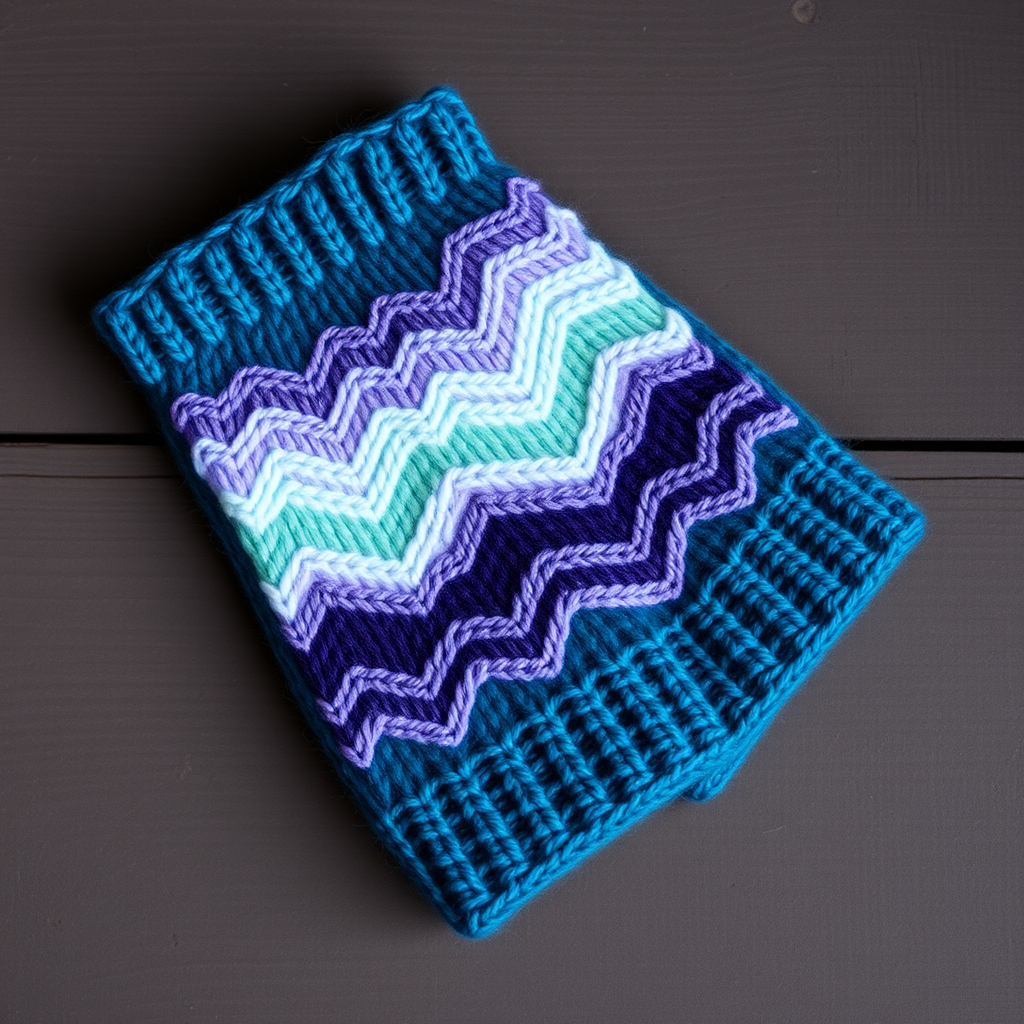
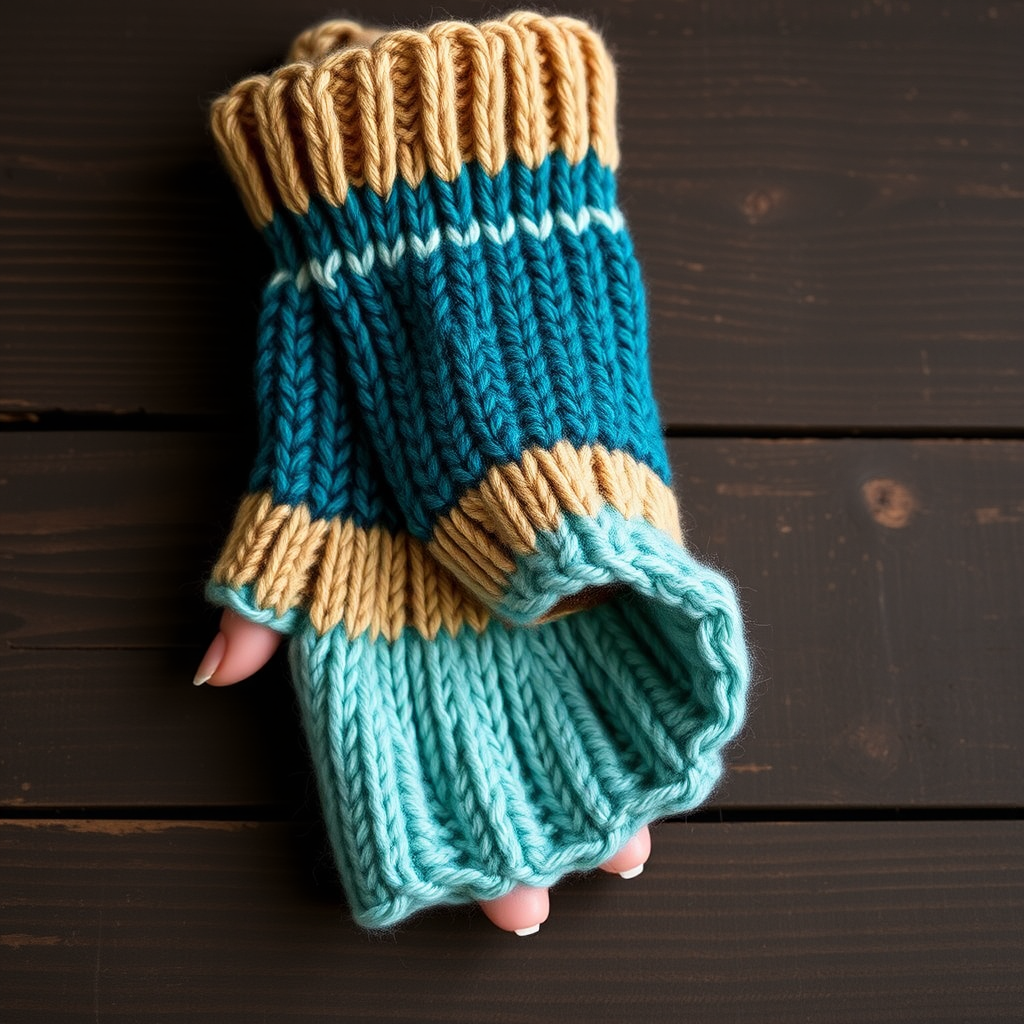
Petunia Texting Gloves Free Pattern – Knitted Cable & Lace Fingerless Mitts
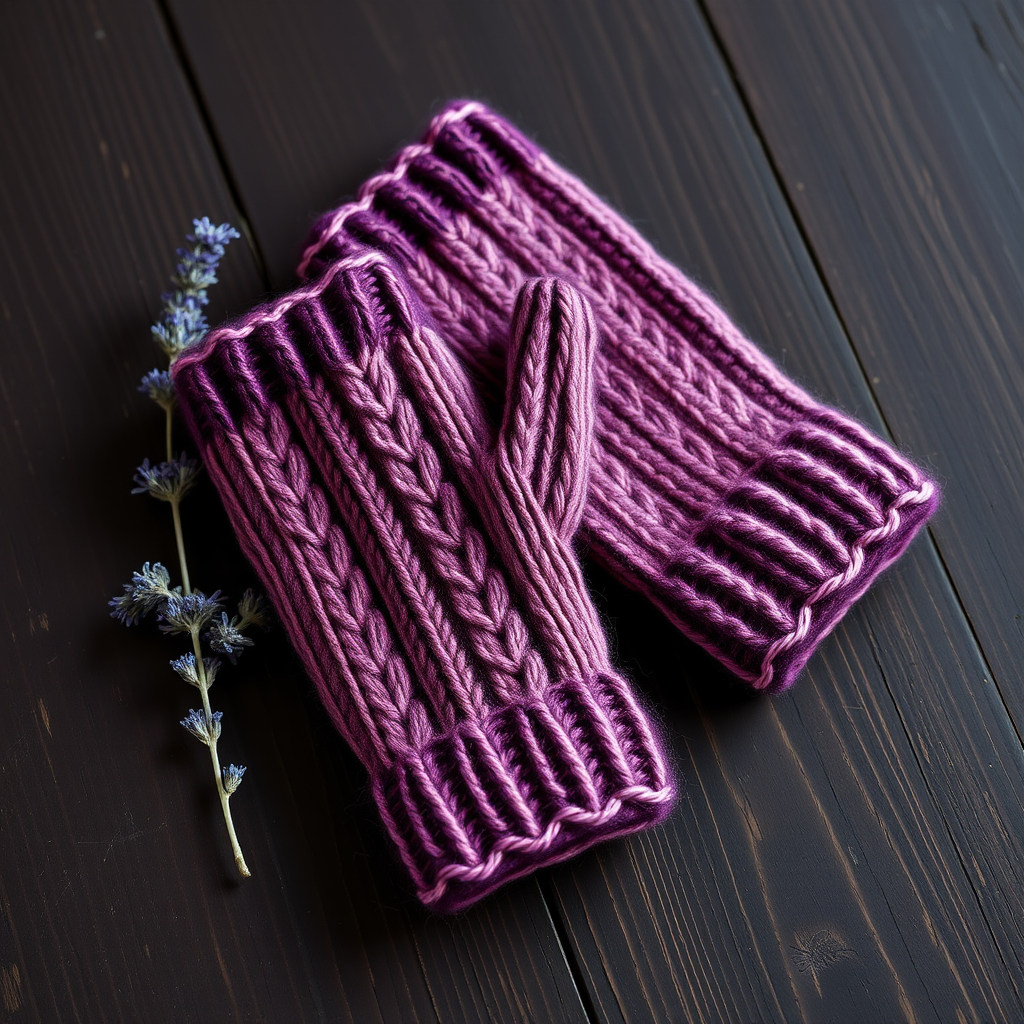
Petunia Texting Gloves Free Pattern – Knitted Cable & Lace Fingerless Mitts
Wrap your hands in the delicate charm of a petunia garden with these knitted fingerless gloves, featuring a unique cable-and-lace panel that keeps your fingers free for texting. The soft, heathered yarn and thoughtful thumb gusset make these mitts both cozy and practical for chilly commutes. Whether you're a seasoned knitter looking for a quick weekend project or a beginner ready to tackle your first cable, this pattern offers a rewarding challenge with stunning results. The subtle ombre effect created by switching colors at the thumb gusset adds a playful, modern twist to a classic accessory.
Materials Needed
Before you begin, gather the following supplies to ensure a smooth knitting experience:
- Yarn: Worsted weight yarn (e.g., Knit Picks Swish Worsted) in two colors – 'Heather Plum' (Color A) and 'Dusty Rose' (Color B). You will need approximately 220 yards of each color.
- Needles: US 6 (4.0 mm) knitting needles, or the size needed to achieve gauge. Straight needles are recommended for this flat-knit pattern.
- Notions: Stitch markers (at least 4), a cable needle, a stitch holder or scrap yarn, and a tapestry needle for seaming and weaving in ends.
- Gauge: 20 stitches and 26 rows = 4 inches in stockinette stitch (blocked). Always knit a gauge swatch to ensure your gloves fit perfectly.
Step-by-Step Instructions
Pattern Notes
These gloves are worked flat from the cuff to the fingertip, then seamed up the side. The cable-and-lace panel is centered on the back of the hand. You will use two colors for a subtle ombre effect – switch to Color B at the thumb gusset for a playful pop of color. The pattern includes instructions for both a right and left glove, so pay close attention to the mirror-image instructions at the end.
Cuff (Make 2 Alike)
With Color A, cast on 40 stitches.
Row 1 (RS): *K2, P2* repeat from * to end of row.
Row 2 (WS): *K2, P2* repeat from * to end of row.
Repeat Rows 1 and 2 until the cuff measures approximately 2 inches (12 rows total). End with a wrong-side row.
Hand (Back of Hand Panel)
Row 13 (RS): K16, place marker, work Cable-Lace Panel over next 8 stitches (see chart below), place marker, K16.
Row 14 (WS): P16, work panel as charted (purl all 8 panel stitches), P16.
Continue in stockinette stitch (knit on RS, purl on WS) with the panel between markers, working the panel pattern as follows:
Cable-Lace Panel (Worked Over 8 Stitches)
Row 1 (RS): C4B (slip 2 stitches to cable needle, hold to back, K2, then K2 from cable needle), K4.
Row 2 (WS): P8.
Row 3 (RS): K8.
Row 5 (RS): K4, C4F (slip 2 stitches to cable needle, hold to front, K2, then K2 from cable needle).
Row 7 (RS): K8.
Row 8 (WS): P8.
Repeat Rows 1-8 for the panel. Work even in pattern until the piece measures 4 inches from the cast-on edge, ending with a wrong-side row.
Thumb Gusset (Increase Section)
Next RS row: K16, work panel, K16, place marker, M1L, K1, M1R (this begins the thumb gusset – you now have 43 stitches on the needle).
Next WS row: Purl all stitches, including the gusset stitches.
Continue in pattern, increasing 2 stitches every RS row (M1L before the gusset marker, M1R after the gusset marker) until you have 11 stitches between the gusset markers (approximately 5 increase rows). Work even for 2 more rows, keeping the panel pattern intact.
Separate Thumb
Next RS row: Work to the gusset marker, remove marker, place the 11 thumb stitches onto a stitch holder, cast on 1 stitch (bridge stitch), remove the second gusset marker, work to end of row. You now have 33 stitches on the needle.
Continue in pattern (stockinette with the cable-lace panel) until the hand measures 2 inches from the thumb separation, ending with a wrong-side row.
Fingertip Shaping
Row 1 (RS): K1, k2tog, knit to last 3 stitches, ssk, K1 (31 stitches).
Row 2 (WS): Purl all stitches.
Repeat these 2 rows until 15 stitches remain, ending with a wrong-side row. Cut the yarn, leaving a 12-inch tail. Thread the tail through the remaining stitches, pull tight, and secure.
Thumb
Transfer the 11 thumb stitches from the holder to your needle. Pick up and knit 1 stitch from the bridge (12 stitches total).
Work in stockinette stitch for 6 rows, or until the thumb covers the base of your thumb.
Next row: K2tog across (6 stitches). Cut the yarn, thread through the remaining stitches, pull tight, and secure.
Finishing
Sew the side seam from the cuff up to the thumb separation, then continue sewing the seam for the hand (the thumb hole is left open). Weave in all ends. Block gently to shape, paying special attention to the cable panel to open up the lace details.
Second Glove (Mirror Image)
Make the second glove identically, but when working the thumb gusset, place it on the opposite side (mirror image). Simply work the gusset increases at the end of the row instead of the beginning, and when separating the thumb, place the thumb stitches at the beginning of the row. This ensures you create a proper left and right hand pair.
Once both gloves are complete and blocked, you'll have a beautiful, functional pair of texting gloves that are perfect for keeping your hands warm while you stay connected. The combination of cable and lace creates a sophisticated texture that elevates these mitts from simple accessories to statement pieces. Enjoy your handmade creation!