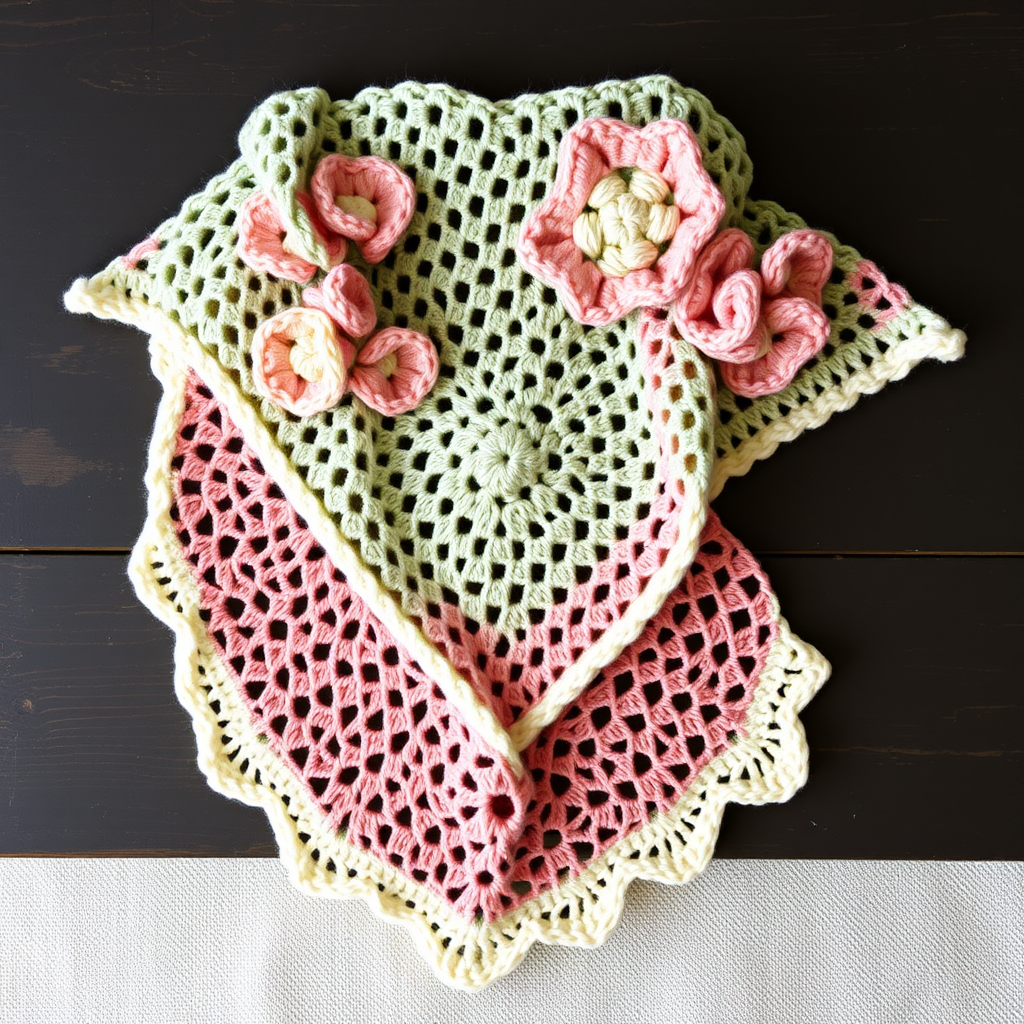
Rainbow Fringe Eye Shawl Free Crochet Pattern

Rainbow Fringe Eye Shawl: A Dreamy First Shawl for Total Beginners
If you have never held a crochet hook before but you dream of wrapping yourself in something soft, colorful, and handmade, this shawl is for you. It is worked from the top down in simple repeating v-stitch rows, so you only ever learn one pattern row and then repeat it while the triangle grows on its own. The finished shawl is a cozy triangle of tweed wool striped in soft cream, butter yellow, blush pink, mint, baby blue, and lavender, with pastel evil-eye circles sewn along the lower edge and a short cream fringe at the point. It feels warm but airy, drapes gently over the shoulders, and looks like a slow, bright morning in blanket form. Every stitch is explained below, so you can start today even if you have never crocheted a single loop.
Materials Needed
- Yarn: Tweed wool DK weight (approx. 250 m / 273 yds per 100 g skein). You need 7 colors: soft cream (A), pale butter yellow (B), blush pink (C), mint green (D), baby blue (E), lavender (F), and bright coral-red (G, for eye centers only). Total approx. 700 g: about 100 g of each rainbow stripe color (B–F) plus 150 g cream for the border, eye outer rings, and fringe. Coral-red needs only a small amount (about 20 g).
- Crochet hook: 5.0 mm (US H-8), or the size that matches the gauge below.
- Stitch markers: At least 4, to mark the center point and the two top corners.
- Tapestry needle: A blunt-tipped yarn needle for weaving in ends and sewing on the eye circles.
- Scissors: Sharp small scissors for cutting fringe and yarn tails.
- Finished size: Wingspan approx. 160 cm (63 in) across the top edge; depth at the center point approx. 80 cm (31.5 in); fringe adds approx. 10 cm (4 in).
Abbreviations and Beginner Glossary
- ch – chain: wrap the yarn over the hook and pull it through the loop on your hook. This makes one chain stitch.
- dc – double crochet: yarn over the hook, insert the hook into the stitch, pull up a loop (3 loops on hook), yarn over and pull through 2 loops, yarn over and pull through the last 2 loops.
- sc – single crochet: insert the hook into the stitch, pull up a loop (2 loops on hook), yarn over and pull through both loops.
- sl st – slip stitch: insert the hook into the stitch, yarn over, and pull the yarn straight through both the stitch and the loop on your hook at the same time. It joins things without adding height.
- sp – space: the little gap made by a chain (for example, the ch-1 space inside a v-stitch).
- v-st – v-stitch: work (dc, ch 1, dc) all into the same stitch or space. It looks like the letter V.
- beg – beginning: the start of a row or round.
- rep – repeat: do the same thing again.
- st(s) – stitch(es): one completed loop on your fabric.
- magic ring – an adjustable loop of yarn you crochet into, then pull tight so no hole remains in the center.
- rnd – round: a row worked in a circle, joined at the end with a slip stitch.
- turn – flip your work over so you can crochet back along the row you just made.
- fasten off – cut the yarn, pull the tail all the way through the last loop, and tighten.
- whip stitch – a simple sewing stitch where you pass the needle over the edge of both pieces again and again to join them.
Gauge
Gauge: 4 v-stitch groups and 8 rows = 10 cm (4 in) in v-stitch pattern after blocking. Each v-stitch group measures approx. 2.5 cm (1 in) wide at the base.
Gauge matters because it decides the final size of your shawl. If your stitches are bigger than the gauge, your shawl will be larger than listed and you may run short of yarn; if smaller, it will be smaller. To check, crochet a small swatch: chain 20, then work about 8 rows of the v-stitch pattern (Row 3 of the body below), fasten off, mist it lightly with water, and let it dry flat. Lay a ruler across the middle and count how many v-stitch groups fit in 10 cm (4 in) and how many rows fit in 10 cm (4 in). If you have more groups than 4, switch to a larger hook; if fewer, switch to a smaller hook.
Beginner Tips Before You Start
- Mark the center. Place a stitch marker in the center ch-2 space of every row. It is the one place where you always work (v-st, ch 2, v-st), and marking it stops the triangle from going lopsided.
- Keep your tension relaxed. Do not pull the yarn tight. The v-stitch pattern needs loose, even loops to look open and drapey. If your fabric feels stiff, loosen your grip.
- Count at the end of each row. Count your v-stitch groups before turning. Each row adds 2 groups (one on each side), so the count grows steadily and mistakes are easy to spot early.
- Change color at the end of a row. Finish the last stitch of the row with the new color by pulling the new yarn through the final loop, then turn. Leave a 15 cm (6 in) tail to weave in later.
- Weave in ends as you go. After every color change, thread the tail onto the tapestry needle and weave it into the edge for a few centimeters. Future you will be grateful.
- Blocking is magic. The shawl looks a little ruffled before blocking and opens into a smooth triangle afterward. Do not skip it.
Step-by-Step Instructions
Special Stitches
V-stitch (v-st): Work (dc, ch 1, dc) in the indicated stitch or space.
Eye Circle (make 9, worked separately, then sewn on): Using coral-red (G), make a magic ring. Rnd 1: Ch 3 (counts as first dc), 11 dc into ring, join with sl st to top of beg ch-3. (12 dc) Fasten off red. Rnd 2: Join baby blue (E) in any dc, ch 3, dc in same st, 2 dc in each dc around, join with sl st. (24 dc) Fasten off. Rnd 3: Join cream (A), ch 1, sc in each dc around, join with sl st. (24 sc) Fasten off, leaving a 20 cm (8 in) tail for sewing.
Color Sequence
A = soft cream, B = pale butter yellow, C = blush pink, D = mint green, E = baby blue, F = lavender, G = bright coral-red (eye centers only). Body stripe order: A, B, C, D, E, F, then repeat. Change color every 2 rows.
Body (worked top-down, turning after each row)
With A, ch 4, join with sl st to form a ring.
Row 1: Ch 3 (counts as first dc), (2 dc, ch 2, 3 dc) into ring. Turn. (2 v-st groups formed at center)
Row 2: Ch 3, dc in same st, ch 1, dc in same st (first v-st made at edge), *skip next 2 dc, v-st in next dc, rep from * to center ch-2 sp, (v-st, ch 2, v-st) in center ch-2 sp, v-st in each dc across to last st, v-st in last st. Turn.
Row 3 (and all following body rows): Ch 3, dc in same st, ch 1, dc in same st (edge v-st), *v-st in each ch-1 sp across to center ch-2 sp, (v-st, ch 2, v-st) in center ch-2 sp, v-st in each ch-1 sp across to end, v-st in last st. Turn.
Rows 4–48: Repeat Row 3, changing color every 2 rows following the stripe order A, B, C, D, E, F, then repeating. Each row adds 2 v-st groups. Work a total of 48 rows (approx. 60 cm / 24 in depth at center before border). Fasten off after the final row.
Border (cream)
Border Row 1: Join A at top right corner, ch 1, sc evenly along right edge (approx. 1 sc per row), 3 sc in center point, sc evenly up left edge, sc across top edge. Join with sl st. Fasten off.
Border Row 2: Join A, ch 1, sc in each sc around, working 3 sc in each corner. Join, fasten off. Weave in all ends.
Eye Circles (make 9)
Work as described in Special Stitches above. Arrange 9 circles evenly along the lower border: place 1 at the center point, then 4 on each side spaced approx. 12 cm (4.5 in) apart, sitting just above the border edge. Pin in place and sew each circle securely with the cream tail, using small whip stitches around the outer sc round. Weave in ends.
Fringe
Cut 18 strands of cream, each 20 cm (8 in) long. Fold each strand in half, insert the hook through a border stitch at the lower point area, pull the fold through, then pull the two ends through the loop and tighten. Attach 6 strands at the center point, 6 along the lower right edge, and 6 along the lower left edge, spacing evenly. Trim fringe ends to approx. 10 cm (4 in).
Assembly and Finishing
Sewing on the eyes: Thread the long cream tail of one eye circle onto the tapestry needle. Place the circle on the shawl just above the border, then take small whip stitches through the outer sc round of the circle and into the shawl fabric, going all the way around. Pull gently but firmly so the circle lies flat, then weave the tail into the back of the shawl. Repeat for all 9 circles.
Weaving in ends: Thread each yarn tail onto the tapestry needle and run it through the back of several stitches in the same color, changing direction once so it cannot work loose. Trim close to the fabric.
Blocking: Mist the shawl lightly with cool water until damp but not soaking. Pin it out on a towel or blocking mat to the finished measurements: 160 cm (63 in) across the top edge and 80 cm (31.5 in) deep at the center point. Pin the top edge straight and the two side edges gently curved. Let it dry completely (usually overnight), then unpin. The v-stitch fabric will open up and the triangle will hold its shape.
Pro Tips and Variations
- Change the rainbow: Swap the stripe order or use a self-striping yarn cake for a no-color-change version. Just keep the same 2-row rhythm so the gauge stays consistent.
- Make it bigger or smaller: Every 2 extra rows add about 2.5 cm (1 in) of depth and 2 v-st groups of width. Stop after any even-numbered row for a smaller shawl, or add rows for a larger wrap. Remember to buy extra yarn if you add rows.
- Substitute yarn: Any DK-weight yarn works, but choose one with a little softness and drape. A smooth acrylic will look cleaner; a tweed or wool blend gives the cozy texture shown here. Always re-check your gauge after switching yarn.
- Skip the fringe or eyes: For a faster finish, leave off the fringe, or use the eye circles as coasters or appliqués on a cushion instead. The shawl is complete and beautiful with just the cream border.