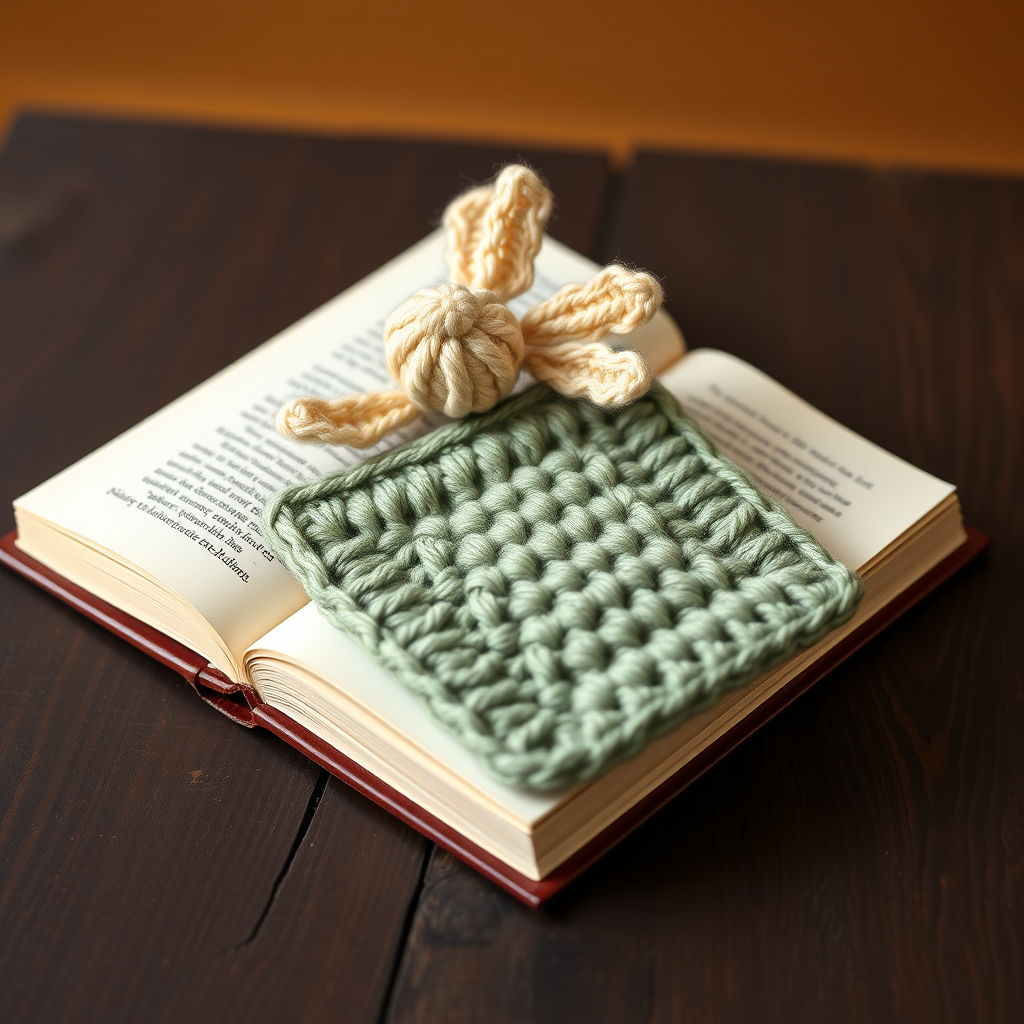
Ripples Crochet Bookmark Free Pattern – Oceanic Wave Stitch Design
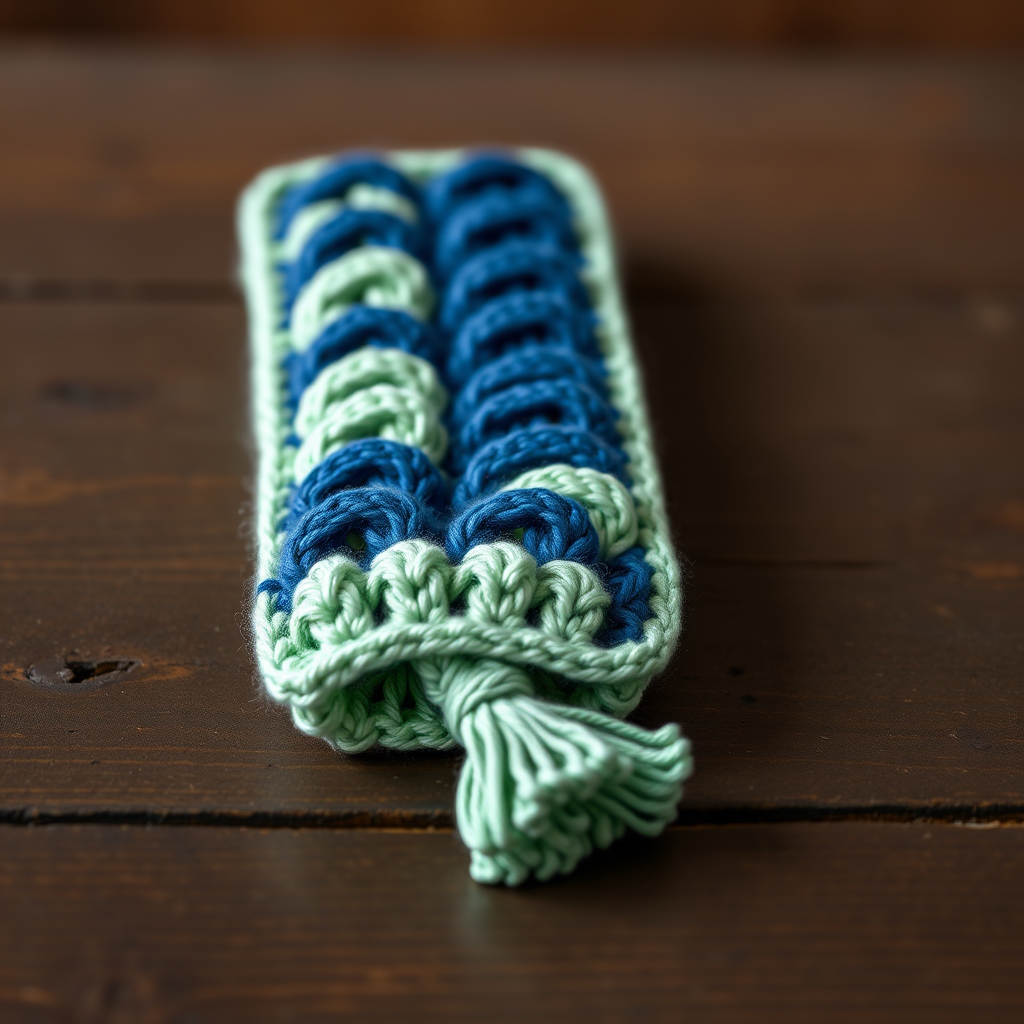
Ripples Crochet Bookmark Free Pattern – Oceanic Wave Stitch Design
Dive into a serene crafting session with this Ripples Crochet Bookmark, featuring a mesmerizing wave stitch that mimics gentle ocean currents. Perfect for book lovers and yarn enthusiasts seeking a quick, elegant project. This beginner-friendly pattern creates a beautiful, textured bookmark that makes a thoughtful handmade gift for any occasion.
Why You'll Love This Pattern
This crochet bookmark pattern is the perfect weekend project. The ripple stitch creates a stunning visual effect that resembles ocean waves, while the two-tone color scheme adds depth and sophistication. Whether you're a seasoned crocheter or just starting your yarn journey, this pattern offers a satisfying, quick make that you'll be proud to gift or keep for yourself.
Materials Needed
Before you begin, gather these simple supplies:
- Yarn: Worsted weight cotton yarn (e.g., Lion Brand 24/7 Cotton) in two colors:
- Color A (Ocean Blue) – for the main body
- Color B (Seafoam Green) – for edging and tassel
- Hook: US G/6 (4.0 mm) crochet hook
- Gauge: 4 dc = 1 inch; 2 rows of ripple pattern = 1 inch (not critical for this project)
- Extras: Yarn needle for weaving in ends, scissors
Step-by-Step Instructions
Getting Started: Foundation Chain
Chain 18 loosely. This creates the foundation for your bookmark. Keep your tension relaxed to ensure the edges remain even and flexible.
Row 1: Establishing the Ripple Pattern
Work the first row as follows:
- Dc in 4th ch from hook (this counts as your first dc).
- Dc in next 3 ch (you now have 4 dc total).
- 2 dc in next ch (this creates the first "peak" of your wave).
- Dc in next 3 ch.
- Skip next 2 ch (this creates the "valley" of your wave).
- Dc in next 3 ch.
- 2 dc in next ch (second "peak").
- Dc in next 3 ch.
- Dc in last ch.
Turn your work. You should have 16 dc stitches total.
Row 2: Building the Wave Pattern
This row establishes the repeating ripple pattern:
- Ch 3 (counts as your first dc).
- Dc in next 3 dc.
- 2 dc in next dc (peak).
- Dc in next 3 dc.
- Skip next 2 dc (valley).
- Dc in next 3 dc.
- 2 dc in next dc (peak).
- Dc in next 3 dc.
- Dc in top of ch-3 (this is your last stitch).
Turn your work.
Repeating the Pattern
Repeat Row 2 until your piece measures approximately 8 inches from the beginning. End with a wrong-side row (this means the front of your work is facing you when you're ready to add the edging).
Final Row: Adding the Edging
This border gives your bookmark a polished, professional finish:
- Ch 1, then sc evenly across the top edge, working 3 sc in each corner.
- Do not turn. Continue sc down the side edge, working 2 sc per row.
- At the bottom corner, work 3 sc.
- Sc across the bottom edge, then up the other side.
- Join with a slip stitch to the first sc.
Fasten off and weave in all ends with your yarn needle.
Optional Finishing: Adding a Tassel
For an extra touch of elegance, add a tassel to the bottom:
- Cut 6 strands of yarn, each 12 inches long (mix both colors for a beautiful effect).
- Fold them in half to create a loop.
- Pull the loop through the bottom corner stitch.
- Pull the ends through the loop and tighten gently.
- Trim the ends evenly for a neat finish.
Pro Tips for Perfect Results
- Keep tension consistent: This ensures your ripple pattern stays even and your bookmark lies flat.
- Count your stitches: After each row, verify you have 16 dc stitches to maintain the pattern.
- Block if needed: If your edges curl, gently steam block your bookmark to lay flat.
- Customize colors: Try sunset oranges and pinks, or forest greens for a different vibe.
Creative Variations
Once you've mastered the basic ripple pattern, experiment with these ideas:
- Monochrome: Use a single color for a minimalist look.
- Add beads: Thread beads onto your tassel for extra sparkle.
- Make it longer: Add more rows for a larger bookmark or even a book sleeve.
Perfect Gift Idea
This Ripples Crochet Bookmark makes a thoughtful, handmade gift for book lovers, teachers, or anyone who appreciates handcrafted items. Pair it with a favorite novel for a personal touch that shows you care.
Enjoy your serene crafting session and the beautiful, ocean-inspired bookmark you'll create. Happy crocheting!