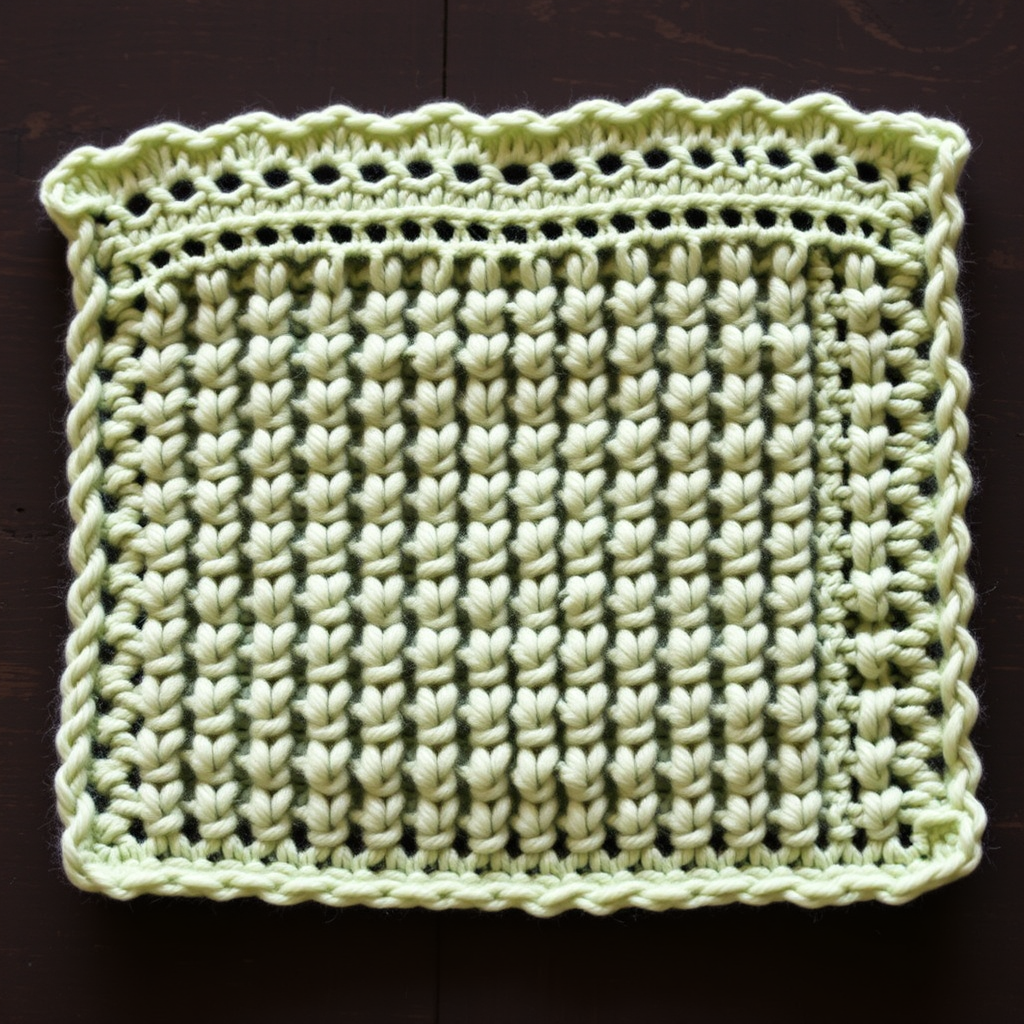
Sunny Days Crunch Stitch Dishcloth Free Pattern

Bring a Burst of Sunshine to Your Kitchen: The Sunny Days Crunch Stitch Dishcloth
Are you ready to add a pop of color and texture to your kitchen routine? This Sunny Days Crunch Stitch Dishcloth is the perfect beginner-friendly project that combines function with a cheerful, modern aesthetic. Using a simple two-row repeat, you'll create a satisfyingly bumpy fabric that's ideal for gentle scrubbing. The two-tone design—a vibrant sunny yellow bottom and crisp white top—will brighten up any sink. Best of all, this is a free, easy-to-follow pattern that uses basic knitting techniques, making it a fantastic project for new knitters or a quick, satisfying make for experienced crafters.
Materials Needed
Before you begin, gather these simple supplies. The pattern is designed to be economical and uses readily available materials.
- Yarn: Worsted weight cotton yarn (e.g., Lily Sugar 'n Cream) in two colors:
- Color A: Sunny Yellow (approximately 50g)
- Color B: White (approximately 50g)
- Needles: US Size 7 (4.5mm) knitting needles
- Notions: Yarn needle for weaving in ends, scissors, tape measure or ruler
Gauge: 20 stitches and 28 rows = 4 inches in Stockinette stitch. Gauge is not critical for a dishcloth, but matching it will ensure your finished size is approximately 8x8 inches.
Step-by-Step Instructions
Follow these detailed instructions to create your own textured, two-tone dishcloth. The pattern is worked flat from the bottom up. For a neat, braided edge, you will slip the first stitch of every row purlwise with the yarn in front.
Pattern Notes
- Slip Stitch Edge: On every row, slip the first stitch as if to purl, with the yarn held in front of the work. This creates a tidy, braided edge.
- Crunch Stitch: This is a simple 2-row repeat of (K1, P1) alternating with (P1, K1) to create a bumpy, textured fabric.
- Stockinette Stitch: This is the smooth fabric created by knitting one row and purling the next.
Instructions
Step 1: Cast On
With Color A (Sunny Yellow), cast on 36 stitches using your preferred method. Leave a 6-inch tail for weaving in later.
Step 2: Establish the Pattern
You will now work a repeating sequence of 2 rows of Stockinette stitch followed by 2 rows of Crunch Stitch. Follow these rows carefully:
- Row 1 (Right Side - Stockinette): Slip 1 stitch purlwise with yarn in front, knit to the end of the row.
- Row 2 (Wrong Side - Stockinette): Slip 1 stitch purlwise with yarn in front, purl to the end of the row.
- Row 3 (Right Side - Crunch Stitch start): Slip 1 stitch purlwise with yarn in front, *knit 1, purl 1* repeat from * to * across to the last stitch, knit 1.
- Row 4 (Wrong Side - Crunch Stitch): Slip 1 stitch purlwise with yarn in front, *purl 1, knit 1* repeat from * to * across to the last stitch, purl 1.
- Rows 5-6: Repeat Rows 1 and 2 (Stockinette).
- Rows 7-8: Repeat Rows 3 and 4 (Crunch Stitch).
Step 3: Work the First Color Section
Continue alternating 2 rows of Stockinette (Rows 1-2) with 2 rows of Crunch Stitch (Rows 3-4) until the piece measures approximately 8 inches from the cast-on edge. End after completing a Wrong Side row (Row 2 or Row 4). This completes the yellow section.
Step 4: Change Color
On the next Right Side row, cut Color A, leaving a 6-inch tail. Join Color B (White) by simply starting to knit with the new yarn. Repeat the pattern as established: work 2 rows of Stockinette and 2 rows of Crunch Stitch. Continue this sequence for another 8 inches, or until the dishcloth is square (approximately 16 inches total from the cast-on edge). End after a Wrong Side row.
Step 5: Bind Off
Bind off all stitches loosely in pattern. This means: knit the knit stitches and purl the purl stitches as you bind off. For example, if the next stitch is a knit, knit it and pass the previous stitch over. If it's a purl, purl it and pass the previous stitch over. This keeps the edge stretchy and matches the texture. Cut yarn, leaving a 6-inch tail, and pull through the last loop.
Step 6: Finishing
Weave in all ends using a yarn needle. Weave them into the wrong side of the fabric, following the path of the stitches to hide them securely. Trim any excess yarn. Block lightly if desired by wetting the dishcloth, gently squeezing out excess water, and laying it flat to dry. This will even out the stitches and give a professional finish.
Your Sunny Days Crunch Stitch Dishcloth is now complete! Enjoy its cheerful colors and satisfying texture in your kitchen, or give it as a handmade gift that's both beautiful and practical.