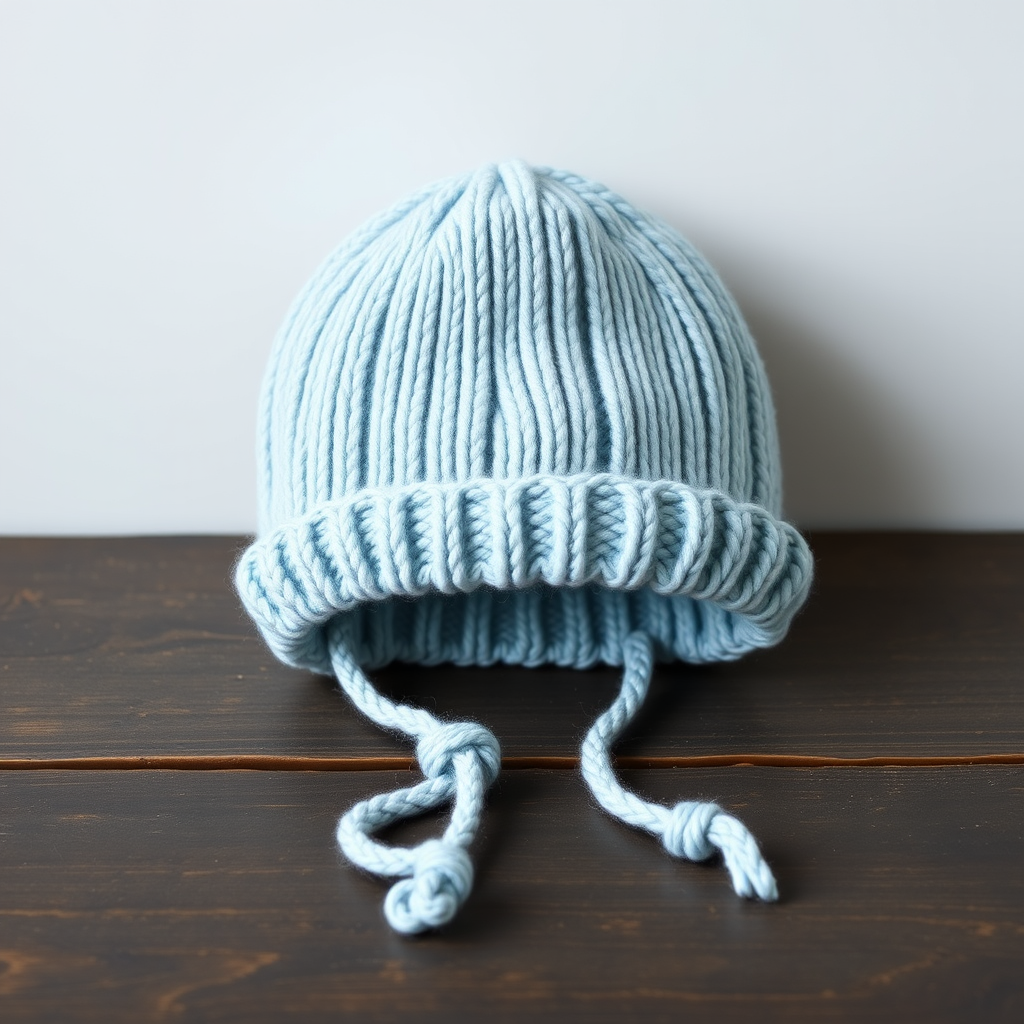
Sunshine Citrus Baby Romper Free Knitting Pattern

Sunshine Citrus Baby Romper: A Free Knitting Pattern for Sweet Spring Snuggles
Dress your little one in the sweetest lemon-inspired romper, complete with a delicate leaf-shaped collar and a sunny yellow hue. This cozy, handmade garment is perfect for springtime snuggles, adorable photo sessions, and everyday baby adventures. The classic onesie silhouette with roomy legs ensures comfort for your baby, while the whimsical botanical collar adds a touch of handmade charm that makes this romper a true heirloom piece. Whether you're a seasoned knitter or a confident beginner looking for a rewarding project, this free pattern will guide you through creating a beautiful, functional garment that will be treasured for years to come.
Materials Needed
Before you begin, gather the following materials to ensure a smooth and enjoyable knitting experience:
- Yarn: Worsted weight cotton or cotton blend yarn in lemon yellow (Main Color, MC) and sage green (Contrast Color, CC). You will need approximately 300-400 yards total. Cotton is ideal for baby garments as it is soft, breathable, and easy to care for.
- Knitting Needles: US Size 7 (4.5 mm) knitting needles. If you prefer circular needles for larger projects, a 24-inch circular needle will work well for the body panels.
- Stitch Markers: At least 4 stitch markers to help you keep track of shaping sections.
- Tapestry Needle: For weaving in ends and seaming the garment together.
- Scissors: For cutting yarn.
- Optional: Small button or snap for the crotch area (for easy diaper changes).
Gauge
20 stitches and 28 rows = 4 inches in stockinette stitch. Always take the time to knit a gauge swatch before starting. This ensures your finished romper will match the intended measurements. If your gauge is off, adjust your needle size accordingly—use larger needles if you have too many stitches per inch, and smaller needles if you have too few.
Sizes
This pattern includes instructions for three sizes: 0-3 months (3-6 months, 6-12 months). The numbers in parentheses correspond to the larger sizes. Choose the size that best fits your baby, and circle or highlight the numbers you'll be using throughout the pattern to avoid confusion.
Step-by-Step Instructions
Back Panel
With Main Color (MC) yarn, cast on 52 (56, 60) stitches.
Row 1 (Right Side): Knit all stitches.
Row 2 (Wrong Side): Purl all stitches.
Repeat Rows 1 and 2 to work in stockinette stitch (knit on the right side, purl on the wrong side) until the piece measures 6 (7, 8) inches from the cast-on edge, ending with a wrong-side row. This forms the main body of the back panel.
Leg Openings
Now you will create the leg openings by dividing the work into two sections.
Next Row (Right Side): Knit 12 (13, 14) stitches, bind off the next 28 (30, 32) stitches, then knit the remaining 12 (13, 14) stitches. You will now have two separate groups of stitches on your needle.
Left Leg
Work on the first set of 12 (13, 14) stitches for the left leg. Place the other set of stitches on a holder or leave them on the needle to work later.
Continue in stockinette stitch (knit on right side, purl on wrong side) for 2 (2.5, 3) inches, ending with a wrong-side row.
Next Row (Right Side): Knit 2 together (K2tog), knit to the end of the row. You now have 11 (12, 13) stitches.
Repeat this decrease row every 4 rows until you have 8 (9, 10) stitches remaining. This shaping creates a gentle taper for the leg.
Work even (without decreases) in stockinette stitch until the leg measures 3 (3.5, 4) inches from the bind-off edge. Bind off all stitches loosely. Cut yarn, leaving a tail for weaving in.
Right Leg
Rejoin the yarn to the second set of 12 (13, 14) stitches on the wrong side. Repeat the exact same instructions as for the left leg. When complete, bind off all stitches and cut yarn.
Front Panel
With MC yarn, cast on 52 (56, 60) stitches.
Work in stockinette stitch exactly as you did for the back panel, but only until the piece measures 5 (6, 7) inches from the cast-on edge, ending with a wrong-side row. The front panel is shorter than the back to accommodate the neckline shaping.
Neck Shaping
Next Row (Right Side): Knit 20 (22, 24) stitches, bind off the next 12 (12, 12) stitches, then knit the remaining 20 (22, 24) stitches. You will now have two shoulder sections.
Left Shoulder
Work on the first set of 20 (22, 24) stitches for the left shoulder. Place the other set on a holder.
Continue in stockinette stitch, decreasing 1 stitch at the neck edge (the edge closest to the bound-off stitches) every row 3 times, then every other row 2 times. To decrease at the neck edge, knit 2 together (K2tog) on right-side rows, and purl 2 together (P2tog) on wrong-side rows. You will now have 15 (17, 19) stitches remaining.
Work even in stockinette stitch until the front panel measures the same length as the back panel to the shoulder. Bind off all stitches loosely.
Right Shoulder
Rejoin the yarn to the second set of 20 (22, 24) stitches on the wrong side. Repeat the same neck shaping instructions as for the left shoulder, working decreases at the neck edge. When complete, bind off all stitches.
Leaf Collar (Make 2)
With Contrast Color (CC) yarn, cast on 3 stitches.
Row 1 (Right Side): Knit 1, yarn over (yo), knit 1, yarn over, knit 1. You now have 5 stitches.
Row 2 and all Wrong-Side rows: Purl all stitches.
Row 3: Knit 2, yarn over, knit 1, yarn over, knit 2. You now have 7 stitches.
Row 5: Knit 3, yarn over, knit 1, yarn over, knit 3. You now have 9 stitches.
Row 7: Knit 4, yarn over, knit 1, yarn over, knit 4. You now have 11 stitches.
Row 9: Knit 5, yarn over, knit 1, yarn over, knit 5. You now have 13 stitches.
Row 11: Knit 6, yarn over, knit 1, yarn over, knit 6. You now have 15 stitches.
Row 13: Knit 7, yarn over, knit 1, yarn over, knit 7. You now have 17 stitches.
Row 15: Knit 8, yarn over, knit 1, yarn over, knit 8. You now have 19 stitches.
Row 17: Knit 9, yarn over, knit 1, yarn over, knit 9. You now have 21 stitches.
Row 19: Knit 10, yarn over, knit 1, yarn over, knit 10. You now have 23 stitches.
Row 21: Knit 11, yarn over, knit 1, yarn over, knit 11. You now have 25 stitches.
Row 23: Knit 12, yarn over, knit 1, yarn over, knit 12. You now have 27 stitches.
Row 25: Knit 13, yarn over, knit 1, yarn over, knit 13. You now have 29 stitches.
Row 27: Knit 14, yarn over, knit 1, yarn over, knit 14. You now have 31 stitches.
Row 29: Knit 15, yarn over, knit 1, yarn over, knit 15. You now have 33 stitches.
Row 31: Knit 16, yarn over, knit 1, yarn over, knit 16. You now have 35 stitches.
Row 32 (Wrong Side): Purl all stitches.
Bind off all stitches loosely. This creates a beautiful leaf shape with a central spine and symmetrical increases on each side.
Finishing
Now it's time to assemble your romper. Follow these steps carefully for a professional finish:
- Sew Shoulder Seams: With the right sides of the front and back panels facing each other, use the tapestry needle and a length of MC yarn to sew the shoulder seams together using a mattress stitch or whip stitch. Weave in the ends securely.
- Sew Side Seams: With right sides together, sew the side seams from the underarm down to the leg openings. Leave the leg openings open—these are the armholes and leg holes. Weave in all ends.
- Attach Leaf Collar: Position the two leaf collar pieces at the neckline, with the points meeting at the center front. The wide, bound-off edge of each leaf should sit along the back of the neckline, and the pointed tip should extend toward the front. Sew the leaves in place using CC yarn, making sure they are securely attached. The leaves should overlap slightly at the center front for a whimsical, botanical look.
- Weave in All Ends: Use the tapestry needle to weave in any remaining yarn tails on the wrong side of the fabric. Trim any excess yarn.
- Block Gently: To give your romper a polished, professional look, block the garment. Soak it in lukewarm water with a gentle wool wash, then gently squeeze out excess water (do not wring). Lay the romper flat on a towel and shape it to the correct measurements. Allow it to dry completely.
Optional Finishing Touch
For added convenience, you can sew a small button or snap at the crotch area to make diaper changes easier. Simply attach the button or snap to the inside of the leg opening, ensuring it aligns properly when the romper is worn.
Your Sunshine Citrus Baby Romper is now complete! This charming garment is sure to become a favorite in your little one's wardrobe. The bright lemon yellow and sage green leaf collar make it perfect for spring and summer, and the soft cotton yarn ensures your baby stays comfortable all day long. Enjoy watching your little one snuggle up in this handmade treasure, and don't forget to capture those adorable photo moments!