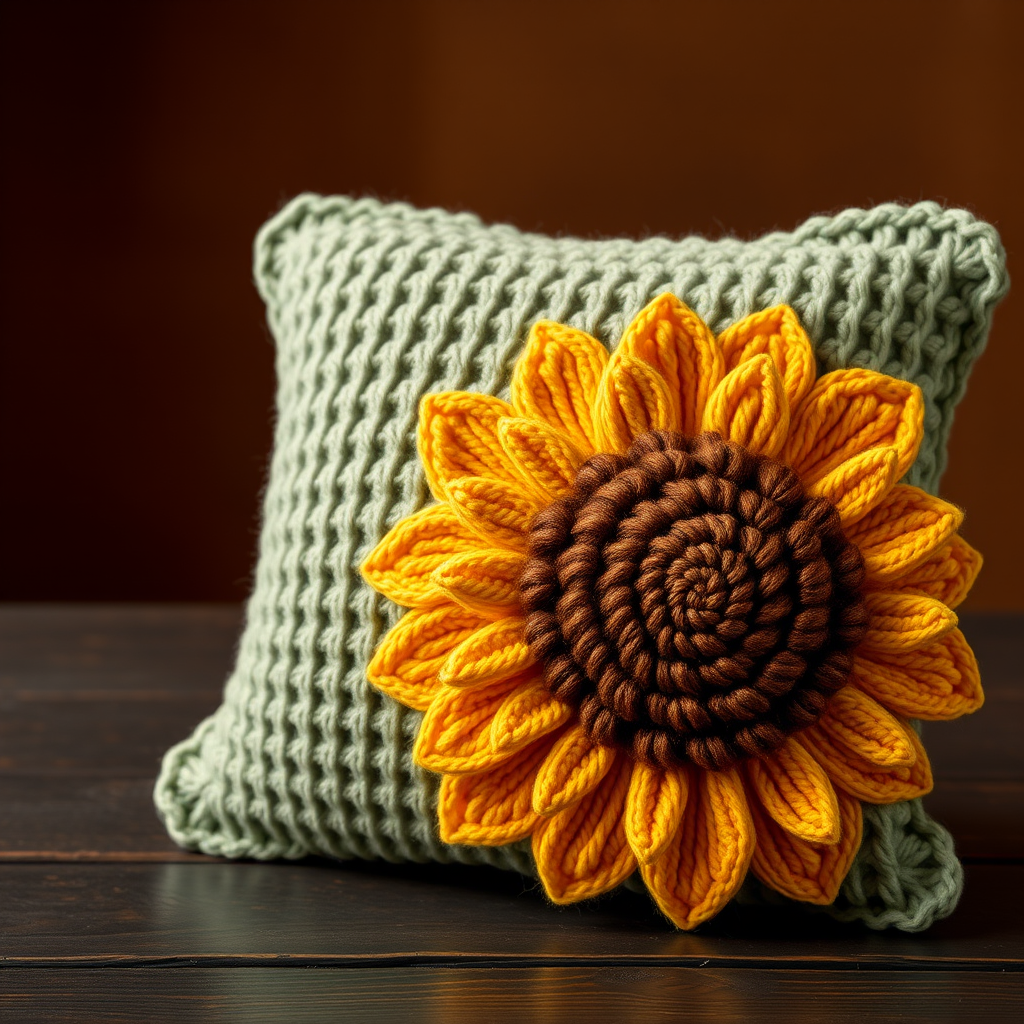
Teal Daisy Cabin Cuddle Pillow Free Pattern: Velvet Crochet Round Pillow with Coral Daisy Appliqué

Teal Daisy Cabin Cuddle Pillow: A Free Beginner Crochet Pattern
A plush round velvet pillow in deep teal, finished with a single coral daisy — cozy mountain-cabin charm for absolute beginners.
Introduction
This Teal Daisy Cabin Cuddle Pillow is the perfect first "real" project for someone who has just learned to hold a crochet hook. It is worked almost entirely in one simple stitch — single crochet — in soft, bulky velvet yarn, so it grows quickly and feels wonderfully forgiving in your hands. The finished pillow is a plump, round cushion about 15 inches (38 cm) across and 3–4 inches (8–10 cm) thick, with a smooth, slightly fuzzy surface and a gentle sheen that catches the light. Centered on the front sits one large coral daisy with eight rounded petals and a flat cream center, giving the whole thing a warm, handmade, mountain-cabin feel. Best of all, there is no complicated shaping, no sleeves, no fitting — just two circles, a seam, and a flower. If you can make a single crochet stitch, you can make this pillow.
Materials Needed
- Yarn for the pillow: Bernat Velvet (100% polyester, bulky weight #5, 300 g / 315 yd per skein) — 1 skein in Teal Blush or a similar deep teal. This is enough for both circles of the pillow.
- Yarn for the daisy: Small amounts of Bernat Velvet in Coral for the petals, and a scrap of Bernat Velvet in Cream for the center.
- Pillow hook: Size 5.0 mm (US H-8) crochet hook.
- Daisy hook: Size 4.5 mm (US G-7) crochet hook.
- Stitch marker (or a scrap of contrasting yarn) to mark the first stitch of each round.
- Tapestry needle (a large blunt needle with an eye big enough for velvet yarn) for seaming and embroidery.
- Scissors.
- Stuffing: Polyester fiberfill, about 12 oz / 340 g.
- Finished size: Approximately 15 inches (38 cm) in diameter and 3–4 inches (8–10 cm) thick.
Abbreviations and Beginner Glossary
Every abbreviation used in this pattern is listed here. If a term is new to you, read the plain-English explanation before you begin.
- ch – chain. Make a loop of yarn on your hook, then pull the yarn through that loop. Each chain looks like a small "V."
- sc – single crochet. Insert your hook into the next stitch, wrap the yarn over the hook, pull up a loop (you now have 2 loops on the hook), wrap the yarn over again, and pull it through both loops. One single crochet made.
- hdc – half double crochet. Wrap the yarn over the hook first, insert the hook into the stitch, pull up a loop (3 loops on hook), wrap yarn over, pull through all 3 loops at once.
- dc – double crochet. Wrap yarn over hook, insert hook into stitch, pull up a loop (3 loops on hook), wrap yarn over and pull through 2 loops, wrap yarn over and pull through the last 2 loops.
- sl st – slip stitch. Insert hook into stitch, wrap yarn over, and pull it through both the stitch and the loop on your hook in one motion. It makes a nearly invisible joining stitch.
- st / sts – stitch / stitches. One completed stitch, or several.
- 2 sc in next st – work two single crochet stitches into the same stitch. This is an "increase" and makes the circle grow wider.
- [ ] – brackets. Everything inside the brackets is repeated the number of times stated after the bracket.
- Magic ring – an adjustable loop of yarn that you crochet into, then pull tight to close the center hole. It gives a neat, closed circle. (If you prefer, chain 4 and join with a slip stitch to form a ring, then work into the ring.)
- Round – one complete circuit of stitches around the circle. In this pattern you work in "continuous rounds," meaning you spiral around without joining at the end of each round.
- Fasten off – cut the yarn a few inches from your work, pull the tail all the way through the last loop, and tighten to secure.
- Weave in ends – thread a yarn tail onto the tapestry needle and run it back and forth through the back of the work so it disappears and cannot unravel.
Gauge
Gauge: 12 sc x 13 rounds = 4 x 4 inches (10 x 10 cm) in single crochet worked in the round, using the 5.0 mm hook and velvet yarn.
Why gauge matters: Gauge is simply how big your stitches turn out. If your stitches are larger than the pattern's, your pillow will be bigger than 15 inches and you may run short of yarn; if they are smaller, it will be smaller. For a pillow, gauge is not critical — nothing has to fit a body — but a consistent gauge gives you a neat, even circle with no ripples or gaps.
How to make a gauge swatch: With your 5.0 mm hook and teal velvet, make a magic ring and work 6 sc into it. Work increase rounds exactly like Rounds 2–4 of the pattern below, then work several plain rounds (1 sc in each st around) until your swatch is at least 4 inches across. Lay it flat and measure 4 inches across the middle; count how many stitches fall in that 4 inches. If you have about 12, you are on track. If you have many more, try a larger hook; if fewer, try a smaller hook.
Beginner Tips Before You Start
- Use a stitch marker every single round. Because you work in a continuous spiral, the first stitch of each round moves. Place your marker in the first stitch of the round and move it up each time you begin a new round. Without it, you will lose your place.
- Do not pull the yarn too tight. Velvet yarn is slippery and sheds a little. Hold it with a slightly firmer, even tension than usual, but never yank — tight stitches make the velvet mat and the circle pucker.
- Count your stitches at the end of every round. The stitch count in parentheses tells you exactly how many you should have. If you are off by one or two, fix it now rather than later.
- Work the increases loosely. The "2 sc in next st" stitches are where circles tend to ruffle. Keep them relaxed and even.
- Keep the wrong side out of sight. Velvet has a nap (a direction the fibers lie). Keep the fuzzy, shiny side facing you as you work so the finished pillow looks plush.
- Make both circles before you stuff. It is much easier to match two finished circles than to stop and start.
Step-by-Step Instructions
Pillow Body — Circle A (teal velvet, 5.0 mm hook)
Notes: Work in continuous rounds; do not join or turn. Place a stitch marker in the first stitch of each round and move it up as you go. You will make two identical circles (A and B), then join them around the edge.
Round 1: Make a magic ring. Work 6 sc into the ring. Pull the tail to close the ring. (6 sc)
Round 2: 2 sc in each st around. (12 sc)
Round 3: [Sc in next st, 2 sc in next st] around. (18 sc)
Round 4: [Sc in next 2 sts, 2 sc in next st] around. (24 sc)
Round 5: [Sc in next 3 sts, 2 sc in next st] around. (30 sc)
Round 6: [Sc in next 4 sts, 2 sc in next st] around. (36 sc)
Round 7: [Sc in next 5 sts, 2 sc in next st] around. (42 sc)
Round 8: [Sc in next 6 sts, 2 sc in next st] around. (48 sc)
Round 9: [Sc in next 7 sts, 2 sc in next st] around. (54 sc)
Round 10: [Sc in next 8 sts, 2 sc in next st] around. (60 sc)
Round 11: [Sc in next 9 sts, 2 sc in next st] around. (66 sc)
Round 12: [Sc in next 10 sts, 2 sc in next st] around. (72 sc)
Round 13: [Sc in next 11 sts, 2 sc in next st] around. (78 sc)
Round 14: [Sc in next 12 sts, 2 sc in next st] around. (84 sc)
Round 15: [Sc in next 13 sts, 2 sc in next st] around. (90 sc)
Round 16: [Sc in next 14 sts, 2 sc in next st] around. (96 sc)
Round 17: [Sc in next 15 sts, 2 sc in next st] around. (102 sc)
Round 18: [Sc in next 16 sts, 2 sc in next st] around. (108 sc)
Round 19: [Sc in next 17 sts, 2 sc in next st] around. (114 sc)
Round 20: [Sc in next 18 sts, 2 sc in next st] around. (120 sc)
Round 21: [Sc in next 19 sts, 2 sc in next st] around. (126 sc)
Round 22: [Sc in next 20 sts, 2 sc in next st] around. (132 sc)
Round 23: [Sc in next 21 sts, 2 sc in next st] around. (138 sc)
Round 24: [Sc in next 22 sts, 2 sc in next st] around. (144 sc)
Round 25: [Sc in next 23 sts, 2 sc in next st] around. (150 sc)
Round 26: [Sc in next 24 sts, 2 sc in next st] around. (156 sc)
Round 27: [Sc in next 25 sts, 2 sc in next st] around. (162 sc)
Round 28: [Sc in next 26 sts, 2 sc in next st] around. (168 sc)
Round 29: [Sc in next 27 sts, 2 sc in next st] around. (174 sc)
Round 30: [Sc in next 28 sts, 2 sc in next st] around. (180 sc)
The circle should now measure approximately 15 inches (38 cm) across. If yours is a little smaller or larger, that is fine — just adjust by adding or removing one increase round to reach about 15 inches.
Fasten off, leaving a 12-inch tail. Weave in the starting tail on the wrong side. This is Circle A.
Pillow Body — Circle B (teal velvet, 5.0 mm hook)
Make a second identical circle, following Rounds 1–30 exactly as above. Do not fasten off Circle B — leave the working loop active; you will use it to join the two circles.
Joining and Stuffing
Hold Circle A and Circle B together with the right (fuzzy, shiny) sides facing outward and the wrong sides touching, so the two circles line up edge to edge.
Round 31 (joining round): With the working loop of Circle B, insert your hook through both loops of a matching stitch on Circle A and Circle B at the same time, and work sc through both layers around the entire edge, leaving a 4-inch (10 cm) opening for stuffing. (180 sc)
Stuffing: Push small handfuls of polyester fiberfill into the opening, working it into the edges first so the pillow shapes into a smooth, round cushion. Do not overstuff — the pillow should be plump but still soft and squeezable.
Closing: Continue working sc through both layers to close the 4-inch opening. Fasten off and weave in the end. Use the tapestry needle to nudge the stuffing into place and smooth the seam.
Daisy Appliqué — Petals (make 8, coral velvet, 4.5 mm hook)
Round 1: Make a magic ring. Work 6 sc into the ring. Join with a sl st to the first sc. (6 sc)
Round 2: Ch 1, then [sc in next st, ch 2, sl st in same st] 6 times to create 6 small petal bumps. Fasten off, leaving a 6-inch tail for sewing. (6 petal bumps)
Make 8 of these pieces and arrange them in a circle to form the daisy.
Optional longer petals: For a larger, more defined daisy, work each petal as follows instead: Ch 6, sc in 2nd ch from hook, hdc in next ch, dc in next 2 chs, hdc in next ch, sc in last ch, sl st in the base ring. Make 8 petals and join them in a circle to form the daisy. Either method gives a charming flower; the second gives longer, more distinct petals.
Daisy Appliqué — Center (make 1, cream velvet, 4.5 mm hook)
Round 1: Make a magic ring. Work 6 sc into the ring. Pull the tail to close. (6 sc)
Round 2: 2 sc in each st around. (12 sc)
Round 3: [Sc in next st, 2 sc in next st] around. (18 sc)
Fasten off, leaving an 8-inch tail. Do not stuff — the center stays flat.
Assembly and Finishing
1. Arrange the petals. Lay the pillow flat with the right side up. Place the 8 coral petals in a circle in the center of the pillow, overlapping the inner ends slightly so they form a daisy shape. Pin each petal in place.
2. Sew the petals. Thread the tapestry needle with matching coral yarn. Sew each petal securely to the pillow by stitching through the base of the petal and catching only the surface of the pillow — do not push the needle all the way through to the back, or the stitches will show on the reverse side. Work a few small stitches per petal.
3. Attach the center. Place the cream daisy center over the inner ends of the petals. Sew it in place with cream yarn, using small stitches all around the edge.
4. Embroider the center (optional). With a length of cream yarn and the tapestry needle, work a few small straight stitches radiating out from the middle of the daisy center to suggest texture. Keep the embroidery loose so it does not pucker the velvet.
5. Weave in all ends. Turn the pillow over and run every remaining tail back and forth through the back of the work with the tapestry needle. Be careful not to pull the velvet too tightly — velvet can snap if yanked.
6. Fluff and smooth. Gently fluff the pillow and smooth the nap of the velvet in one direction. If any fiberfill peeks out at the seam, use the tapestry needle to tuck it back inside.
Blocking: Velvet yarn should not be wet-blocked. Instead, lay the finished pillow flat and gently pat and smooth it into a round shape with your hands. Let it rest flat for a few hours so the stitches settle.
Care: Spot clean only with a damp cloth and mild soap. Do not machine wash or dry — velvet yarn can mat and shed. Air dry flat.
Pro Tips and Variations
- Change the colors. Swap the teal for mustard, sage, or dusty rose for a different cabin palette, and change the petals to cream with a mustard center for a sunflower look. Keep the same yarn weight so your gauge stays the same.
- Make a bigger or smaller pillow. To enlarge, simply keep adding increase rounds (each round adds 6 stitches) until the circle is the size you want, then make the second circle identical and join. To shrink it, stop increasing earlier — for example, stop after Round 24 (144 sts) for a smaller cushion.
- Substitute the yarn. Any bulky weight #5 yarn works — chenille, chunky acrylic, or a soft cotton blend. Just work a gauge swatch first, since different yarns give different circle sizes.
- Add more daisies. Scatter three or five smaller daisies across the pillow instead of one large one, or add a simple sc border in coral around the outer seam for a pop of contrast color.