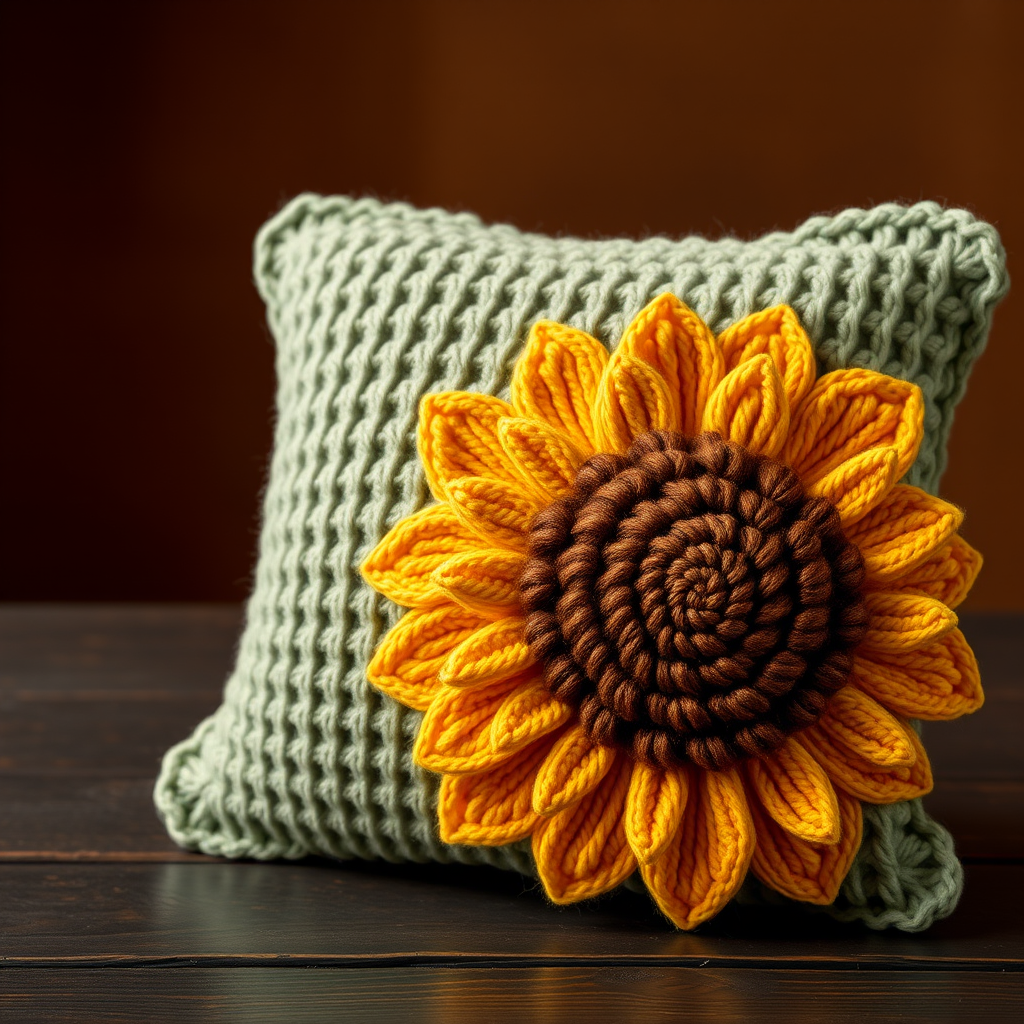
Sunlit Dune Cushion Free Pattern – Crochet a Textured Desert Bloom Pillow

Sunlit Dune Cushion Free Pattern – Crochet a Textured Desert Bloom Pillow
Bring the warmth of a desert sunset into your living space with this richly textured crochet pillow. The Sunlit Dune Cushion combines soft, sandy neutrals with a striking geometric motif that feels both modern and timeless. This free pattern is perfect for intermediate beginners looking to expand their skills while creating a stunning piece of boho home decor. The concentric circles of color—from warm sand beige to burnt terracotta and creamy off-white—create a visual rhythm that mimics the layers of desert rock formations. The tactile bobble border adds a playful, dimensional finish that invites touch. Whether you're dressing up a reading nook or adding a handmade accent to your sofa, this pillow delivers cozy sophistication.
Materials Needed
Before you begin, gather the following supplies to ensure a smooth crochet session:
- Yarn: Worsted weight cotton or cotton-blend yarn in three colors:
- Color A (sand/beige) – approximately 120g
- Color B (terracotta) – approximately 80g
- Color C (cream) – approximately 50g
- Crochet Hook: 5.5mm (I-9) crochet hook
- Other Supplies: Yarn needle for weaving ends, scissors, stitch markers (optional), polyester fiberfill for stuffing (approximately 16 oz)
Gauge: 14 single crochet (sc) x 16 rows = 4 x 4 inches (10 x 10 cm). Always check your gauge to ensure the pillow measures approximately 16 x 16 inches. Adjust hook size if needed.
Step-by-Step Instructions
This pillow is worked in two identical square panels, then joined and stuffed. Each panel features a central diamond motif with a textured bobble border. The pattern uses basic crochet stitches: single crochet (sc), slip stitch (sl st), chain (ch), and bobble stitch. The increases are evenly distributed to create a flat, circular shape that naturally forms a square as it grows.
Panel (Make 2)
Work each panel in continuous rounds, joining with a slip stitch at the end of each round. Do not turn your work between rounds.
Round 1: With color A, make a magic ring. Work 8 sc into the ring. Pull the tail to tighten the ring. Join with a sl st to the first sc. (8 sts)
Round 2: Ch 1, 2 sc in each st around. Join with sl st to first sc. (16 sts)
Round 3: Ch 1, *sc in next st, 2 sc in next st* repeat from * to * around. Join. (24 sts)
Round 4: Ch 1, *sc in next 2 sts, 2 sc in next st* repeat from * to * around. Join. (32 sts)
Round 5: Switch to color B. Ch 1, *sc in next 3 sts, 2 sc in next st* repeat from * to * around. Join. (40 sts)
Round 6: Ch 1, *sc in next 4 sts, 2 sc in next st* repeat from * to * around. Join. (48 sts)
Round 7: Switch to color C. Ch 1, *sc in next 5 sts, 2 sc in next st* repeat from * to * around. Join. (56 sts)
Round 8: Ch 1, *sc in next 6 sts, 2 sc in next st* repeat from * to * around. Join. (64 sts)
Round 9: Switch to color A. Ch 1, *sc in next 7 sts, 2 sc in next st* repeat from * to * around. Join. (72 sts)
Round 10: Ch 1, *sc in next 8 sts, 2 sc in next st* repeat from * to * around. Join. (80 sts)
Round 11: Switch to color B. Ch 1, *sc in next 9 sts, 2 sc in next st* repeat from * to * around. Join. (88 sts)
Round 12: Ch 1, *sc in next 10 sts, 2 sc in next st* repeat from * to * around. Join. (96 sts)
Round 13: Switch to color C. Ch 1, *sc in next 11 sts, 2 sc in next st* repeat from * to * around. Join. (104 sts)
Round 14: Ch 1, *sc in next 12 sts, 2 sc in next st* repeat from * to * around. Join. (112 sts)
Round 15: Switch to color A. Ch 1, *sc in next 13 sts, 2 sc in next st* repeat from * to * around. Join. (120 sts)
Round 16: Ch 1, *sc in next 14 sts, 2 sc in next st* repeat from * to * around. Join. (128 sts)
Round 17: Switch to color B. Ch 1, *sc in next 15 sts, 2 sc in next st* repeat from * to * around. Join. (136 sts)
Round 18: Switch to color C. Ch 1, sc in each st around. Join. (136 sts)
Round 19: Switch to color A. Ch 1, *sc in next 16 sts, 2 sc in next st* repeat from * to * around. Join. (144 sts)
Round 20: Ch 1, sc in each st around. Join. (144 sts)
Round 21: Switch to color B. Ch 1, *sc in next 17 sts, 2 sc in next st* repeat from * to * around. Join. (152 sts)
Round 22: Switch to color C. Ch 1, sc in each st around. Join. (152 sts)
Round 23: Switch to color A. Ch 1, *sc in next 18 sts, 2 sc in next st* repeat from * to * around. Join. (160 sts)
Round 24: Ch 1, sc in each st around. Join. (160 sts)
Round 25: Switch to color B. Ch 1, *sc in next 19 sts, 2 sc in next st* repeat from * to * around. Join. (168 sts)
Round 26: Switch to color C. Ch 1, sc in each st around. Join. (168 sts)
Round 27: Switch to color A. Ch 1, *sc in next 20 sts, 2 sc in next st* repeat from * to * around. Join. (176 sts)
Round 28: Ch 1, sc in each st around. Join. (176 sts)
Round 29: Switch to color B. Ch 1, *sc in next 21 sts, 2 sc in next st* repeat from * to * around. Join. (184 sts)
Round 30: Switch to color C. Ch 1, sc in each st around. Join. (184 sts)
Round 31: Switch to color A. Ch 1, *sc in next 22 sts, 2 sc in next st* repeat from * to * around. Join. (192 sts)
Round 32: Ch 1, sc in each st around. Join. Fasten off and weave in ends. (192 sts)
Bobble Border (on each panel)
This decorative border adds the signature textured edge to your pillow. The bobble stitch creates a raised, rounded bump that mimics desert pebbles.
Round 33: Attach color B to any stitch. Ch 1, *sc in next 3 sts, bobble in next st* repeat from * to * around. Join with sl st to first sc. Fasten off and weave in ends. (48 bobbles)
Bobble Stitch Tutorial: Yarn over, insert hook into the designated stitch, pull up a loop, yarn over, pull through 2 loops on hook (2 loops remain). Repeat this process 4 times total in the same stitch (5 loops on hook). Yarn over and pull through all 5 loops on hook to complete the bobble. This creates a cluster of 5 half-finished double crochets worked into one stitch.
Assembly
Now it's time to bring your two panels together into a plush, finished pillow.
Step 1: Place the two panels with wrong sides together, ensuring the right sides (the sides with the visible pattern) are facing outward. Align the edges carefully, matching the corners and stitch counts.
Step 2: Using color A and your 5.5mm hook, attach the yarn to any corner of the stacked panels. Work single crochet through both panels around all four edges, working 3 sc in each corner to create a neat, rounded corner. Continue around the entire perimeter.
Step 3: When you reach the starting point, leave a 6-inch opening on one side. Do not close this opening yet.
Step 4: Stuff the pillow firmly with polyester fiberfill. Use your fingers or a blunt tool to push the stuffing into the corners and edges, ensuring an even, plump shape. The pillow should feel firm but not overstuffed—you want it to hold its shape while remaining soft and squishy.
Step 5: Continue working single crochet through both panels to close the opening. Join with a slip stitch to the first sc of the round.
Step 6: Fasten off, leaving a 6-inch tail. Weave the tail through the final stitches and pull tight to secure. Weave in all remaining ends with your yarn needle.
Finishing Touches
Give your finished pillow a gentle block by misting it lightly with water and laying it flat to dry. This helps even out the stitches and relaxes the cotton yarn. Once dry, fluff the pillow and place it in your favorite spot. The Sunlit Dune Cushion measures approximately 16 x 16 inches, making it perfect for a reading chair, sofa, or bed.
This pattern is wonderfully versatile—experiment with different color combinations to match your decor, or use a single color for a more minimalist look. The textured bobble border also works beautifully on other projects like coasters, placemats, or bags. Enjoy your handmade creation and the cozy desert warmth it brings to your home!