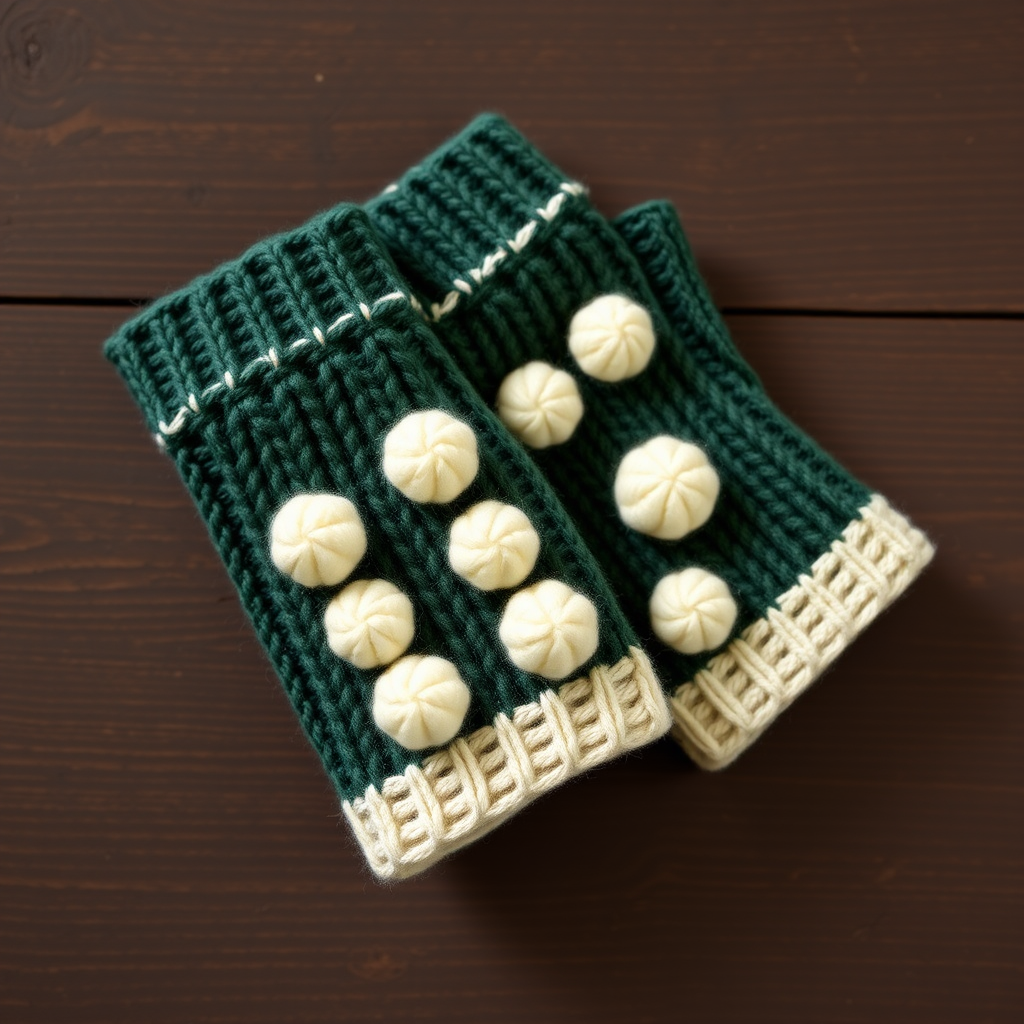
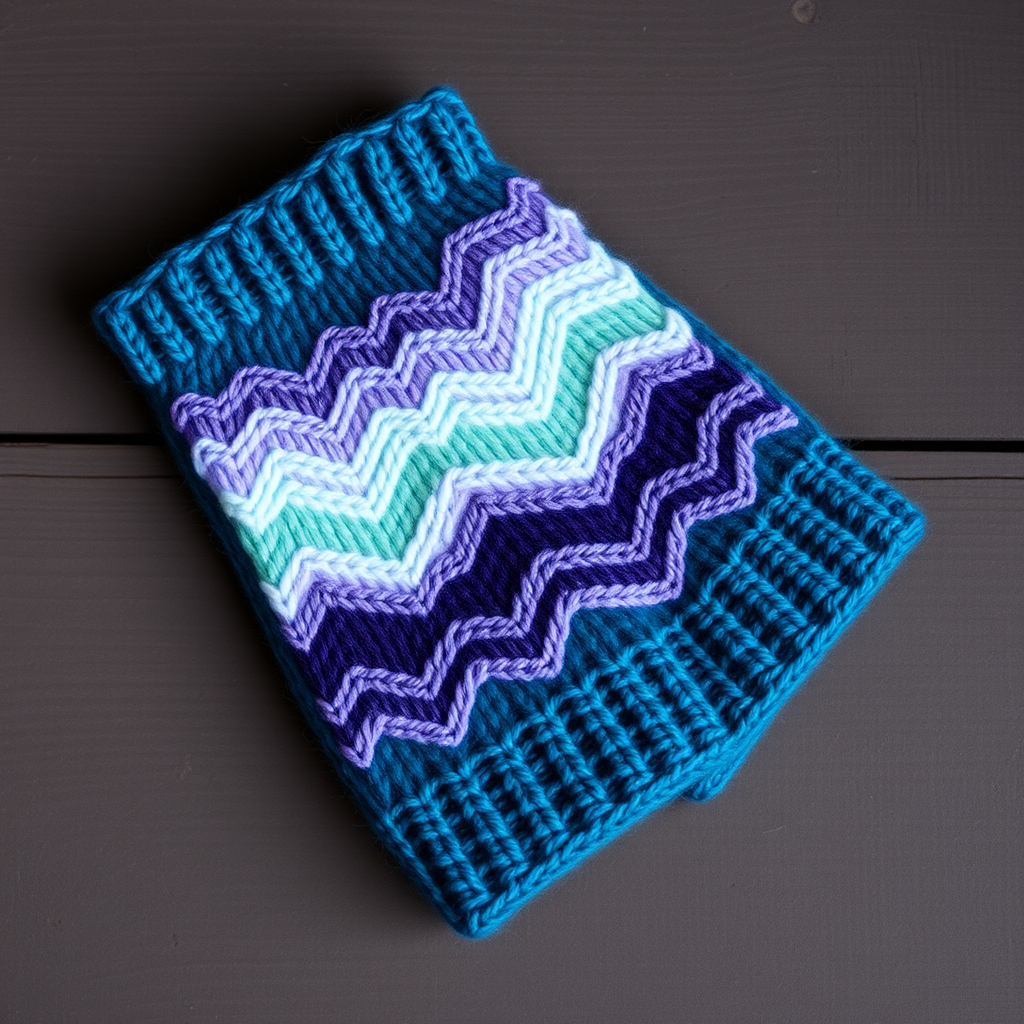
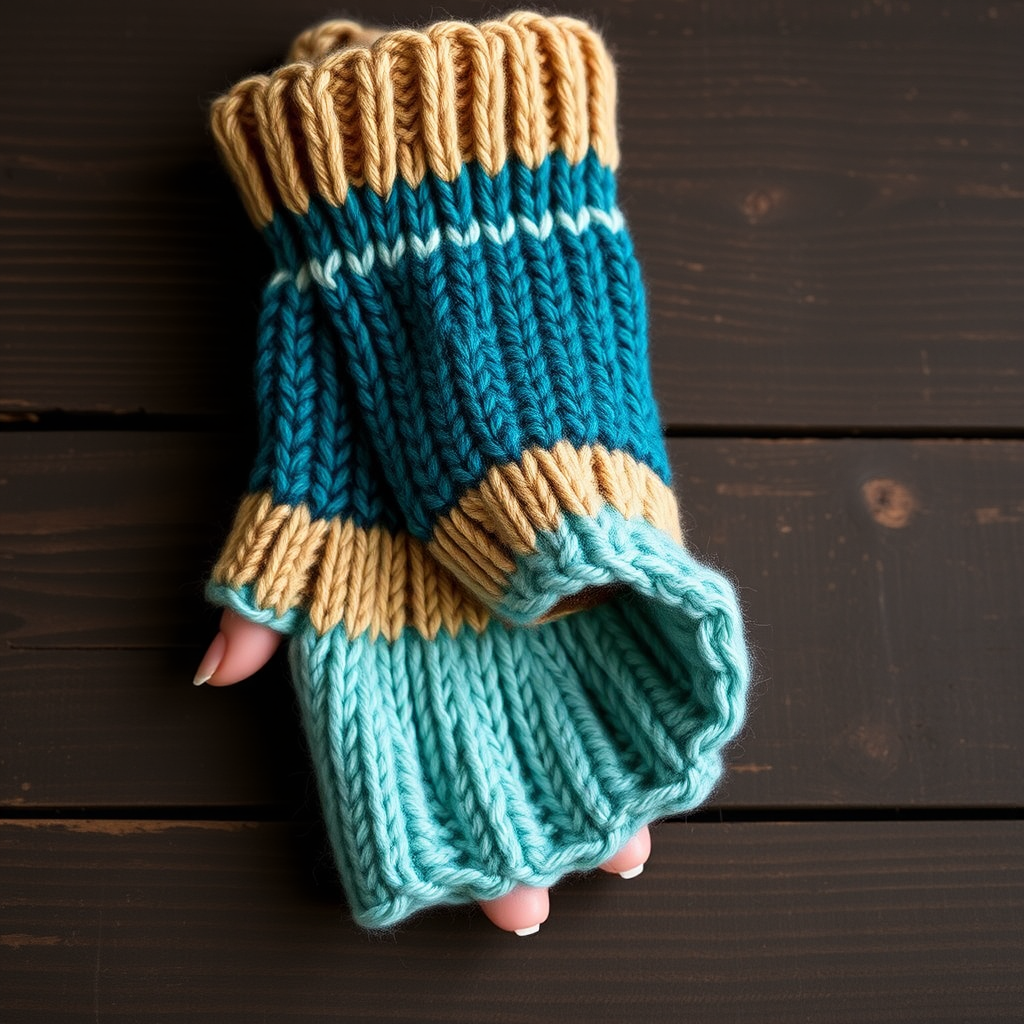
The Alpine Aurora Fingerless Gloves Free Pattern – Knit Gradient Striped Wrist Warmers

The Alpine Aurora Fingerless Gloves: A Free Knitting Pattern for Gradient Striped Wrist Warmers
Wrap your hands in the cozy hues of a mountain sunrise with these gradient-striped fingerless gloves. The soft, chunky yarn and textured ribbing make them a quick, satisfying knit for chilly mornings. Whether you're a seasoned knitter looking for a fast project or a beginner ready to tackle your first pair of gloves, this pattern is designed to be approachable, rewarding, and absolutely beautiful. The Alpine Aurora gloves feature a smooth stockinette body, a classic ribbed cuff, and a cleverly constructed thumb hole that's easier than you think. Let's dive in and create something warm and wonderful together.
Materials Needed
Before you begin, gather your supplies. This project uses simple, readily available materials, making it perfect for a spontaneous weekend knit.
- Yarn: Worsted weight yarn in 4 colors (A: cream, B: soft peach, C: dusty rose, D: deep teal) – approx 150g total. This is enough for both gloves.
- Needles: US 7 (4.5 mm) knitting needles (or size to obtain gauge). Straight needles are fine, as the gloves are worked flat.
- Notions: Tapestry needle for seaming and weaving in ends, scissors.
- Gauge: 20 stitches and 26 rows = 4 inches in stockinette stitch. Always check your gauge to ensure a proper fit.
Step-by-Step Instructions
This pattern is worked flat from the cuff up, then seamed. We'll make two identical gloves. The stripe sequence creates the beautiful gradient effect: 2 rows Color A, 2 rows Color B, 2 rows Color C, 2 rows Color D, repeat.
Abbreviations
- CO: Cast on
- K: Knit
- P: Purl
- K2tog: Knit two together (right-leaning decrease)
- SSK: Slip, slip, knit (left-leaning decrease)
- St(s): Stitch(es)
- Rep: Repeat
Sizes
This pattern includes two sizes: S/M (M/L). The instructions are written with the S/M numbers first, followed by the M/L numbers in parentheses. The sample shown is in S/M.
Cuff (Make 2 Alike)
We'll start with the ribbed cuff, which provides a snug, comfortable fit around the wrist.
- With Color A, CO 36 (40) sts.
- Row 1: K2, P2 across. Repeat this row for a total of 12 rows. This creates a 2x2 ribbing. End with a wrong-side row.
Hand (Worked in Stockinette)
Now we move to the body of the glove, worked in stockinette stitch (knit on the right side, purl on the wrong side).
- Continue in the stripe sequence, starting with Color B. Work even in stockinette stitch for 10 (12) rows. You should have completed the 2-row stripe of Color B and be ready to start Color C.
Creating the Thumb Hole
This is the clever part! We'll bind off stitches to create a gap, then cast them back on in the next row. This forms a clean, comfortable hole for your thumb.
- Next row (RS): K14 (16), bind off 8 sts, K14 (16). You will have 28 (32) sts on your needle. The 8 bound-off stitches create the thumb opening.
- Next row (WS): P14 (16), CO 8 sts over the gap, P14 (16). You are back to 36 (40) sts on your needle. The cast-on stitches bridge the gap, completing the thumb hole.
- Continue in the stripe sequence for another 14 (16) rows. Work even in stockinette stitch. This section covers the main part of your hand up to the base of your fingers.
Top Shaping
We'll now decrease stitches to shape the top of the glove, creating a gentle curve that fits over your fingers.
- Row 1 (RS): K1, SSK, K to last 3 sts, K2tog, K1. This decreases 2 stitches. You now have 34 (38) sts.
- Row 2 (WS): Purl across.
- Repeat Rows 1-2 until 20 (24) sts remain. You will have a nicely tapered top edge.
- Bind off all stitches loosely. Do not cut the yarn yet; leave a long tail for seaming.
Finishing
Time to bring your glove to life!
- Fold the glove in half with the right sides together, matching the cast-on and bind-off edges.
- Using your tapestry needle and the long yarn tail, sew the side seam from the cuff up to the thumb hole. Secure the seam with a few stitches.
- Then, sew the seam from the thumb hole to the top of the glove. Weave in all loose ends securely.
- Repeat the entire process to make the second glove.
- Block lightly to even out the stitches and give your gloves a professional finish.
Thumb Ribbing (Optional)
For a more polished look and a snugger fit around the thumb, you can add a small ribbed edge to the thumb hole.
- With the right side facing you, pick up 10 sts evenly around the thumb hole using your needle and the appropriate color yarn.
- Work in K2, P2 rib for 4 rows.
- Bind off in pattern (knit the knits and purl the purls as you bind off).
- Sew the small seam of the thumb ribbing and weave in the ends.
And there you have it—your very own pair of Alpine Aurora fingerless gloves! These make wonderful gifts, and the gradient stripes are endlessly customizable. Swap the colors to match your wardrobe or the season. Happy knitting!