The Aurora Touchscreen Gloves Free Pattern – A Gradient Ombre Knit
The Aurora Touchscreen Gloves Free Pattern – A Gradient Ombre Knit
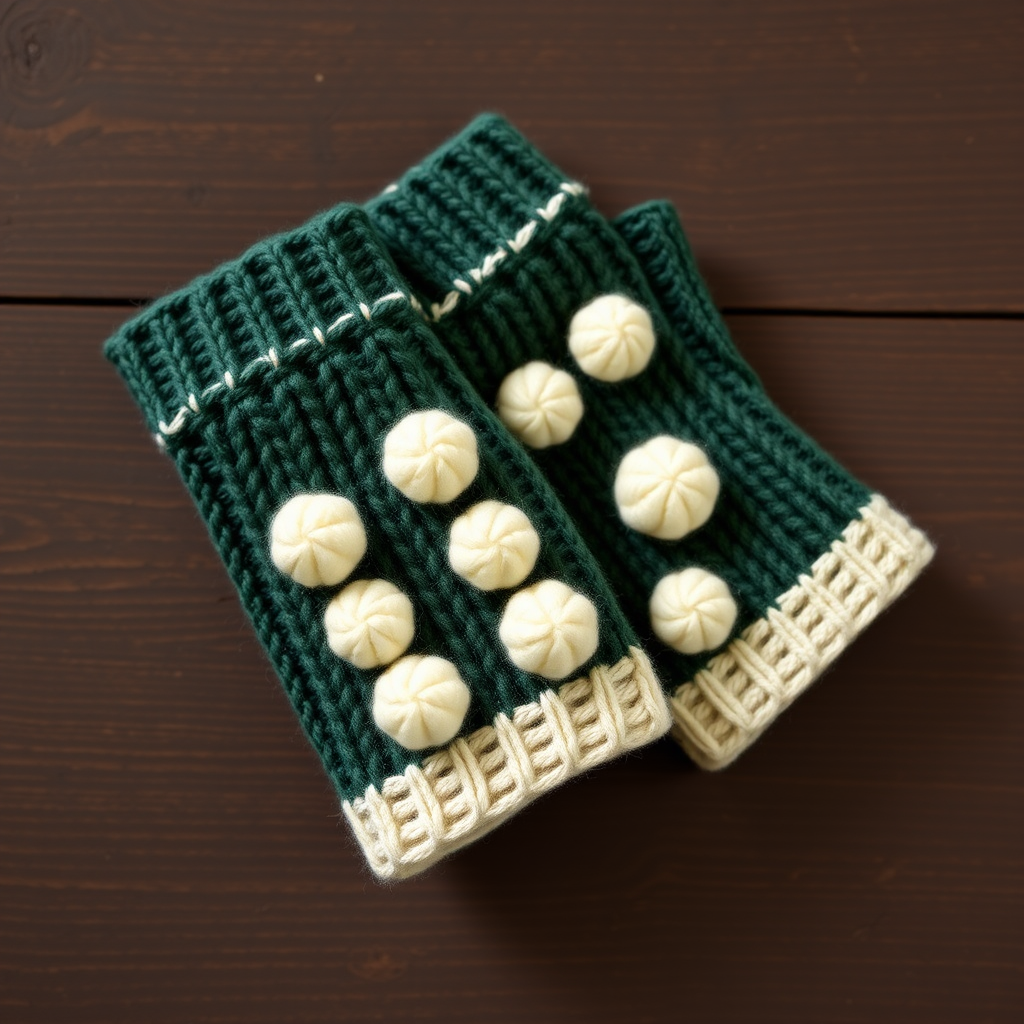
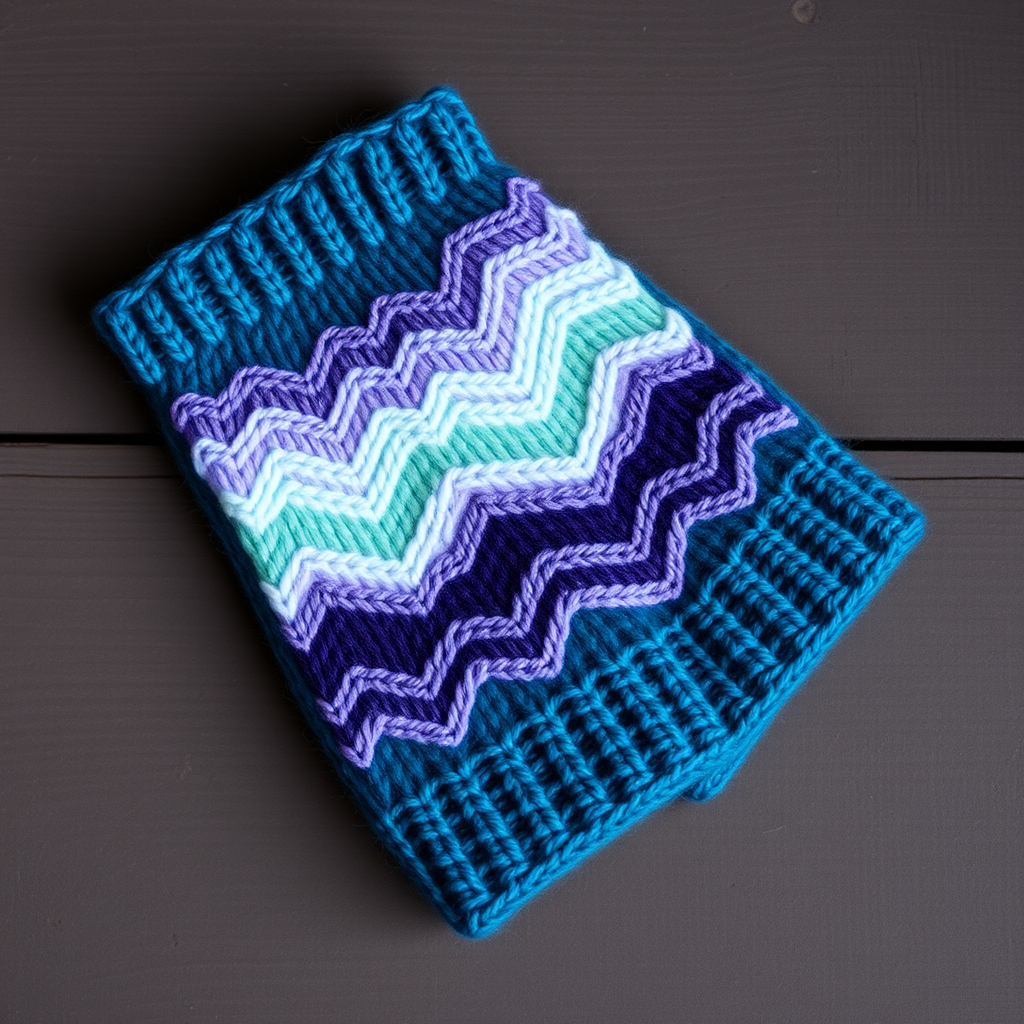
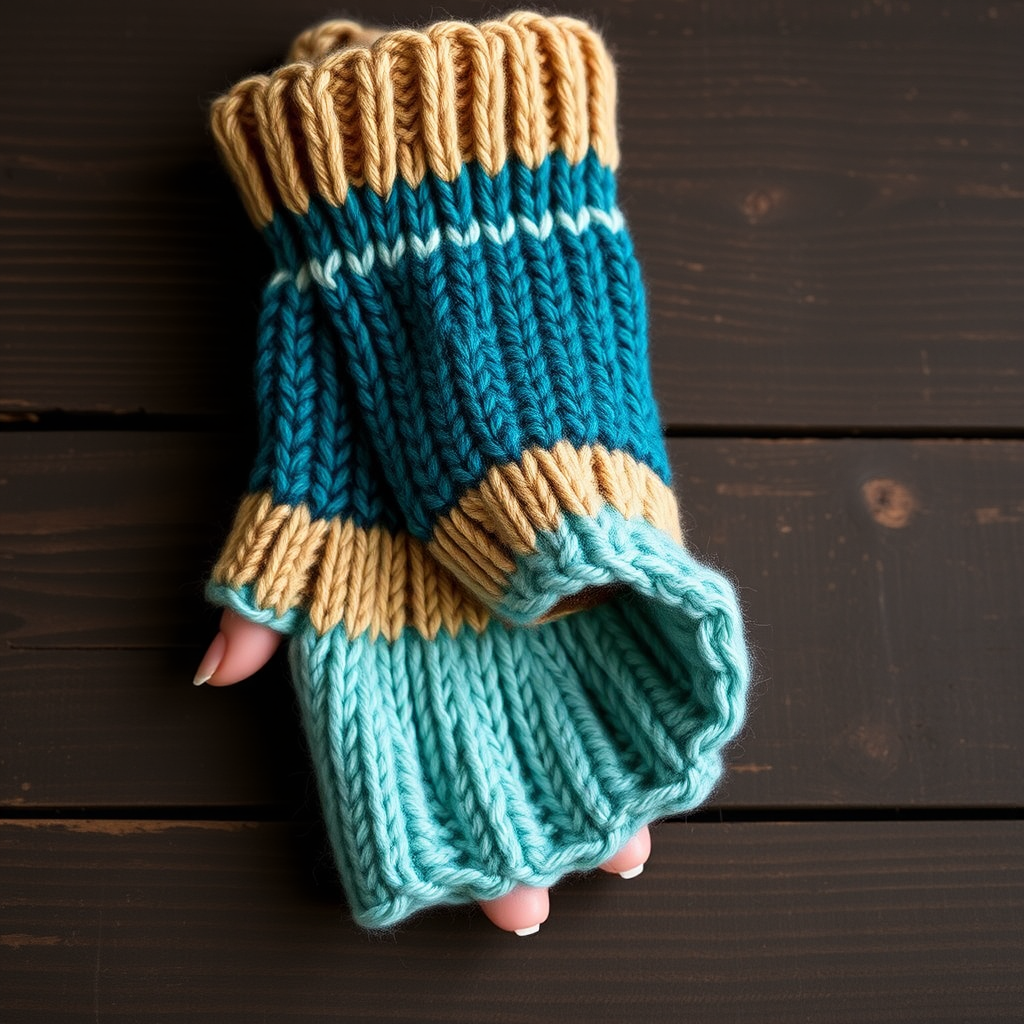
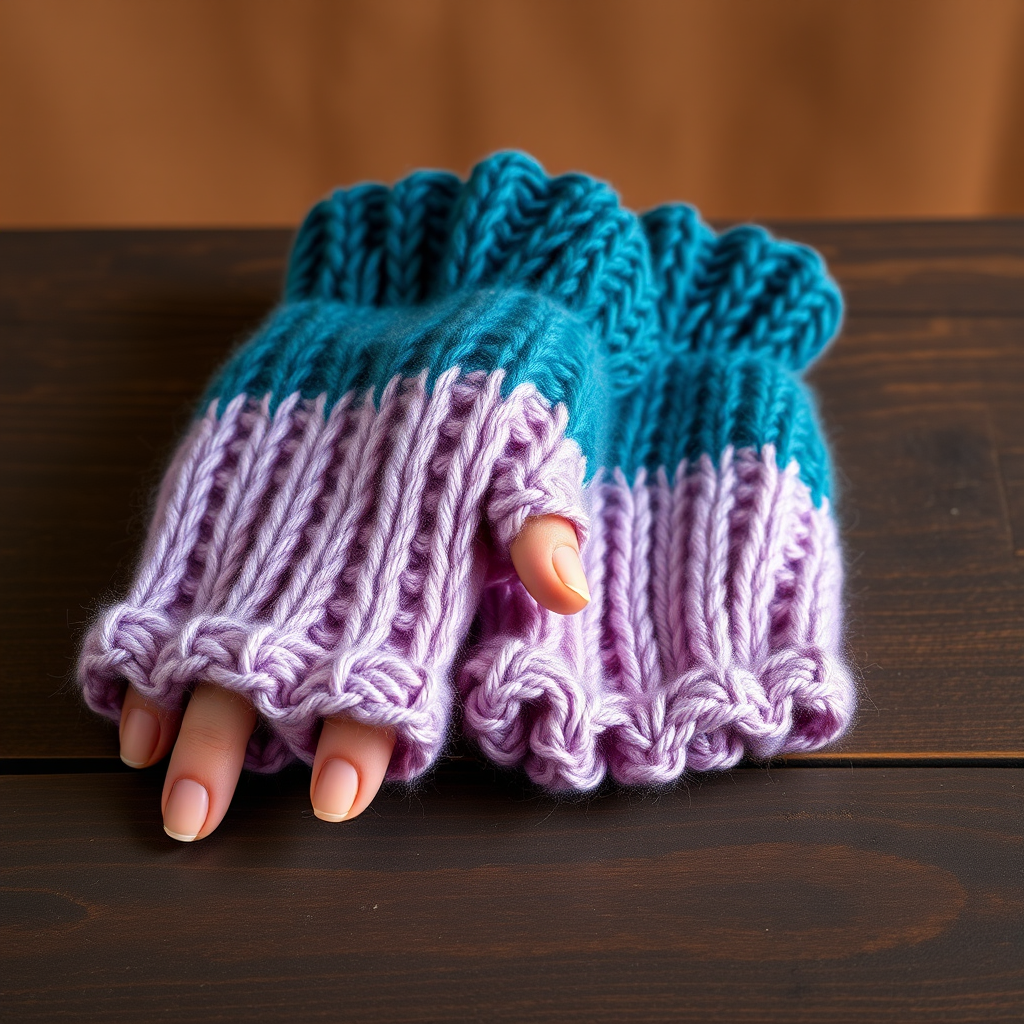
Wrap your hands in the cozy hues of the northern lights with these stunning gradient fingerless gloves. Designed for seamless texting, crafting, and everything in between, the Aurora Touchscreen Gloves feature a ribbed cuff, a textured stockinette body, and open fingertips that keep you connected while staying warm. Whether you're a seasoned knitter or a curious beginner, this free pattern will guide you through creating a beautiful, handcrafted accessory that's as functional as it is gorgeous. Let's dive into this gradient ombre knit adventure!
Materials Needed
Before you begin, gather the following supplies to ensure a smooth and enjoyable knitting experience:
- Yarn: Worsted weight yarn in 3 colors (e.g., deep teal, soft lavender, and pale pink) – approximately 200g total. Choose a soft, durable yarn for maximum comfort.
- Needles: US 6 (4.0 mm) knitting needles (or size needed to obtain gauge), plus a tapestry needle for weaving in ends.
- Gauge: 20 stitches and 26 rows = 4 inches in stockinette stitch. Always knit a swatch to ensure your tension matches the pattern for the perfect fit.
- Extras: Stitch holders (or scrap yarn), a row counter (optional but helpful), and scissors.
Step-by-Step Instructions
This pattern is worked flat from the cuff to the fingertip, then seamed. It's beginner-friendly with clear instructions for the thumb gusset and shaping. Follow along carefully, and you'll have a beautiful pair of gloves in no time.
Sizes and Abbreviations
Sizes: S/M (M/L) – Finished palm circumference: 7 (8) inches. Choose your size based on the measurements provided.
Abbreviations:
- CO: Cast on
- K: Knit
- P: Purl
- K2tog: Knit two together (decrease)
- SSK: Slip, slip, knit (decrease)
- St(s): Stitch(es)
- Rep: Repeat
- M1L: Make one left (increase) – pick up the bar between stitches from front to back and knit through the back loop.
- M1R: Make one right (increase) – pick up the bar between stitches from back to front and knit through the front loop.
Pattern Notes
- Worked flat from cuff to fingertip, then seamed with mattress stitch.
- For the gradient effect, change colors every 6 rows. Alternatively, use a self-striping yarn for a simpler, no-fuss version.
- The thumb gusset is worked on one side of the glove. For the right glove, increases are at the beginning of the row; for the left glove, mirror the placement (work increases at the end of the row).
Cuff
With Color A (deep teal), CO 40 (44) sts.
Row 1-10: *K2, P2* rep across all stitches. This creates a 2x2 ribbed cuff that's stretchy and snug. Repeat these 10 rows until the cuff measures approximately 2 inches from the cast-on edge.
Hand
Switch to stockinette stitch (K on RS, P on WS) and begin your color changes. Work even in stockinette for 12 rows, changing to Color B (soft lavender) after 6 rows. This will create the first gradient transition. Continue in stockinette, keeping your tension even.
Thumb Gusset (Right Glove)
Now we'll shape the thumb opening. This is done by increasing stitches on one side of the work.
Row 1 (RS): K20 (22), M1L, K1, M1R, K to end. (You've increased 2 stitches.)
Row 2 and all WS rows: Purl across all stitches.
Row 3: K20 (22), M1L, K3, M1R, K to end.
Row 5: K20 (22), M1L, K5, M1R, K to end.
Continue in this pattern, increasing 2 stitches every RS row (the knit side), until you have 13 (15) stitches between the increases. This forms the gusset for your thumb.
Next RS row: K20 (22), place next 13 (15) sts on a holder (or scrap yarn), CO 1 st (to bridge the gap), K to end. You should now have 40 (44) sts on your needle again.
Body
Continue in stockinette stitch, changing to Color C (pale pink) after 6 more rows. Work even (no increases) until the glove measures 7 (8) inches from the cuff, or until it reaches your desired length. Remember, this is a fingerless glove, so you want it to cover your palm but leave your fingertips free.
Fingertip Shaping
Now we'll shape the top edge of the glove for a neat, comfortable finish.
Row 1 (RS): *K2, K2tog* rep across – 30 (33) sts.
Row 2 and all WS rows: Purl across.
Row 3: *K1, K2tog* rep across – 20 (22) sts.
Row 5: *K2tog* rep across – 10 (11) sts.
Cut your yarn, leaving a long tail (about 8 inches). Thread the tail through a tapestry needle, slide it through the remaining stitches, and pull tight to gather. Secure with a knot.
Thumb
Pick up the 13 (15) sts from your holder onto your needle. Also, pick up 1 st from the gap you created (where you CO 1 st) to avoid a hole. You should now have 14 (16) sts.
Work in stockinette stitch for 6 rows, keeping the thumb snug but not tight.
Next row (RS): K2tog across – 7 (8) sts. Cut yarn, thread through remaining sts, pull tight, and secure.
Finishing
Seam the side of the glove and the thumb using mattress stitch. This creates an invisible, professional-looking seam. Weave in all loose ends with your tapestry needle. Repeat the entire process for the left glove, but mirror the thumb gusset placement (work the increases at the end of the row instead of the beginning).
And there you have it – your very own Aurora Touchscreen Gloves! These gradient beauties are perfect for chilly commutes, cozy nights in, or as a thoughtful handmade gift. The open fingertips mean you can text, scroll, and knit without ever taking them off. Enjoy the process, and don't forget to show off your stunning creation!