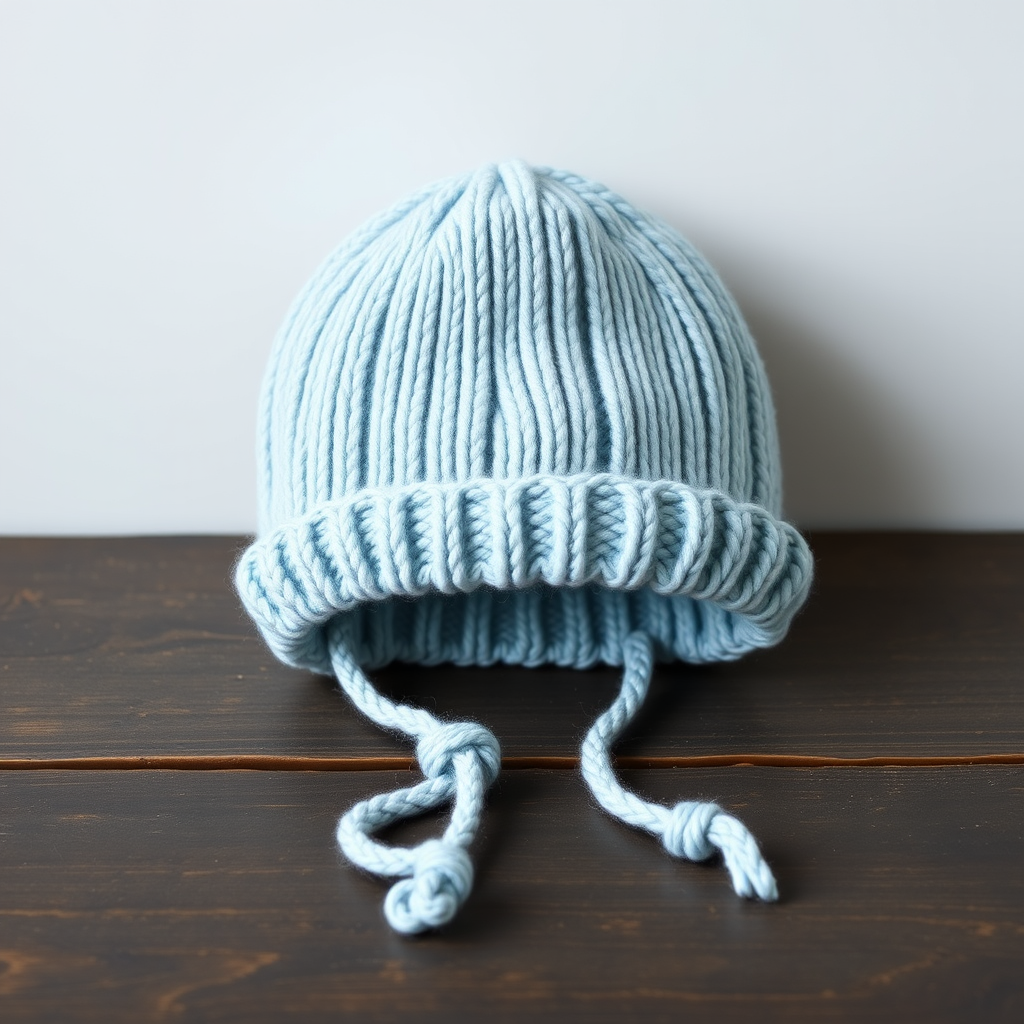
The Cloudberry Cardigan Free Pattern – Knit a Cozy Textured Baby Sweater

The Cloudberry Cardigan: A Dreamy Textured Baby Sweater – Free Knitting Pattern
There's something truly magical about wrapping a little one in a hand-knit garment. The Cloudberry Cardigan is designed to be that cherished piece—a cozy, textured baby sweater that looks like it was spun from actual clouds. Featuring a delicate berry stitch and a dreamy gradient of pastel hues (soft cream, blush pink, and sky blue), this pattern is as delightful to knit as it is to gift. Best of all, it's beginner-friendly, using simple knit and purl techniques to create a stunning, bumpy texture that catches the light beautifully. Let's get started on creating a handmade heirloom!
Materials Needed
Before you begin, gather your supplies. This pattern calls for light worsted (DK) weight yarn, which is perfect for baby garments—soft, durable, and easy to work with.
- Yarn: DK weight (light worsted) yarn in 3 colors:
- Main Color (MC) – Soft Cream (approx. 150-175 yards)
- Contrast Color 1 (CC1) – Blush Pink (approx. 75-90 yards)
- Contrast Color 2 (CC2) – Sky Blue (approx. 75-90 yards)
- Needles: US Size 6 (4.0 mm) knitting needles (straight or circular for magic loop).
- Notions: Stitch markers, tapestry needle for weaving in ends, and 5 small buttons in a matching pastel tone.
- Gauge: 20 stitches x 28 rows = 4 inches in stockinette stitch (after blocking). Always check your gauge to ensure the correct size!
Step-by-Step Instructions
This pattern is worked in one piece up to the armholes, making it seamless and simple. Follow the instructions carefully, and you'll have a beautiful cardigan in no time.
Sizes & Measurements
Sizes: 0-3 months (3-6 months, 6-12 months)
Finished Chest: 16 (18, 20) inches
Finished Length: 9 (10, 11) inches
Abbreviations
- K = knit
- P = purl
- K2tog = knit two together (decrease)
- SSK = slip slip knit (decrease)
- YO = yarn over (increase)
- PM = place marker
- SM = slip marker
- RS = right side
- WS = wrong side
Special Stitch: The Berry Stitch (Multiple of 4 + 2)
This stitch creates the beautiful, bumpy texture of the cardigan. It's easier than it looks!
- Row 1 (RS): K1, *K1, YO, K1, P3tog; repeat from * to last stitch, K1.
- Row 2 (WS): Purl all stitches.
- Row 3 (RS): K1, *P3tog, K1, YO, K1; repeat from * to last stitch, K1.
- Row 4 (WS): Purl all stitches.
Pro Tip: The YO creates a new stitch, and the P3tog decreases three stitches into one. This keeps the stitch count consistent while creating the raised "berry" bumps.
Body (Worked in One Piece to Armholes)
- Cast On: With MC, cast on 82 (92, 102) stitches.
- Bottom Border: Knit 4 rows of garter stitch (knit every row) for a neat, sturdy edge.
- Begin Berry Stitch: Work in the Berry Stitch pattern for 2 (2, 3) inches, ending with a WS row.
- Color Transition 1: Switch to CC1 (blush pink) and continue in Berry Stitch for 1 inch.
- Color Transition 2: Switch to CC2 (sky blue) and work in Berry Stitch for 1 inch.
- Return to MC: Switch back to MC and work in Berry Stitch until the piece measures 5 (6, 7) inches from the cast-on edge, ending with a WS row.
Divide for Armholes
This step separates the body into three sections: left front, back, and right front.
- Next Row (RS): Work 20 (22, 25) stitches in pattern, bind off 4 (4, 4) stitches, work 34 (40, 44) stitches in pattern, bind off 4 (4, 4) stitches, work last 20 (22, 25) stitches.
- You will now have three separate sections on your needle. We'll work each section individually.
Left Front
- Continue on the left front stitches only (the first set of 20 (22, 25) stitches).
- Shape Armhole: Work in pattern, decreasing 1 stitch at the armhole edge every RS row 2 (2, 3) times. (18, 20, 22 stitches remain).
- Work Even: Continue in pattern until the armhole measures 3 (3.5, 4) inches, ending at the neck edge (the edge closest to the center of the cardigan).
- Shape Neck: At the neck edge, bind off 4 (5, 5) stitches once, then bind off 2 stitches once. (12, 13, 15 stitches remain).
- Work Even: Continue in pattern until the armhole measures 4 (4.5, 5) inches. Bind off all stitches.
Back
- Attach MC to the back stitches (the center section of 34 (40, 44) stitches).
- Shape Armholes: Work in pattern, decreasing 1 stitch at each armhole edge every RS row 2 (2, 3) times. (30, 36, 38 stitches remain).
- Work Even: Continue in pattern until the armhole measures 4 (4.5, 5) inches. Bind off all stitches.
Right Front
- Attach MC to the right front stitches (the last set of 20 (22, 25) stitches).
- Shape Armhole: Work in pattern, decreasing 1 stitch at the armhole edge every RS row 2 (2, 3) times. (18, 20, 22 stitches remain).
- Work Even: Continue in pattern until the armhole measures 3 (3.5, 4) inches, ending at the neck edge.
- Shape Neck: At the neck edge, bind off 4 (5, 5) stitches once, then bind off 2 stitches once. (12, 13, 15 stitches remain).
- Work Even: Continue in pattern until the armhole measures 4 (4.5, 5) inches. Bind off all stitches.
Sleeves (Make 2)
- Cast On: With MC, cast on 30 (34, 38) stitches.
- Cuff: Knit 4 rows of garter stitch.
- Shape Sleeve: Work in Berry Stitch pattern, increasing 1 stitch at each end every 4th row until you have 42 (48, 54) stitches. To increase, simply knit into the front and back of the first and last stitch of the row.
- Work Even: Continue in pattern until the sleeve measures 5 (6, 7) inches from the cast-on edge. Bind off all stitches.
Finishing
- Seams: Sew the shoulder seams. Sew the sleeves into the armholes. Sew the sleeve seams.
- Buttonband (Left Front for Girls, Right Front for Boys – adjust accordingly): With RS facing, using MC, pick up and knit stitches along the front edge (approx. 1 stitch per row). Knit 4 rows of garter stitch. Bind off.
- Buttonhole Band: Pick up stitches along the other front edge. Knit 2 rows of garter stitch. Next Row (RS): K3, *K2tog, YO, K5; repeat from * to last 3 stitches, K3. Knit 2 more rows. Bind off.
- Buttons: Sew the 5 buttons opposite the buttonholes.
- Weave in Ends: Use your tapestry needle to weave in all loose yarn ends securely.
- Block: Gently block the cardigan to the specified measurements. This will even out the stitches and enhance the berry texture.
And there you have it—a stunning, cloud-soft cardigan that's sure to become a family favorite. The combination of the textured berry stitch and the gentle pastel gradient makes this a truly special gift. Happy knitting!