The Cloudberry Drift Sweater Free Pattern – Crochet a Cozy Oversized Knit-Look Pullover
The Cloudberry Drift Sweater Free Pattern – Crochet a Cozy Oversized Knit-Look Pullover
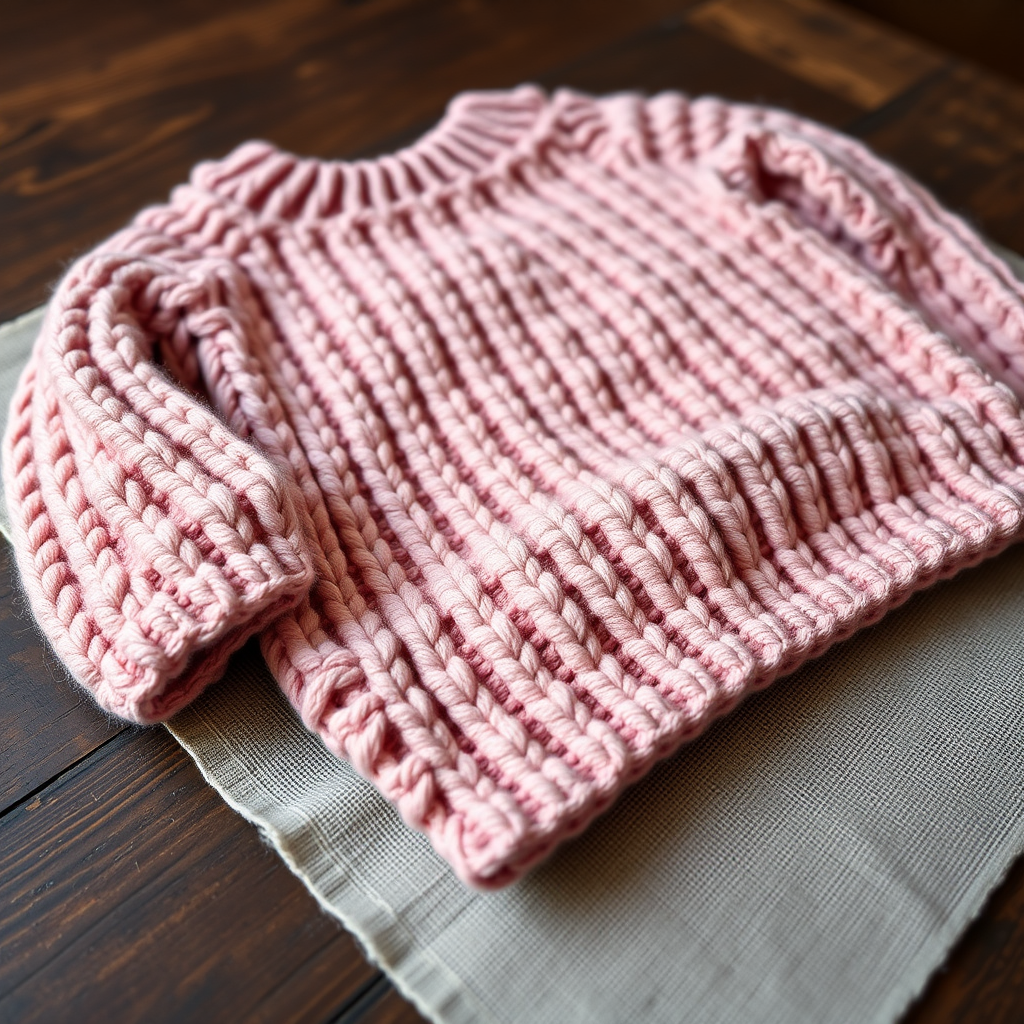
Wrap yourself in the plush comfort of a hand-crocheted sweater that mimics the look of chunky knits, with a modern oversized silhouette and a subtle textured stitch. This pattern is perfect for cozy evenings and makes a stunning handmade gift. The Cloudberry Drift Sweater is designed with beginners in mind, using a simple half double crochet technique that creates a dense, ribbed fabric reminiscent of your favorite store-bought knitwear. Whether you're curling up with a book or heading out for a crisp autumn walk, this sweater will become your new go-to layer.
Materials Needed
Before you begin, gather the following supplies. Using the recommended yarn and hook will ensure your sweater matches the intended drape and warmth.
- Yarn: Super bulky weight yarn (size 6), approximately 1200-1500 yards. Recommended: Lion Brand Wool-Ease Thick & Quick or similar. The sample uses a soft dusty rose color, but any shade will work beautifully.
- Crochet Hook: US Size N/P (10 mm) crochet hook, or size needed to obtain gauge.
- Other Tools: Yarn needle for weaving in ends, scissors, stitch markers (optional but helpful for counting).
Gauge: 8 stitches x 6 rows = 4 inches in half double crochet (hdc) worked in back loops only. Always make a gauge swatch first to ensure your sweater fits as intended.
Step-by-Step Instructions
This sweater is worked in pieces and seamed together, making it easy to customize. The stitch pattern uses half double crochet in the back loop only (hdc-blo) to create a dense, ribbed knit-like fabric. Follow the instructions carefully, and you'll have a beautiful, handmade garment in no time.
Sizes and Measurements
Sizes: S/M (M/L, L/XL) – Finished chest circumference: 40 (46, 52) inches, length: 22 (24, 26) inches. Choose the size that best matches your desired fit. The oversized silhouette means you can size up for a baggier look.
Abbreviations
Familiarize yourself with these standard crochet abbreviations before starting:
- ch = chain
- hdc = half double crochet
- blo = back loop only
- st(s) = stitch(es)
- sl st = slip stitch
- sc = single crochet
- RS = right side
- WS = wrong side
Back Panel
Start with the back panel, which is a simple rectangle. This is the foundation of your sweater.
- Row 1: Chain 80 (92, 104). Hdc in the 3rd chain from the hook and in each chain across. Turn. You should have 78 (90, 102) stitches.
- Row 2: Chain 2 (counts as hdc), hdc-blo in each stitch across. Turn.
- Repeat Row 2 until the piece measures 22 (24, 26) inches from the beginning. Fasten off and set aside.
Tip: Working in the back loop only creates the beautiful ribbed texture. Make sure you're consistently picking up only the back loop of each stitch for a uniform look.
Front Panel
The front panel is worked similarly to the back, but includes a neckline shaping. Follow these steps carefully:
- Work the same as the back panel until the piece measures 18 (20, 22) inches from the beginning. This is where you'll start shaping the neckline.
- Next Row (RS): Chain 2, hdc-blo in the next 30 (36, 42) stitches, turn, leaving the remaining stitches unworked. This creates the right shoulder side.
- Work even on these 30 (36, 42) stitches for 4 more rows. Fasten off.
- Skip the center 18 (18, 18) stitches. Join your yarn in the next stitch with a slip stitch.
- Chain 2, hdc-blo in the remaining 30 (36, 42) stitches. Work even for 4 rows. Fasten off.
Note: The skipped center stitches form the neckline opening. The depth of the neckline is determined by the 4 rows you work on each side.
Sleeves (Make 2)
Sleeves are worked flat and then seamed. They feature subtle increases to shape the arm.
- Row 1: Chain 40 (44, 48). Hdc in the 3rd chain from the hook and in each chain across. Turn. You should have 38 (42, 46) stitches.
- Row 2: Chain 2, hdc-blo in each stitch across. Turn.
- Repeat Row 2, increasing 1 stitch at each end every 6th row until you have 50 (56, 62) stitches. To increase, simply work 2 hdc-blo in the first and last stitch of the row.
- Work even (no increases) until the sleeve measures 18 (19, 20) inches from the beginning. Fasten off.
Tip: Mark your increase rows with a stitch marker to keep track of your progress.
Assembly
Now it's time to bring all the pieces together. Take your time with the seaming for a professional finish.
- Lay the front and back panels with right sides (RS) together. Sew the shoulder seams, leaving the top 8 (10, 12) inches open for the neckline.
- Mark the center of the sleeve top with a stitch marker. Pin this point to the shoulder seam.
- Sew the sleeves into the armhole openings, easing the fabric as needed.
- Sew the side seams and sleeve seams from the underarm to the cuff. Use a whip stitch or mattress stitch for a neat finish.
Neckband
The final touch is a clean, ribbed neckband that finishes the sweater beautifully.
- With the RS facing, join your yarn at the shoulder seam with a slip stitch.
- Single crochet (sc) evenly around the neckline, approximately 60-70 stitches total. Join with a slip stitch to the first sc.
- Chain 1, sc in each stitch around. Repeat this round for 2 more rounds.
- Fasten off and weave in all ends with your yarn needle.
Congratulations! You've completed your Cloudberry Drift Sweater. This cozy, knit-look pullover is perfect for layering and will keep you warm all season long. The oversized fit and textured stitch make it a standout piece in any wardrobe. Enjoy wearing your handmade creation, and don't forget to share your finished sweater with fellow crafters!