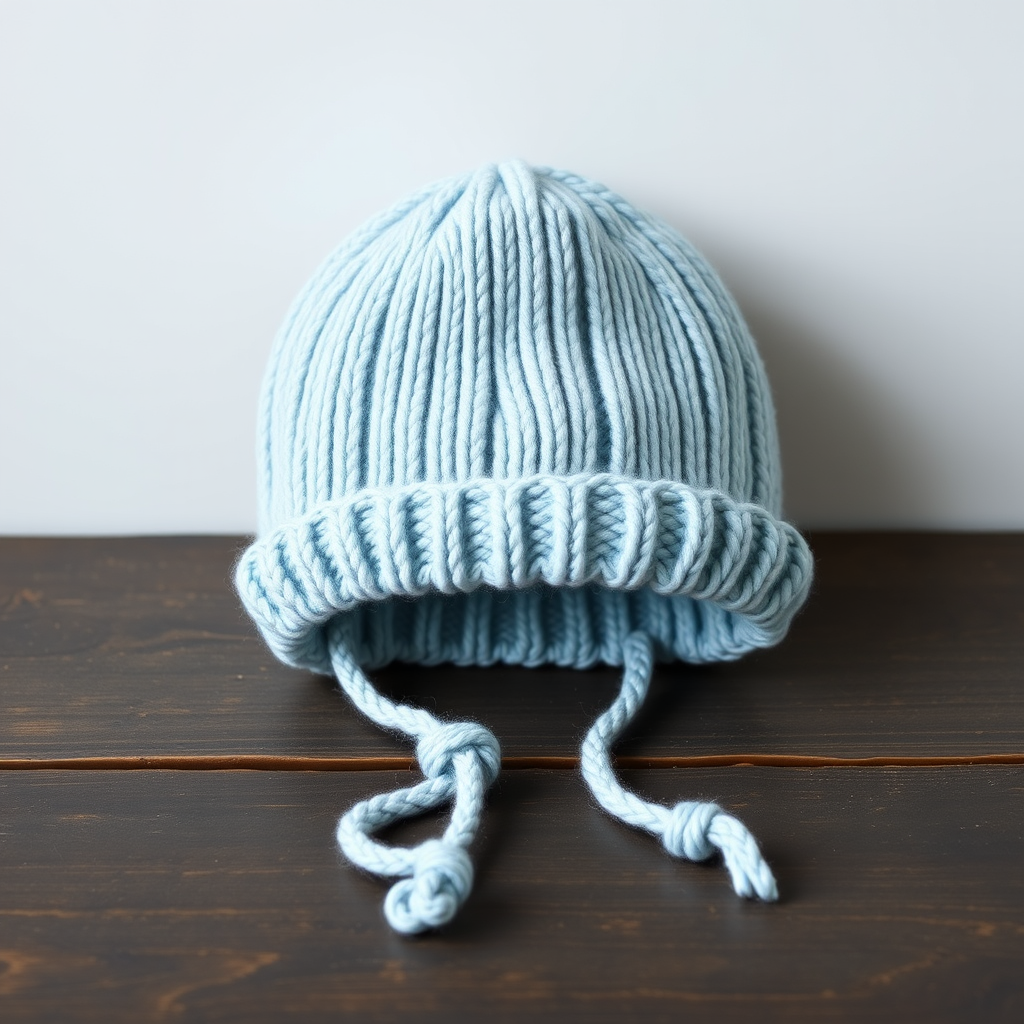
The Cloudburst Newborn Beanie: A Free Knitting Pattern for a Textured, Modern Essential
Introducing the Cloudburst Newborn Beanie
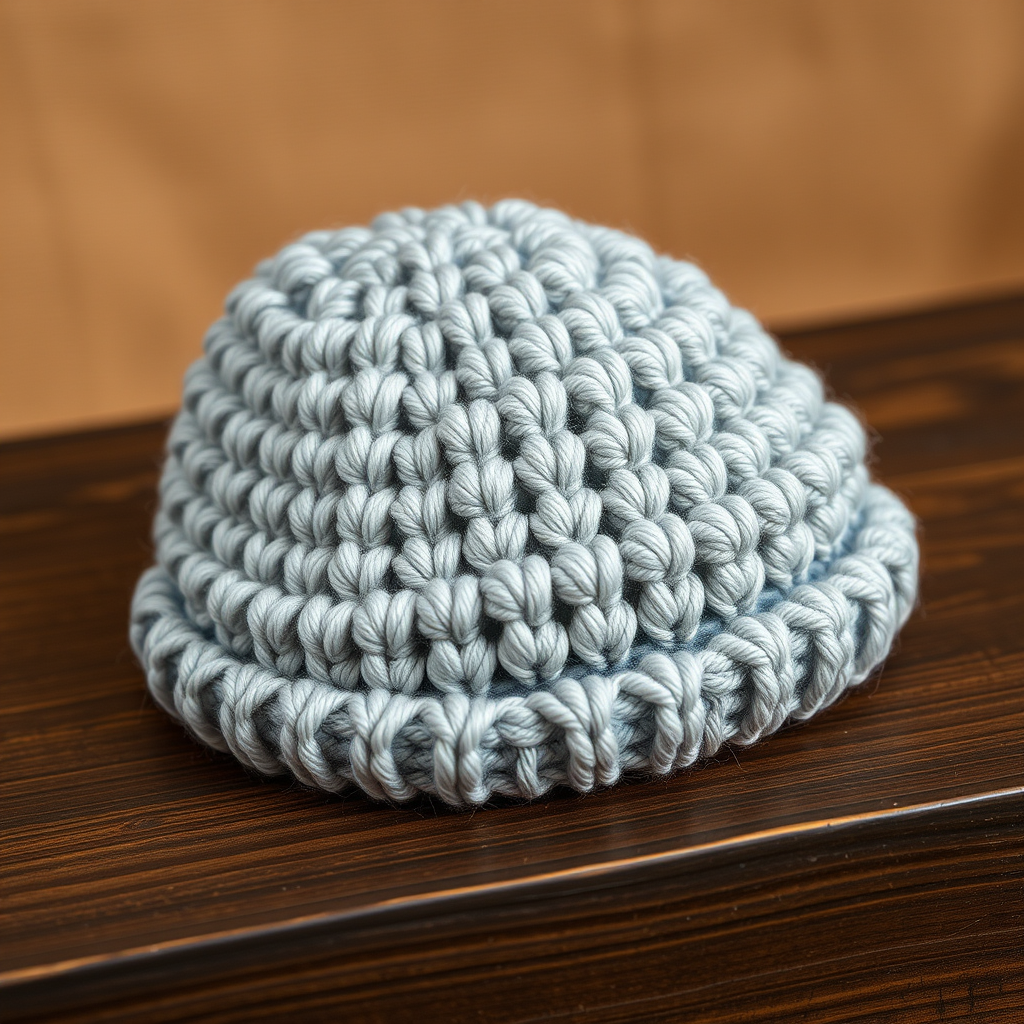
Welcome to a knitting project that is as delightful to make as it is to gift. The Cloudburst Newborn Beanie is a modern, textured essential that uses a unique combination of slipped stitches and yarn overs to create a cloud-like, bubbly surface. This pattern is knit flat on straight needles and seamed for a polished, professional finish. Perfect for a baby shower or a quick handmade gift, this beanie is both cozy and visually stunning. The finished circumference is 13 inches, with a height of 5.5 inches, fitting a newborn (0-3 months).
Materials Needed
To recreate this beanie at home, gather the following materials based on the technical specifications:
- Yarn: Worsted weight (Category 4) superwash merino wool or soft acrylic blend, approximately 60-80 yards. The sample is shown in 'Mist' (light grey-blue) and 'Cream'.
- Needles: US 6 (4.0 mm) straight needles or a 16-inch circular needle for knitting flat. You will also need a tapestry needle for seaming.
- Gauge: 20 stitches x 28 rows = 4 inches in stockinette stitch, after blocking. Achieving this gauge is crucial for the correct size.
Step-by-Step Instructions
Follow these detailed instructions carefully. The pattern uses a few special techniques, but each step is broken down for clarity.
Abbreviations
- CO: cast on
- K: knit
- P: purl
- YO: yarn over
- Sl1: slip 1 stitch purlwise with yarn in back
- K2tog: knit 2 together
- P2tog: purl 2 together
- BO: bind off
Brim
Begin by casting on 66 stitches using your preferred method. The brim is worked in a 1x1 ribbing pattern.
- Row 1 (RS): K1, P1 across the row. Repeat this pattern to the end.
- Row 2 (WS): P1, K1 across the row. Repeat this pattern to the end.
- Repeat these two rows for a total of 6 rows. You will see 3 ridges of garter stitch on the right side (RS).
Body (Cloudburst Texture)
This section creates the bubbly texture. Pay close attention to the stitch pattern. The repeat is over 3 stitches plus 1 edge stitch on each side.
- Row 1 (RS): K1 (edge stitch), then repeat the following sequence until 1 stitch remains: *Sl1, K1, YO, pass the slipped stitch over the YO and the knit stitch (this creates a lifted stitch), K1*. End with K1 (edge stitch).
- Row 2 (WS): Purl all stitches across the row.
- Row 3 (RS): K1 (edge stitch), then repeat the following sequence until 1 stitch remains: *K1, Sl1, K1, YO, pass slipped stitch over*. End with K1 (edge stitch). This offsets the bubbles from Row 1.
- Row 4 (WS): Purl all stitches across the row.
- Repeat Rows 1-4 until the piece measures 4 inches from the cast-on edge, ending with a WS row (Row 2 or 4).
Crown Decreases
Now shape the top of the beanie. Work these decrease rows carefully.
- Row 1 (RS): K1 (edge stitch), then repeat *K2tog, K1* across until 1 stitch remains. End with K1 (edge stitch). You will have 44 stitches remaining.
- Row 2 (WS): Purl all stitches across the row.
- Row 3 (RS): K1 (edge stitch), then repeat *K2tog* across until 1 stitch remains. End with K1 (edge stitch). You will have 23 stitches remaining.
- Row 4 (WS): P2tog across the row until 1 stitch remains. You will have 12 stitches remaining.
- Cut the yarn, leaving a 12-inch tail. Thread the tail through a tapestry needle, then pass it through the remaining 12 stitches. Pull tight to close the top, and secure with a knot.
Finishing
Complete your beanie with these final steps for a polished look.
- Seaming: Sew the side seam using mattress stitch for an invisible join. Align the edges carefully and stitch through the bars between the edge stitches.
- Weave in ends: Weave in all yarn tails securely on the inside of the beanie.
- Blocking: Gently block the beanie by steaming it. This will set the texture and even out the stitches. Avoid pressing down hard to preserve the bubbles.
- Optional: Add a small pom-pom at the top for extra charm.
Your Cloudburst Newborn Beanie is now complete! Enjoy the soft, textured fabric and the modern look of your handmade creation.