The Frostvein Cable Mitts Free Pattern – A Knitted Nordic Embrace for Your Hands

The Frostvein Cable Mitts Free Pattern – A Knitted Nordic Embrace for Your Hands
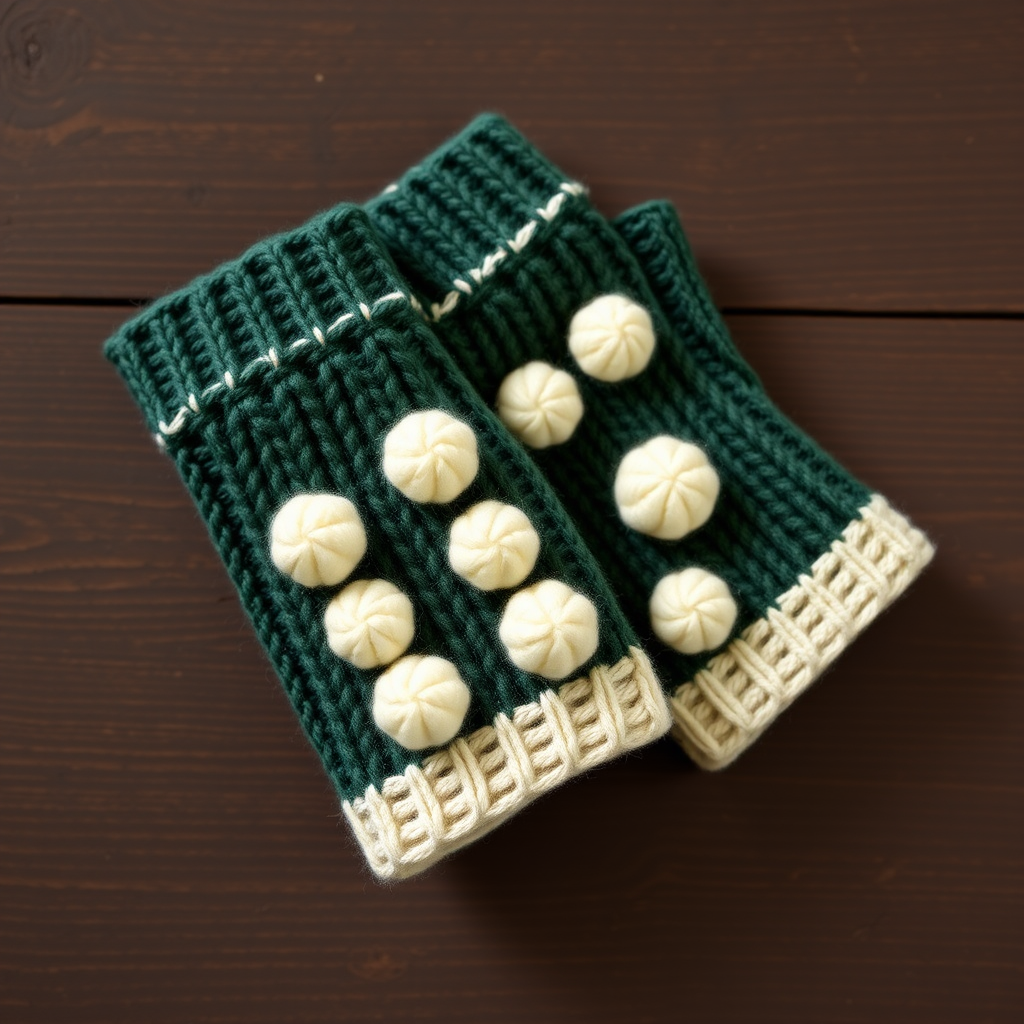
Wrap your hands in the cozy luxury of hand-knitted cables with these stunning fingerless mitts. Featuring a breathtaking braided motif that flows from wrist to fingertip, the Frostvein Cable Mitts offer a modern twist on a classic Nordic aesthetic. Whether you're sipping coffee on a chilly morning, commuting to work, or simply curling up with a good book, these mitts will keep your fingers free while your hands stay deliciously warm. The combination of deep forest green and cream creates a striking contrast that elevates any winter outfit. Best of all, this free pattern is beginner-friendly, with clear instructions and a forgiving worsted-weight yarn that works up quickly. Let's dive in and create something beautiful together!
Materials Needed
Before you begin, gather the following supplies. Having everything ready will make your knitting experience smooth and enjoyable.
- Yarn: Worsted weight yarn (e.g., Lion Brand Wool-Ease) in two contrasting colors:
- Main Color (MC) – Deep Forest Green (approx. 100 yards)
- Contrast Color (CC) – Cream (approx. 150 yards)
- Needles: US Size 7 (4.5 mm) knitting needles (or size needed to obtain gauge)
- Cable needle
- Stitch holder (or scrap yarn)
- Tapestry needle (for weaving in ends)
- Scissors
Gauge: 20 stitches and 26 rows = 4 inches in stockinette stitch. Always check your gauge before starting to ensure your mitts fit perfectly. If your gauge is off, adjust your needle size accordingly.
Step-by-Step Instructions
Size: Adult Medium (7.5 inches hand circumference)
Abbreviations
- CO: cast on
- K: knit
- P: purl
- C4F: slip 2 stitches to cable needle, hold in front, knit next 2 stitches, then knit 2 from cable needle
- C4B: slip 2 stitches to cable needle, hold in back, knit next 2 stitches, then knit 2 from cable needle
- M1L: make one left (increase)
- M1R: make one right (increase)
- K2tog: knit two together
- SSK: slip slip knit (decrease)
- BO: bind off
Right Mitt
Cuff
- With MC, CO 40 stitches.
- Row 1 (RS): *K2, P2* repeat to end.
- Row 2 (WS): *P2, K2* repeat to end.
- Repeat Rows 1-2 for 2 inches (about 12 rows). This ribbed cuff will provide a snug, comfortable fit around your wrist.
Hand Body
- Switch to CC for the main body. Carry MC along the side for later use (you'll need it for the top edge).
- Row 1 (RS): K10, P1, C4F, P1, K10, P1, C4B, P1, K10 (total 40 stitches). The cable crosses create the beautiful braided effect.
- Row 2 (WS): P10, K1, P4, K1, P10, K1, P4, K1, P10. The purl stitches on the wrong side maintain the cable structure.
- Row 3 (RS): K10, P1, K4, P1, K10, P1, K4, P1, K10. This row sets up the cable twist for the next repeat.
- Row 4 (WS): P10, K1, P4, K1, P10, K1, P4, K1, P10.
- Row 5 (RS): K10, P1, C4B, P1, K10, P1, C4F, P1, K10. Notice the cables now twist in the opposite direction, creating the braided effect.
- Row 6 (WS): P10, K1, P4, K1, P10, K1, P4, K1, P10.
- Row 7 (RS): K10, P1, K4, P1, K10, P1, K4, P1, K10.
- Row 8 (WS): P10, K1, P4, K1, P10, K1, P4, K1, P10.
- Repeat Rows 1-8 until piece measures 4 inches from cuff (about 26 rows). The cable pattern will form a stunning vertical braid along the back of your hand.
Thumb Gusset
- Next Row (RS): K10, P1, K4, P1, K10, M1R, K1, M1L, K10 (42 stitches). The increases create a wedge shape for your thumb.
- Next Row (WS): Purl all stitches, keeping the cable pattern as established (P10, K1, P4, K1, P10, K1, P4, K1, P12).
- Continue in pattern, increasing 2 stitches every 4th row (M1R before center stitch, M1L after) until you have 13 stitches between the increases (about 6 increases total). The gusset should feel roomy enough for your thumb.
- Work even in pattern until thumb gusset measures 1.5 inches. This ensures your thumb has enough space to move comfortably.
Separate Thumb
- Next Row (RS): Work in pattern across first 20 stitches, place next 13 stitches on a stitch holder, then work remaining stitches in pattern (total 29 stitches on needle). The held stitches will become your thumb.
- Continue in pattern (cables as established) for 2 more inches, ending with a WS row. This section covers your hand up to your fingers.
Top Edge
- Switch back to MC.
- Row 1 (RS): *K2, P2* repeat to end.
- Row 2 (WS): *P2, K2* repeat to end.
- Repeat Rows 1-2 for 1 inch. This ribbed top edge keeps the mitt securely in place.
- BO in pattern (knit the knits and purl the purls as you bind off).
Thumb
- Pick up 13 stitches from holder, plus 2 stitches from the gap (15 stitches total). The extra stitches prevent holes at the thumb base.
- Work in stockinette stitch (knit RS, purl WS) for 1.5 inches. The thumb should cover your thumb comfortably.
- Next Row (RS): K2tog across all stitches (8 stitches remain). This decreases the circumference for a neat finish.
- Cut yarn, thread through remaining stitches, pull tight, and weave in ends. Your thumb is complete!
Left Mitt
- Work same as right mitt, but mirror the thumb gusset (place increases on the opposite side). This means your M1R and M1L will be reversed to create a symmetrical pair.
- Reverse cable directions (C4F becomes C4B and vice versa) for symmetry. This ensures both mitts look identical when worn.
Finishing
- Weave in all loose ends using your tapestry needle. Take your time to ensure they're secure and invisible.
- Block gently to shape. Wet blocking works beautifully with worsted weight yarn – soak the mitts in lukewarm water, gently squeeze out excess, and lay flat to dry, shaping as needed.
Note: The cable pattern creates a beautiful braided effect along the back of the hand, while the ribbed cuff and top edge provide a snug, comfortable fit. The contrast between the deep forest green and cream adds a touch of Nordic elegance to any winter wardrobe.
These mitts make wonderful gifts for loved ones (or a treat for yourself!). Once you've mastered the cable technique, you'll find yourself reaching for this pattern again and again. Happy knitting!