The Harvest Moon Pumpkin Trio Free Pattern – A Stacked Amigurumi Centerpiece
The Harvest Moon Pumpkin Trio Free Pattern – A Stacked Amigurumi Centerpiece
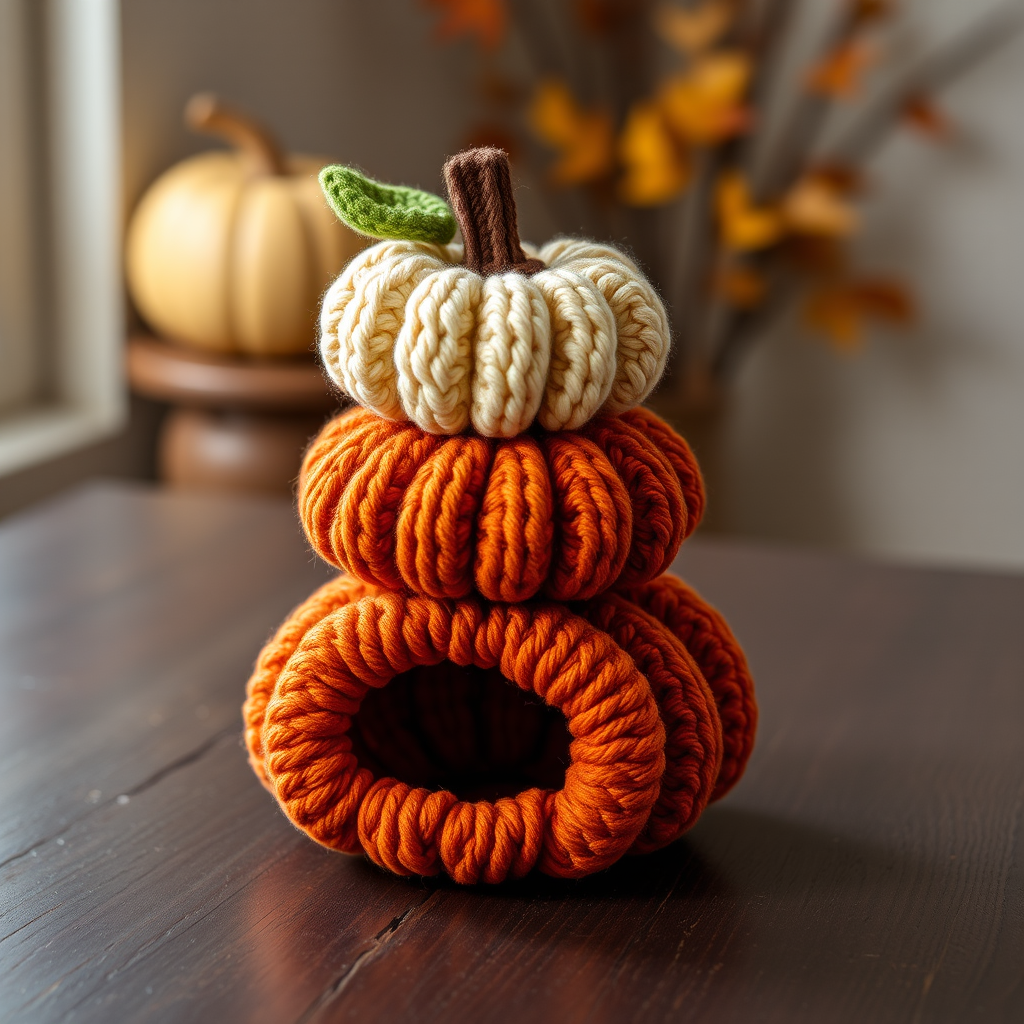
Bring the charm of a rustic autumn porch inside with this whimsical stack of three crocheted pumpkins, each with its own cozy personality. Perfect for mantels, tablescapes, or a heartfelt handmade gift, this free amigurumi pumpkin pattern is beginner-friendly and works up quickly in worsted weight yarn. The trio features a deep burnt orange base, a muted terracotta middle, and a soft cream top—creating a delightful gradient that screams harvest season. Whether you're decorating for Thanksgiving or just craving cozy fall vibes, this stacked pumpkin centerpiece will become a treasured piece of your autumn decor.
Materials Needed
Before you begin, gather the following supplies. All yarn amounts are small—perfect for using up scraps from your stash!
- Yarn: Worsted weight cotton or acrylic yarn in three shades:
- Deep burnt orange (for the bottom/largest pumpkin)
- Muted terracotta (for the middle pumpkin)
- Soft cream (for the top/smallest pumpkin)
- Small amount of brown (for stems)
- Small amount of green (for leaves)
- Hook: 3.5mm (E) crochet hook
- Gauge: 4 sc x 4 rows = 1 inch (not critical for amigurumi, but keep consistent tension)
- Other: Stitch marker, yarn needle, polyester fiberfill stuffing, scissors
Step-by-Step Instructions
This pattern creates three pumpkins of different sizes that stack on top of each other. Each pumpkin is worked in continuous spirals unless noted. Use a stitch marker to track rounds. The instructions below are detailed and complete—follow them carefully for perfect results.
Small Pumpkin (Top)
Body:
- R1: Magic ring, 6 sc (6)
- R2: Inc in each st around (12)
- R3: (Sc in next st, inc) around (18)
- R4: (Sc in next 2 sts, inc) around (24)
- R5-7: Sc in each st around (24)
- R8: (Sc in next 2 sts, dec) around (18)
- R9: (Sc in next st, dec) around (12)
- Stuff firmly.
- R10: Dec around (6)
- Fasten off, weave in end.
Stem: With brown, ch 5, sc in 2nd ch from hook and across (4). Fasten off, leaving a tail to sew onto the top center of the pumpkin.
Medium Pumpkin (Middle)
Body:
- R1: Magic ring, 6 sc (6)
- R2: Inc in each st around (12)
- R3: (Sc in next st, inc) around (18)
- R4: (Sc in next 2 sts, inc) around (24)
- R5: (Sc in next 3 sts, inc) around (30)
- R6-9: Sc in each st around (30)
- R10: (Sc in next 3 sts, dec) around (24)
- R11: (Sc in next 2 sts, dec) around (18)
- R12: (Sc in next st, dec) around (12)
- Stuff firmly.
- R13: Dec around (6)
- Fasten off, weave in end.
Stem: With brown, ch 6, sc in 2nd ch from hook and across (5). Fasten off, leaving a tail to sew onto the top center.
Large Pumpkin (Bottom)
Body:
- R1: Magic ring, 6 sc (6)
- R2: Inc in each st around (12)
- R3: (Sc in next st, inc) around (18)
- R4: (Sc in next 2 sts, inc) around (24)
- R5: (Sc in next 3 sts, inc) around (30)
- R6: (Sc in next 4 sts, inc) around (36)
- R7-12: Sc in each st around (36)
- R13: (Sc in next 4 sts, dec) around (30)
- R14: (Sc in next 3 sts, dec) around (24)
- R15: (Sc in next 2 sts, dec) around (18)
- R16: (Sc in next st, dec) around (12)
- Stuff firmly.
- R17: Dec around (6)
- Fasten off, weave in end.
Stem: With brown, ch 7, sc in 2nd ch from hook and across (6). Fasten off, leaving a tail to sew onto the top center.
Leaves (Make 3 – One for Each Pumpkin)
With green, ch 8. Sc in 2nd ch from hook, hdc in next, dc in next 3, hdc in next, sc in last. Fasten off, leaving a tail. Sew a leaf to the base of each stem.
Assembly
Stack the pumpkins from largest (bottom) to smallest (top). Using a yarn needle and matching thread, sew the pumpkins together at their touching points (a few stitches through the base of the top pumpkin and the top of the bottom pumpkin). Ensure the stems are aligned. Weave in all ends securely.
Tips for Perfect Results
- Maintain consistent tension throughout—this ensures your pumpkins are evenly shaped and stack neatly.
- Stuff firmly but not overly tight—the pumpkins should feel squishy yet hold their shape.
- Use a stitch marker to track your rounds, especially when working in continuous spirals.
- Align the stems before sewing the pumpkins together to create a visually pleasing stack.
Once assembled, your Harvest Moon Pumpkin Trio will be a stunning centerpiece for your fall table, mantel, or entryway. The soft, squishy texture and charming rustic colors make it a joy to display—and an even sweeter gift for someone special. Happy crocheting!



