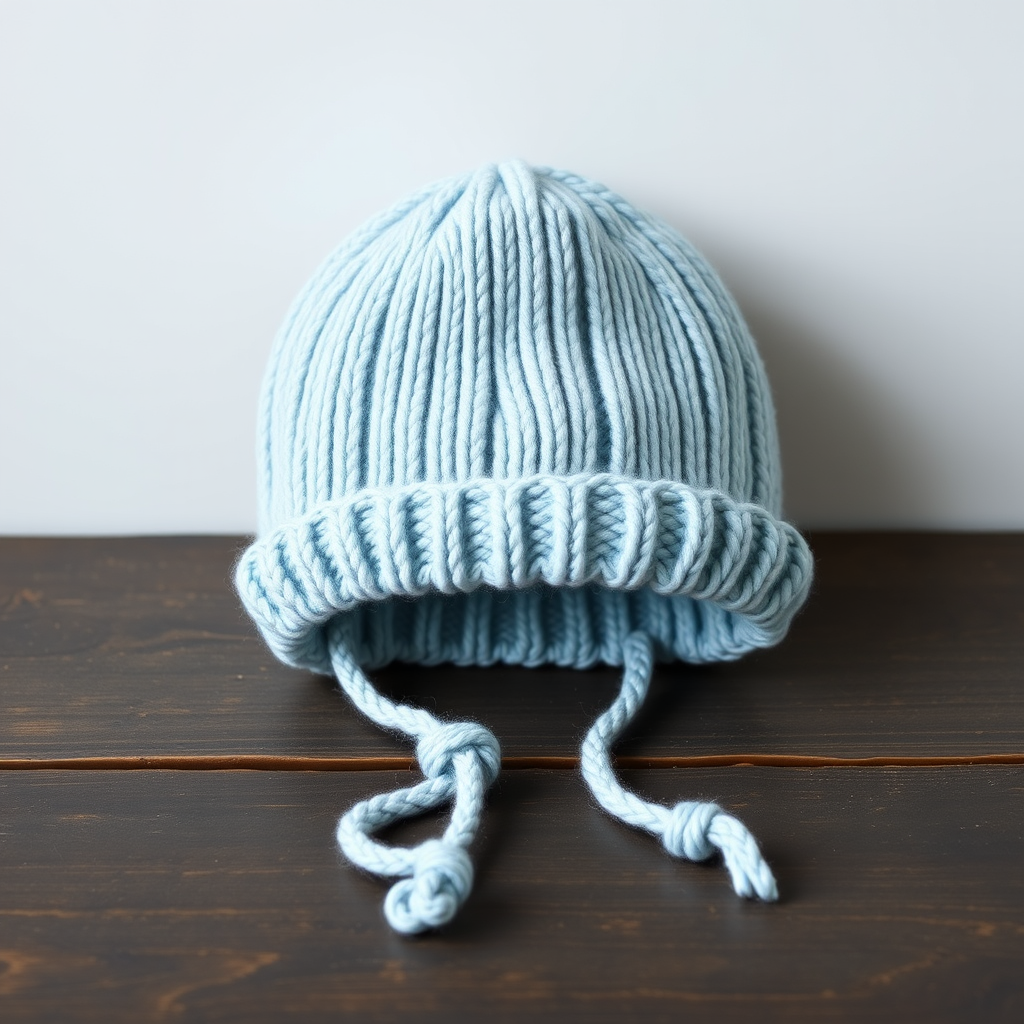
The Moonlit Acorn Knit Baby Hat Free Pattern – A Woodland Slumber Cap

The Moonlit Acorn Knit Baby Hat Free Pattern – A Woodland Slumber Cap
Wrap your little one in the quiet magic of the forest with this whimsical acorn-inspired knit hat, complete with a textured cap and a leafy stem. This heirloom-quality pattern is a cozy, imaginative twist on classic baby wear. Whether you're knitting for a newborn or a preemie, this hat is a quick, satisfying project that uses just 100 yards of worsted weight yarn. The warm brown body and forest green stem create a woodland charm that's perfect for autumn photos, baby showers, or simply keeping tiny heads warm. Let's get started!
Materials Needed
Before you begin, gather the following supplies. This pattern is designed for beginners, so you only need a few basic tools:
- Yarn: Worsted weight yarn in warm brown (MC) and forest green (CC), approximately 100 yards total. A soft, washable wool or acrylic blend works best for baby items.
- Needles: US 6 (4.0 mm) 16-inch circular needle and double-pointed needles (or size needed for gauge). You'll need DPNs for the crown shaping and the I-cord stem.
- Gauge: 20 stitches and 28 rows = 4 inches in stockinette stitch. Always knit a swatch to ensure your hat fits correctly.
- Notions: Stitch marker, tapestry needle for weaving in ends, scissors.
Step-by-Step Instructions
This pattern includes sizes for Preemie (Newborn). The finished circumference is 10 (12) inches. Follow the instructions carefully, and you'll have a beautiful acorn hat in no time.
Abbreviations
- k = knit
- p = purl
- k2tog = knit two together (decrease)
- pm = place marker
- st(s) = stitch(es)
- MC = main color (brown)
- CC = contrast color (green)
Hat Body (worked in the round)
Follow these steps to create the main body of the hat. The ribbed brim gives a snug fit, while the stockinette body is smooth and comfortable.
- Cast On: With MC, cast on 48 (56) stitches. Place a marker and join in the round, being careful not to twist your stitches.
- Ribbing: Work K1, P1 ribbing for 6 (8) rounds. This creates a stretchy, snug brim that will keep the hat in place.
- Stockinette Body: Switch to stockinette stitch (knit every round) and work even until the piece measures 3.5 (4.5) inches from the cast-on edge. This is the main body of the hat, which will cover the baby's head.
Shaping the Crown
Now we'll shape the top of the hat with a series of decreases. This creates a gently tapered crown that fits snugly. Follow the rounds carefully, and remember to knit all even rounds.
- Round 1: *K6 (7), k2tog*; repeat from * to end. You should now have 42 (49) stitches.
- Round 2 and all even rounds: Knit all stitches. This maintains the stockinette pattern.
- Round 3: *K5 (6), k2tog*; repeat from * to end. You should now have 36 (42) stitches.
- Round 5: *K4 (5), k2tog*; repeat from * to end. You should now have 30 (35) stitches.
- Round 7: *K3 (4), k2tog*; repeat from * to end. You should now have 24 (28) stitches.
- Round 9: *K2 (3), k2tog*; repeat from * to end. You should now have 18 (21) stitches.
- Round 11: *K1 (2), k2tog*; repeat from * to end. You should now have 12 (14) stitches.
- Round 13: *K2tog*; repeat from * to end. You should now have 6 (7) stitches.
- Finish: Cut the yarn, leaving a 6-inch tail. Thread the tail through a tapestry needle, then pass it through the remaining stitches. Pull tight to close the hole, and secure the yarn on the inside of the hat.
Leafy Stem (make 2, one for each size)
The stem is the signature acorn detail. It's a simple I-cord that curls naturally, mimicking a real acorn's stem.
- Cast On: With CC, cast on 3 stitches onto a double-pointed needle.
- I-Cord: Knit an I-cord for 2 inches. To do this, knit the 3 stitches, then slide them to the other end of the needle without turning. Pull the yarn tightly across the back and knit again. Repeat until the cord measures 2 inches.
- Shape the Tip: Next row: K1, k2tog (2 stitches). Next row: K2tog (1 stitch). Cut the yarn and pull it through the remaining stitch to secure.
- Attach: Sew the stem to the top of the hat, curling it slightly for a natural look. Position it at the center of the crown, and use a few small stitches to secure it firmly.
Finishing Touches
Your acorn hat is almost complete! Follow these final steps to make it perfect.
- Weave in Ends: Use a tapestry needle to weave in all loose ends on the inside of the hat. This ensures a clean, professional finish.
- Optional Acorn Cap Detail: For an extra touch, crochet a tiny circle with CC and attach it near the stem. This mimics the cap of an acorn. To do this, make a magic ring, chain 2, work 6 single crochets into the ring, and pull tight. Sew it flat onto the hat near the stem.
- Block (Optional): If desired, gently wet block the hat to even out the stitches. Lay it flat to dry, shaping it as needed.
And there you have it—a beautiful, heirloom-quality acorn hat that's perfect for your little one. This pattern is quick to knit, uses minimal yarn, and makes a thoughtful handmade gift. The woodland charm of the brown and green combination will surely become a favorite. Happy knitting!