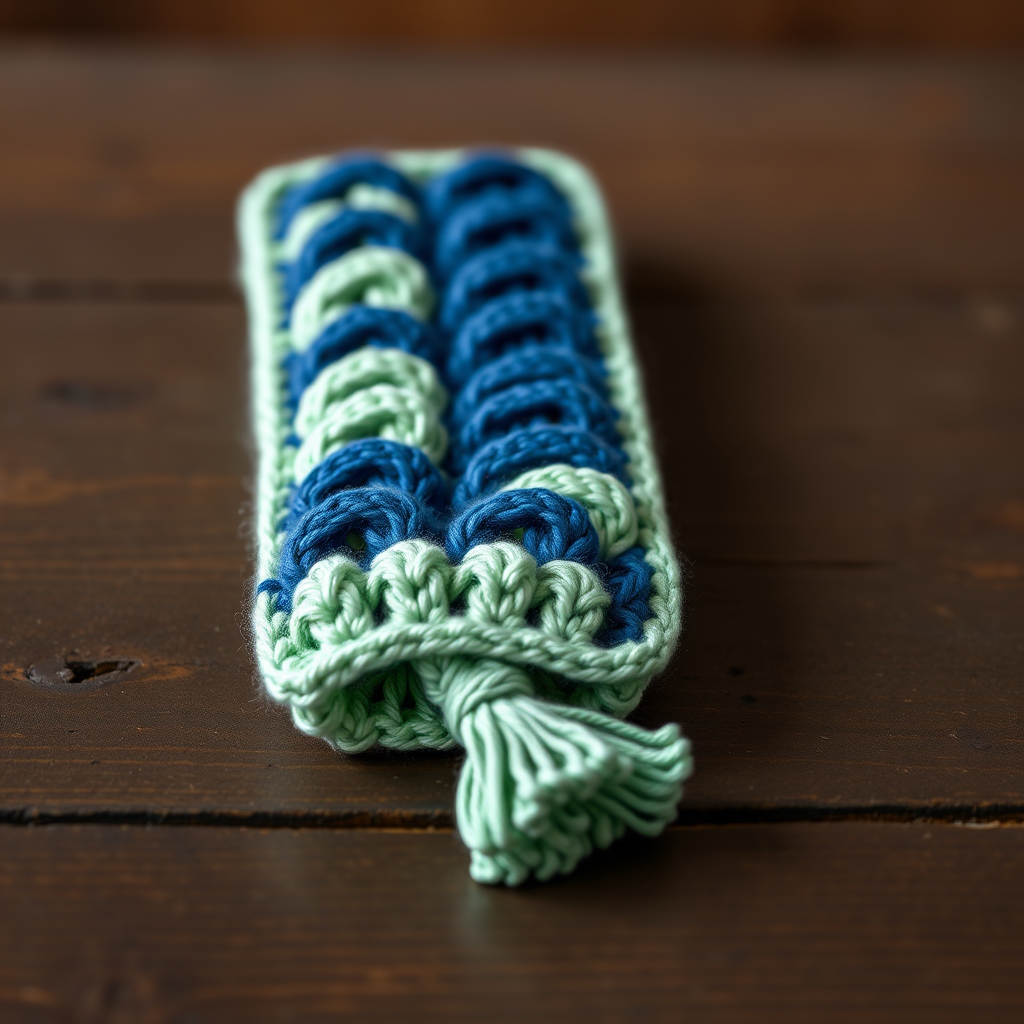
The Whispering Fern Pocket Bookmark: A Free Crochet Pattern for a Textured, Leafy Keepsake
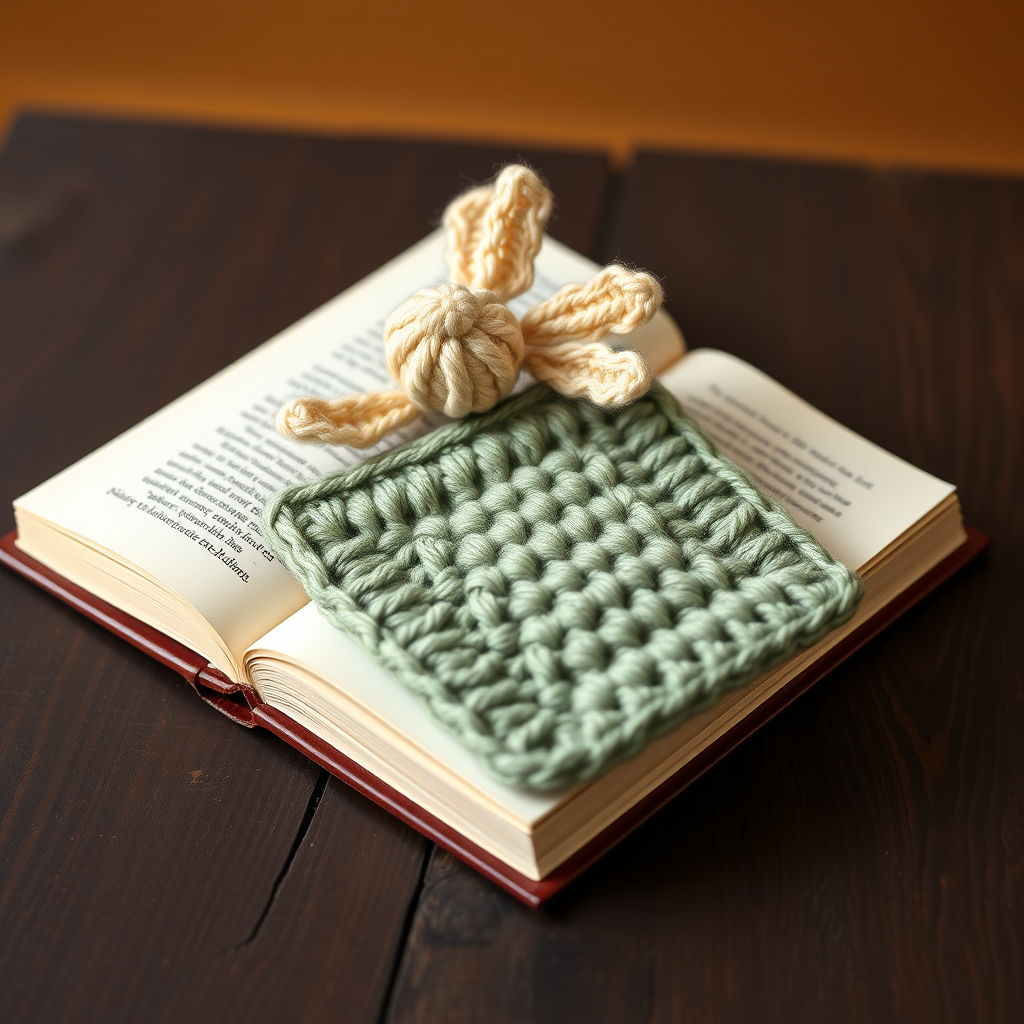
Introducing the Whispering Fern Pocket Bookmark
Tuck a little bit of nature into your next read with this crochet pocket bookmark, featuring a delicate, textured fern motif that peeks out from the top. It's a quick, satisfying project that adds a touch of botanical charm to any book. Perfect for beginners looking to try something new or intermediate crocheters wanting a fast, giftable project, this bookmark combines a simple pocket base with a charming, three-dimensional fern. The soft cotton yarn and earthy colors make it a cozy companion for any book lover.
Materials Needed
- Yarn: Worsted weight (#4) cotton yarn in two colors:
- Main Color (MC): A soft, muted sage green (approx. 20 yds). Example: Lion Brand 24/7 Cotton in 'Sage'.
- Contrast Color (CC): A warm, creamy off-white (approx. 10 yds). Example: Lion Brand 24/7 Cotton in 'Ecru'.
- Hook: US Size G/6 (4.0 mm) crochet hook
- Other: Yarn needle, scissors, stitch markers (optional)
Gauge: Gauge is not critical for this project, but for reference: 16 sc x 18 rows = 4 inches (10 cm) in single crochet with MC.
Step-by-Step Instructions
Part 1: Pocket Base (Make 2 identical pieces with MC)
These two rectangles will form the front and back of the pocket. They are worked flat in rows.
- Row 1: Chain 11. Single crochet in the 2nd chain from the hook and in each chain across. (10 single crochet stitches). Chain 1, turn.
- Row 2-20: Single crochet in each stitch across. (10 single crochet stitches). Chain 1, turn.
- Row 21: Single crochet in each stitch across. (10 single crochet stitches). Fasten off, leaving a long tail (about 12 inches) for sewing. Repeat these 21 rows to make a second identical piece.
Part 2: Fern Motif (Make 1 with CC)
This creates the small, round "spore" at the center of the fern. It is worked in continuous rounds (do not join unless specified).
- Round 1: With CC, make a magic ring. Chain 1, work 6 single crochet into the ring. Pull the ring tight. Slip stitch to the first single crochet to join. (6 stitches)
- Round 2: Chain 1, work 2 single crochet in each stitch around. Slip stitch to join. (12 stitches)
- Round 3: Chain 1, *single crochet in next stitch, 2 single crochet in next stitch* repeat from * to * around. Slip stitch to join. (18 stitches)
- Round 4: Chain 1, *single crochet in next 2 stitches, 2 single crochet in next stitch* repeat from * to * around. Slip stitch to join. (24 stitches)
- Round 5: Chain 1, *single crochet in next 3 stitches, 2 single crochet in next stitch* repeat from * to * around. Slip stitch to join. (30 stitches)
- Round 6: Chain 1, *single crochet in next 4 stitches, 2 single crochet in next stitch* repeat from * to * around. Slip stitch to join. (36 stitches)
- Round 7: Chain 1, *single crochet in next 5 stitches, 2 single crochet in next stitch* repeat from * to * around. Slip stitch to join. (42 stitches)
- Round 8: Chain 1, single crochet in each stitch around. Slip stitch to join. (42 stitches)
- Round 9: Chain 1, *single crochet in next 5 stitches, single crochet 2 together* repeat from * to * around. Slip stitch to join. (36 stitches)
- Round 10: Chain 1, *single crochet in next 4 stitches, single crochet 2 together* repeat from * to * around. Slip stitch to join. (30 stitches)
- Round 11: Chain 1, *single crochet in next 3 stitches, single crochet 2 together* repeat from * to * around. Slip stitch to join. (24 stitches)
- Round 12: Chain 1, *single crochet in next 2 stitches, single crochet 2 together* repeat from * to * around. Slip stitch to join. (18 stitches)
- Round 13: Chain 1, *single crochet in next stitch, single crochet 2 together* repeat from * to * around. Slip stitch to join. (12 stitches)
- Round 14: Chain 1, *single crochet 2 together* repeat from * to * around. Slip stitch to join. (6 stitches)
- Fasten off, leaving a long tail (about 8 inches). Thread the tail through a yarn needle, weave it through the front loops of the remaining 6 stitches, and pull tight to close the sphere. Set aside.
Part 3: Fern Fronds (Make 3 with CC)
These are the leaf-like structures that radiate from the sphere. Each frond is worked in rows along a chain.
Frond 1 (Longest):
- Chain 15.
- Starting in the 2nd chain from the hook, work the following sequence: *slip stitch in next chain, single crochet in next chain, half double crochet in next chain, double crochet in next 2 chains, half double crochet in next chain, single crochet in next chain, slip stitch in next chain* repeat from * to * once more. You will have used 12 chains total (6 on each side of the pattern).
- Chain 1, turn. Working back along the opposite side of the chain (the unused loops), repeat the same sequence: *slip stitch in next chain, single crochet in next chain, half double crochet in next chain, double crochet in next 2 chains, half double crochet in next chain, single crochet in next chain, slip stitch in next chain* repeat from * to * once more.
- Fasten off, leaving a long tail (about 6 inches).
Frond 2 (Medium):
- Chain 11.
- Repeat the same pattern as Frond 1, but with 8 chains used for the pattern (4 on each side). This means you will work the sequence *slip stitch, single crochet, half double crochet, double crochet in next 2, half double crochet, single crochet, slip stitch* only once on each side.
- Chain 1, turn, repeat on the opposite side. Fasten off, leaving a long tail.
Frond 3 (Shortest):
- Chain 7.
- Repeat the same pattern as Frond 1, but with 4 chains used for the pattern (2 on each side). This means you will work: slip stitch, single crochet, half double crochet, double crochet in next 2, half double crochet, single crochet, slip stitch – but only the first half of the sequence on each side. Specifically: slip stitch in next chain, single crochet in next chain, half double crochet in next chain, double crochet in next 2 chains. Then chain 1, turn, and work back: double crochet in next 2 chains, half double crochet, single crochet, slip stitch.
- Fasten off, leaving a long tail.
Part 4: Assembly
- Sew the pocket: Take the two pocket pieces (from Part 1). Using the long tail from one piece, sew them together along the bottom edge and both side edges, leaving the top edge open. Use a whip stitch or mattress stitch for a neat finish. Weave in all ends from the pocket.
- Attach the fern: Position the fern sphere (from Part 2) at the top center of the front pocket piece. Arrange the three fronds (from Part 3) so they radiate outward from the sphere, with the longest in the middle and the shorter ones on the sides, cascading over the top edge of the pocket. Use the long tails from the sphere and fronds to sew them securely to the front of the pocket. Make sure the fronds are attached firmly so they don't flop.
- Finish: Weave in all remaining ends. Trim any excess yarn.
Your Whispering Fern Pocket Bookmark is now ready to tuck into your favorite book! Enjoy the botanical charm and cozy texture.