The Whispering Pines Off-Shoulder Sweater: A Free Knitting Pattern for a Cozy, Textured Yoke
Introduction: Embrace the Quiet Luxury of the Whispering Pines Off-Shoulder Sweater
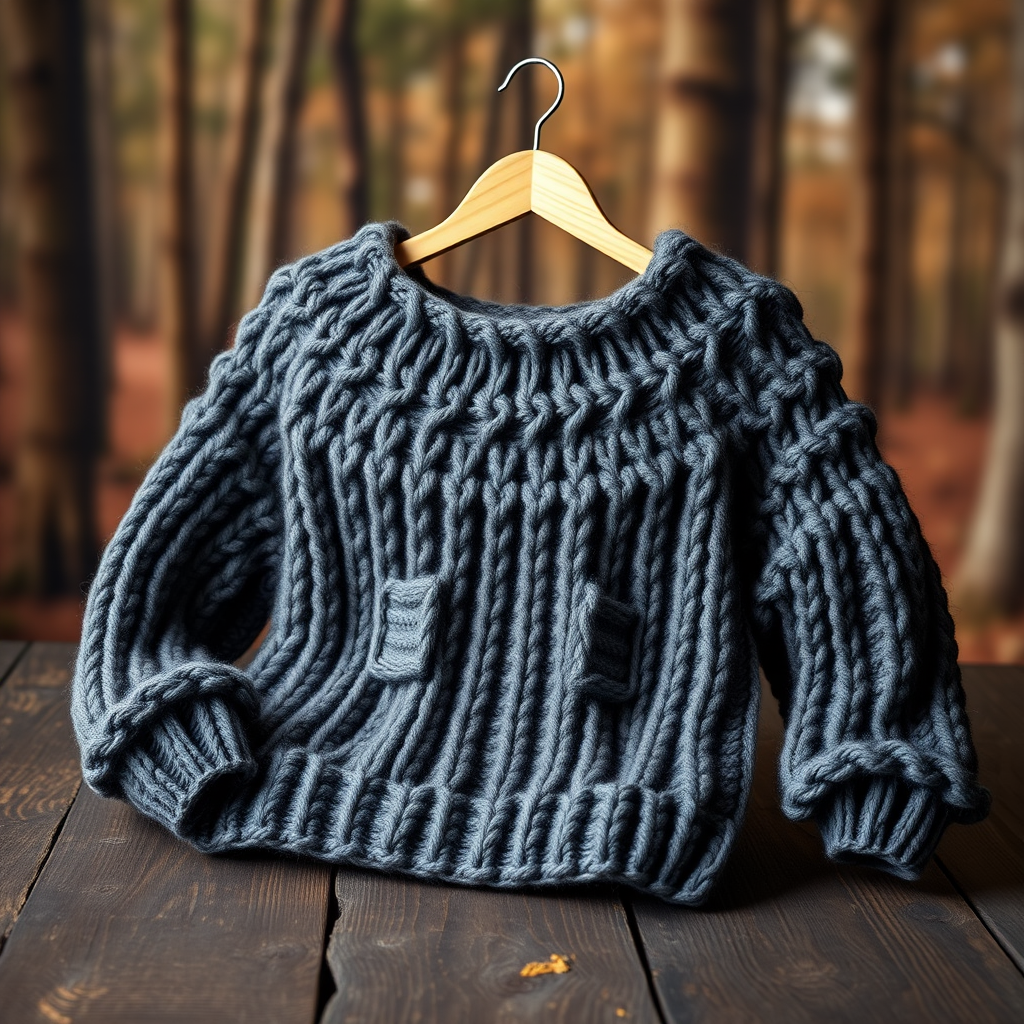
There is a profound joy in creating something both beautiful and functional with your own hands. The Whispering Pines Off-Shoulder Sweater is more than just a garment; it's an invitation to slow down, to feel the yarn slip through your fingers, and to watch a textured masterpiece emerge row by row. This modern, cozy sweater features a deeply textured yoke that mimics the bark of ancient pines, offering a stunning contrast against the smooth, stockinette body and sleeves. Knit seamlessly from the top down, this pattern is designed to be both inspiring and accessible, guiding you through every step to create a piece you'll treasure for years. Whether you're curled up by the fire or stepping out for a crisp autumn walk, this sweater is your perfect companion.
Materials Needed: Gathering Your Tools for Success
Before you begin, ensure you have the following materials ready. Using the correct tools and yarn is crucial for achieving the beautiful drape and texture of this sweater.
Yarn
- Weight: Aran weight (10 ply) wool or wool-blend yarn.
- Amount: Approximately 800 (900, 1000, 1100, 1200) yards, depending on size.
- Sample Yarn: Cascade 220 in 'Charcoal Heather' (or any similar Aran weight yarn).
Needles & Notions
- Smaller Needles: US 7 (4.5 mm) 16-inch and 32-inch circular needles (for ribbing).
- Larger Needles: US 8 (5.0 mm) 16-inch and 32-inch circular needles (for main fabric), or size to obtain gauge.
- Notions: Stitch markers (at least 4), tapestry needle for weaving in ends.
Gauge
18 stitches and 24 rows = 4 inches in stockinette stitch on larger needles, after blocking. Always take the time to check your gauge. A small difference can significantly alter the final fit of your sweater.
Step-by-Step Instructions: Crafting Your Whispering Pines Sweater
Follow these detailed instructions carefully. The sweater is worked from the top down, starting with the yoke, then joining for the body, and finally adding the sleeves. Take your time, and enjoy the process!
Sizes & Abbreviations
Sizes: XS (S, M, L, XL) – Finished bust: 32 (36, 40, 44, 48) inches.
Abbreviations: CO – cast on, k – knit, p – purl, k2tog – knit two together, yo – yarn over, pm – place marker, sm – slip marker, M1L – make one left, M1R – make one right, RS – right side, WS – wrong side.
Special Stitch: Pine Bark Stitch (worked flat over a multiple of 4 + 2 stitches)
This stitch creates the beautiful, textured yoke. Practice it on a swatch first to get comfortable with the pattern.
- Row 1 (RS): *K2, p2; repeat from * to last 2 sts, k2.
- Row 2 (WS): *P2, k2; repeat from * to last 2 sts, p2.
- Row 3: *P2, k2; repeat from * to last 2 sts, p2.
- Row 4: *K2, p2; repeat from * to last 2 sts, k2.
Yoke: Starting at the Neckline
- Cast On & Ribbing: Using the smaller needles (US 7) and the long-tail method, CO 80 (88, 96, 104, 112) sts. Join in the round, being careful not to twist. Place a marker to indicate the beginning of the round. Work in k2, p2 ribbing for 1.5 inches.
- Switch to Larger Needles: Switch to the larger needles (US 8). Knit 1 round even.
- Set up for Pine Bark Yoke (worked back and forth): You will now work the yoke in rows to create the off-shoulder drop. Do not join in the round.
- Row 1 (RS): K2, pm, work Pine Bark Stitch over next 76 (84, 92, 100, 108) sts, pm, k2. Turn.
- Row 2 (WS): P2, sm, work Row 2 of Pine Bark Stitch over next 76 (84, 92, 100, 108) sts, sm, p2. Turn.
- Continue working in Pine Bark Stitch over the center stitches, keeping 2 stitches in stockinette at each edge (these will be the shoulder seams). Work until piece measures 4 (4.5, 5, 5.5, 6) inches from cast-on edge, ending with a WS row.
Join for Body: Creating the Seamless Silhouette
- Next row (RS): K2, sm, work Pine Bark Stitch across next 76 (84, 92, 100, 108) sts, sm, k2. Do not turn.
- Cast on underarm stitches: Using the cable cast-on method, cast on 4 (6, 8, 10, 12) sts for the first underarm. Place a marker for the new beginning of the round. Cast on 4 (6, 8, 10, 12) sts for the second underarm. Join in the round. You now have 84 (94, 104, 114, 124) sts for the body.
Body: Knitting the Smooth Stockinette
- Knit the body: Knit every round in stockinette stitch until the body measures 10 (11, 12, 13, 14) inches from the underarm, or to your desired length to the hem.
- Hem Ribbing: Switch to the smaller needles (US 7). Work in k2, p2 ribbing for 2 inches. Bind off loosely in pattern. A stretchy bind-off like the Jeny's Surprisingly Stretchy Bind-Off is recommended for a flexible edge.
Sleeves: Adding the Finishing Touches
- Pick up stitches: With the smaller needles (US 7) and the RS facing, pick up and knit 40 (44, 48, 52, 56) sts evenly around the armhole. Place a marker to indicate the beginning of the round.
- Sleeve Ribbing: Work in k2, p2 ribbing for 1.5 inches. Bind off loosely in pattern.
- Repeat for second sleeve.
Finishing: Bringing It All Together
- Weave in ends: Using a tapestry needle, carefully weave in all yarn ends on the wrong side of the work.
- Blocking: Block the sweater to the specified measurements. Gently stretch the yoke to open up the Pine Bark texture. Lay flat to dry. This step is essential for a professional finish and to ensure the texture is fully realized.
Congratulations! You have just completed your very own Whispering Pines Off-Shoulder Sweater. Wear it with pride, knowing you created a piece of wearable art that is as cozy as it is chic.


