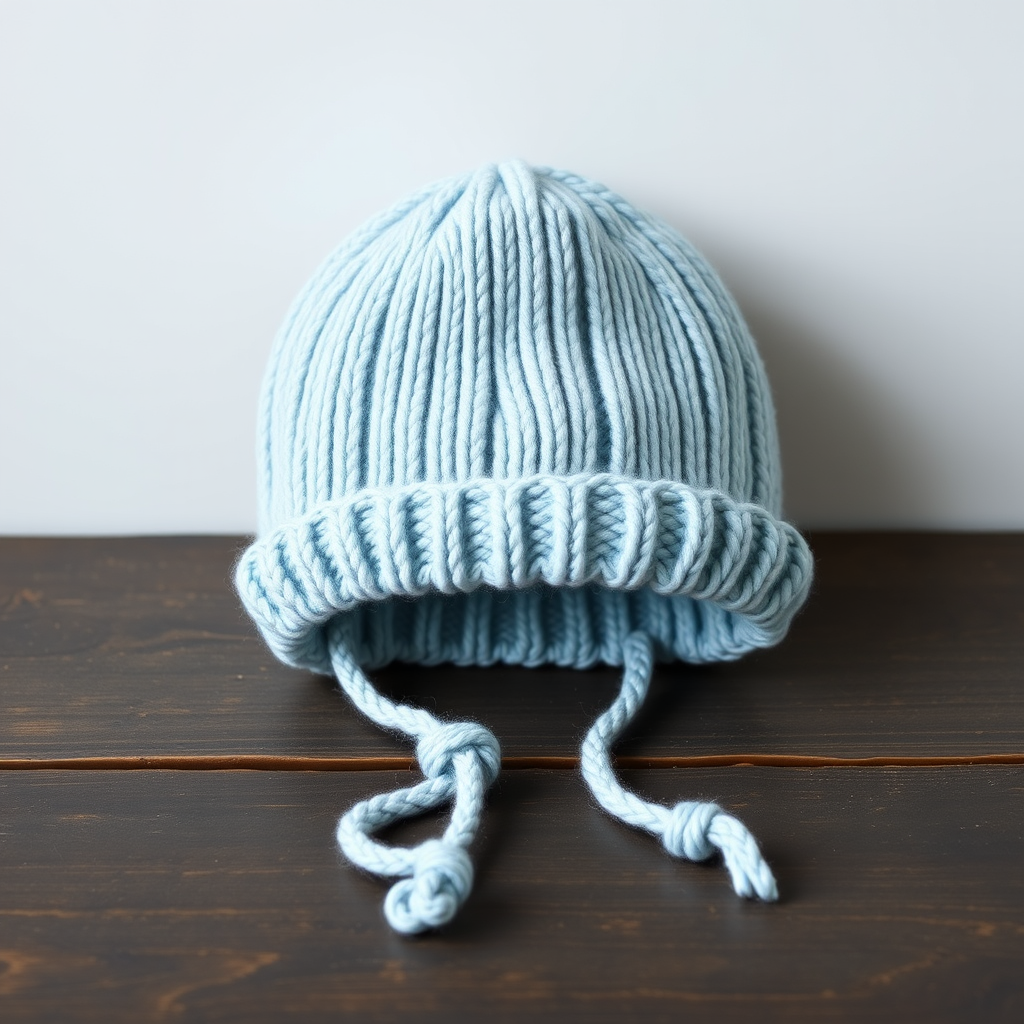
The Willow Wisp Newborn Chick Cocoon and Hat Free Pattern – A Featherlight Knit with Seed Stitch Charm

The Willow Wisp Newborn Chick Cocoon and Hat: A Featherlight Knit with Seed Stitch Charm
There is something truly magical about creating a handmade gift for a new baby. The Willow Wisp Newborn Chick Cocoon and Hat set is the perfect project for knitters who want to craft an heirloom-quality piece that is both functional and adorable. This two-piece set features a delicate seed stitch that mimics fluffy chick down, transitioning into a smooth stockinette body for a modern, cozy aesthetic. Designed to be breathable and snug, this set is a beautiful twist on the classic baby shower gift. Whether you are a seasoned knitter or a confident beginner looking for a rewarding challenge, this free pattern will guide you through every step to create a stunning, handcrafted treasure.
This pattern is worked flat and then seamed, making it accessible for knitters who prefer straight needles. The accompanying hat is quick to knit and features a charming embroidered chick face, adding a playful, personalized touch. The finished set is soft, pliable, and perfect for the newest arrival, making it an unforgettable gift that will be cherished for years to come.
Materials Needed
Before you begin, gather the following materials to ensure a smooth and enjoyable knitting experience. The Willow Wisp set uses simple, readily available supplies.
Yarn
- Main Color (MC): Worsted weight (Category 4) yarn in soft butter yellow. You will need approximately 350 yards. This warm, sunny hue is perfect for a spring chick.
- Contrast Color (CC): A small amount of white yarn (approximately 50 yards) for the chick face details, if you choose to embroider the eyes.
- Orange Yarn or Felt: A tiny scrap for the beak. You can use a small piece of orange yarn for a straight stitch or a small piece of orange felt for a no-sew option.
Needles and Notions
- Knitting Needles: US Size 7 (4.5 mm) knitting needles. You can use straight needles for the cocoon and hat, or a circular needle for the cocoon if you prefer. For the hat, you may want double-pointed needles (DPNs) for the final crown shaping, though you can also finish it on straight needles.
- Yarn Needle: A tapestry needle for seaming and weaving in ends.
- Scissors: For cutting yarn.
- Stitch Markers (optional): Helpful for keeping track of your rows, especially during the shaping sections.
Gauge
To ensure your cocoon and hat come out the correct size, it is crucial to check your gauge. The pattern calls for 20 stitches and 28 rows = 4 inches in stockinette stitch (blocked). Always knit a swatch first to confirm your tension matches the pattern. If your gauge is off, adjust your needle size accordingly.
Step-by-Step Instructions
This pattern is broken down into two main pieces: the cocoon and the hat. Each piece is worked flat and then seamed. Follow the instructions carefully, and you will have a beautiful set in no time.
Part 1: The Cocoon (Worked Flat, Then Seamed)
The cocoon is knit in one piece from the bottom up. It begins with a seed stitch panel, transitions to a smooth stockinette body, and finishes with a gathered top.
Bottom Panel (Seed Stitch)
- With MC, cast on 40 stitches.
- Row 1 (Right Side): *K1, P1; repeat from * to end of row.
- Row 2 (Wrong Side): *P1, K1; repeat from * to end of row.
- Repeat Rows 1 and 2 until the piece measures 4 inches from the cast-on edge, ending with a Wrong Side row. This seed stitch section creates the "fluffy chick down" texture at the bottom of the cocoon.
Body (Stockinette Stitch)
- Next Row (Right Side): Knit all stitches. This row creates a subtle turning ridge that visually separates the seed stitch bottom from the smooth body.
- Continue in stockinette stitch (knit all Right Side rows, purl all Wrong Side rows) until the piece measures 12 inches from the turning ridge, ending with a Wrong Side row.
Top Shaping (Decreases)
Now you will begin decreasing stitches to shape the gathered top of the cocoon.
- Row 1 (Right Side): K2, K2tog, knit to the last 4 stitches, K2tog, K2. (You will have 38 stitches).
- Row 2 (Wrong Side): Purl all stitches.
- Row 3 (Right Side): K2, K2tog, knit to the last 4 stitches, K2tog, K2. (You will have 36 stitches).
- Row 4 (Wrong Side): Purl all stitches.
- Repeat Rows 3 and 4 until you have 20 stitches remaining, ending with a Wrong Side row.
- Next Row (Right Side): K2tog across the entire row. (You will have 10 stitches).
- Cut the yarn, leaving a long tail (about 12 inches). Thread the tail through a yarn needle, then slide the needle through all 10 remaining stitches. Pull tight to gather the top of the cocoon and secure the yarn with a knot.
Finishing the Cocoon
- Fold the cocoon in half with the Right Sides together, matching the side edges.
- Using the mattress stitch or a simple whip stitch, seam the two side edges together, leaving the bottom edge open. The bottom edge is the cast-on edge with the seed stitch.
- Turn the cocoon Right Side out. The bottom edge will naturally curl up slightly, creating a cozy nest for your little one.
Part 2: The Hat (Worked Flat, Then Seamed)
The hat is a quick and satisfying knit. It features a seed stitch brim and a smooth stockinette crown with a gathered top.
Brim (Seed Stitch)
- With MC, cast on 60 stitches.
- Row 1: *K1, P1; repeat from * to end of row.
- Row 2: *P1, K1; repeat from * to end of row.
- Repeat Rows 1 and 2 until the brim measures 2 inches from the cast-on edge, ending with a Wrong Side row.
Body (Stockinette Stitch)
- Switch to stockinette stitch (knit Right Side rows, purl Wrong Side rows) and work until the piece measures 5 inches from the cast-on edge, ending with a Wrong Side row.
Crown Shaping (Decreases)
This section uses a series of decrease rows to shape the top of the hat.
- Row 1 (Right Side): *K8, K2tog; repeat from * to end of row. (You will have 54 stitches).
- Row 2 (Wrong Side): Purl all stitches.
- Row 3 (Right Side): *K7, K2tog; repeat from * to end of row. (You will have 48 stitches).
- Row 4 (Wrong Side): Purl all stitches.
- Continue decreasing in this manner on every Right Side row. The pattern is: K6, K2tog; then K5, K2tog; then K4, K2tog; and so on. Work the corresponding Wrong Side rows in purl. Continue until you have 12 stitches remaining, ending with a Wrong Side row.
- Next Row (Right Side): K2tog across the entire row. (You will have 6 stitches).
- Cut the yarn, leaving a long tail. Thread the tail through a yarn needle, slide it through the remaining 6 stitches, pull tight to gather the crown, and secure.
Finishing the Hat
- Seam the back of the hat using the mattress stitch, matching the edges carefully.
- Weave in all loose ends with your yarn needle.
Part 3: The Chick Face (Optional Embellishment)
This adorable detail brings your hat to life. You can embroider the face directly onto the hat or use felt for a simpler, no-sew option.
Embroidered Face
- Position the face on the front of the hat, about 1 inch above the seed stitch brim.
- Eyes: Using the white CC yarn, embroider two small French knots for the eyes. Place them about 1/2 inch apart.
- Beak: Using a small piece of orange yarn, create a tiny triangle beak using a simple straight stitch. You can make two small diagonal stitches that meet at a point in the center.
Felt Face (Alternative)
- Cut two small circles from white felt for the eyes and a small triangle from orange felt for the beak.
- Using a small amount of fabric glue or a few tiny stitches, attach the felt pieces to the hat in the same position described above.
Once you have completed the cocoon and hat, weave in any remaining ends and give your set a gentle block to even out the stitches. Your Willow Wisp Newborn Chick Cocoon and Hat is now ready to be gifted or used for your own little one. This set is not just a knit; it's a hug, a keepsake, and a beautiful start to a new life.