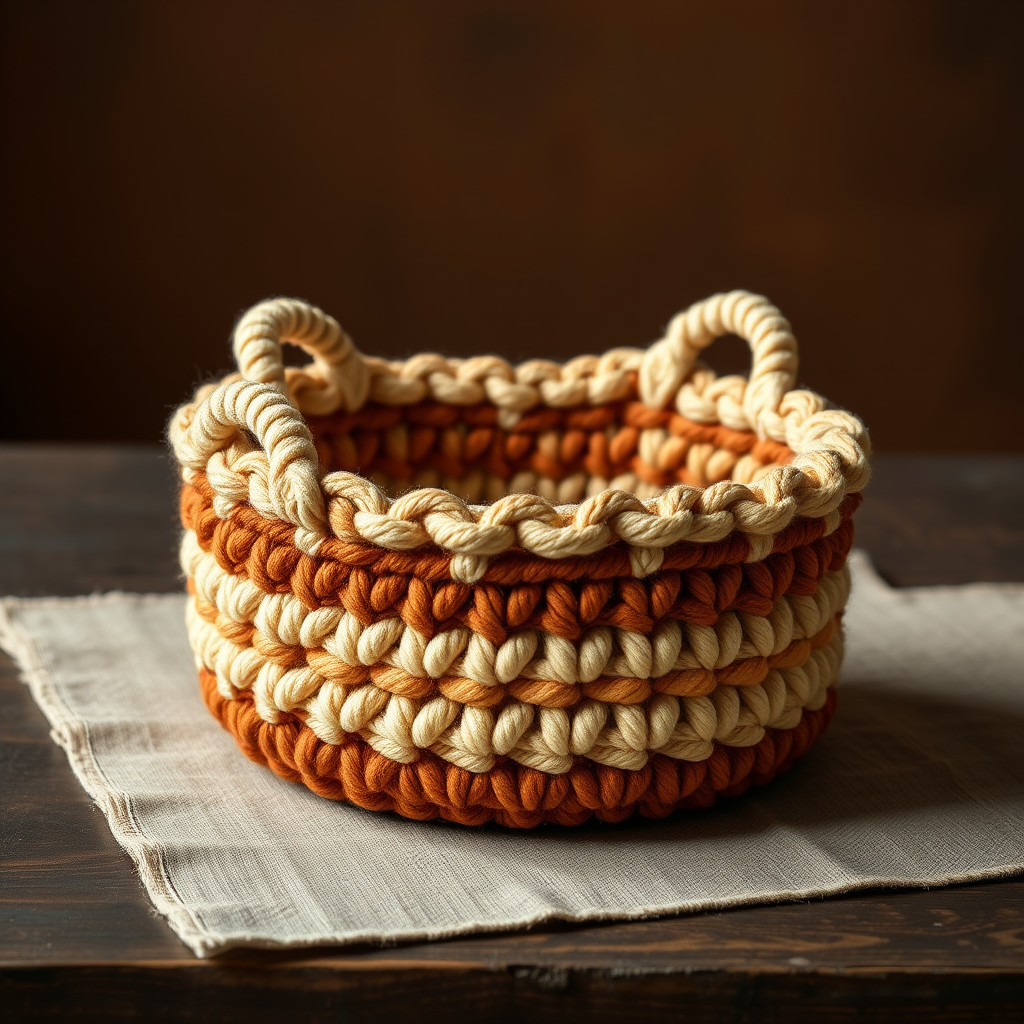
The Willowmere Scallop Basket Free Pattern – Knit a Textured Storage Haven

The Willowmere Scallop Basket: A Free Knitting Pattern for a Textured Storage Haven
Imagine a storage solution that’s as beautiful as it is functional—a soft, organic basket that brings warmth and texture to any room. The Willowmere Scallop Basket is exactly that: a modern heirloom piece with gentle scalloped edges, a chunky tactile weave, and a design that blends artisanal charm with everyday practicality. Whether you're stashing yarn, corralling toys, or draping a cozy blanket, this basket is the perfect handmade addition to your home.
This pattern is designed with beginners in mind, using simple knit and purl stitches, yarn overs, and basic decreases. The result is a stunning, textured basket that stands on its own—literally! The dense wool yarn gives it structure, while the eyelet bands and scalloped rim add a delicate, airy touch. Let’s dive in and create your own Willowmere masterpiece.
Materials Needed
Before you begin, gather the following supplies. Having everything ready will make the process smooth and enjoyable.
- Yarn: Super bulky weight yarn (approx. 250-300 yards) in a warm oatmeal or terracotta tone. For best structure, choose 100% wool or a wool-blend. The natural fibers help the basket hold its shape.
- Needles: US 13 (9 mm) circular knitting needle (16-inch length) for the body, and double-pointed needles (DPNs) in the same size for the bottom and final shaping.
- Notions: Stitch markers (at least 2), a tapestry needle for weaving in ends, and scissors.
- Gauge: 10 stitches and 14 rows = 4 inches in stockinette stitch (lightly blocked). Gauge is important for achieving the correct finished size, so take a moment to check it.
Step-by-Step Instructions
Follow these detailed instructions carefully, and you'll have a beautiful basket in no time. The pattern is broken down into sections for clarity.
Finished Size & Abbreviations
Finished Size: Approx. 10 inches wide at top, 8 inches tall, 6 inches wide at base (after light blocking).
Abbreviations:
- CO: cast on
- K: knit
- P: purl
- K2tog: knit two together (decrease)
- YO: yarn over (increase, creates a hole)
- St(s): stitch(es)
- Rnd: round
- PM: place marker
- SM: slip marker
Bottom (Worked Flat, Then Joined)
The base of the basket is knit flat in rows, creating an oval shape. This gives the basket a stable, flat bottom.
- Cast On: CO 12 sts. Knit 1 row (this is the wrong side).
- Row 2 (Right Side): K1, YO, K10, YO, K1. You now have 14 sts.
- Row 3: Knit all sts.
- Row 4: K1, YO, K12, YO, K1. You now have 16 sts.
- Continue Increasing: Repeat this pattern—increase 2 sts on every right-side row (K1, YO, knit to last st, YO, K1)—until you have 40 sts. End with a wrong-side row (knit all sts).
- Final Increase Row: On the next right-side row: K1, YO, K38, YO, K1. You now have 42 sts. Knit 1 wrong-side row. This completes your flat oval base.
Join for Sides
Now we'll transition from flat knitting to working in the round to create the basket's walls.
- Place Marker: With the right side facing you, PM at the beginning of the round. Join in the round by knitting across all 42 sts. Critical: Ensure your stitches are not twisted on the needle.
- Second Marker: Place a second marker halfway through the round (after 21 sts). This helps with shaping and counting.
Body (Worked in the Round)
The body features beautiful eyelet bands separated by smooth stockinette sections. The eyelets are created with a simple K2tog, YO pattern.
- Rnd 1-4: Knit all sts. (This creates the smooth base of the basket.)
- Rnd 5: *K1, P1* repeat to end. (This creates a subtle ribbed texture.)
- Rnd 6-8: Knit all sts.
- Rnd 9: *K2tog, YO* repeat to end. (This creates the decorative eyelet row. The YO adds a stitch, and the K2tog removes one, keeping the stitch count at 42.)
- Rnd 10-12: Knit all sts.
- Rnd 13: *K1, P1* repeat to end.
- Rnd 14-16: Knit all sts.
- Repeat the Pattern: Repeat Rnds 5-16 two more times. You will have a total of three eyelet bands.
- Work Even: Continue in stockinette (knit every round) until the piece measures 7 inches from the base.
Scalloped Edge
This is where the magic happens! We'll decrease stitches to create the beautiful scalloped rim that folds outward.
- Rnd 1: *K2tog, K4* repeat to end. (You will decrease 7 sts, leaving 35 sts.)
- Rnd 2: Knit all sts.
- Rnd 3: *K2tog, K3* repeat to end. (You will decrease 7 sts, leaving 28 sts.)
- Rnd 4: Knit all sts.
- Rnd 5: *K2tog, K2* repeat to end. (You will decrease 7 sts, leaving 21 sts.)
- Rnd 6: Knit all sts.
- Rnd 7: *K2tog, K1* repeat to end. (You will decrease 7 sts, leaving 14 sts.)
- Rnd 8: Knit all sts.
- Rnd 9: K2tog around. (You will decrease 7 sts, leaving 7 sts.)
- Finish: Cut the yarn, leaving a long tail (about 12 inches). Thread the tail through a tapestry needle, slide it through the remaining 7 sts, pull tight to close the top, and secure with a knot.
Finishing Touches
Your basket is almost complete! These final steps will give it that polished, professional look.
- Weave in Ends: Use your tapestry needle to weave in all loose yarn ends on the inside of the basket.
- Blocking: Lightly steam block the basket to shape the base and open up the eyelet pattern. Hold a steam iron just above the surface (don't press down) and let the steam relax the fibers. Allow it to dry completely.
- Style: Fold the top edge outward to create a rolled rim, or leave it as is for a clean scallop. The dense wool yarn ensures the basket stands on its own beautifully.
Congratulations! You've just created your very own Willowmere Scallop Basket. This piece is perfect for adding a touch of handmade warmth to any room. Enjoy your new storage haven, and don't be surprised if it becomes your new favorite knitting project to gift!