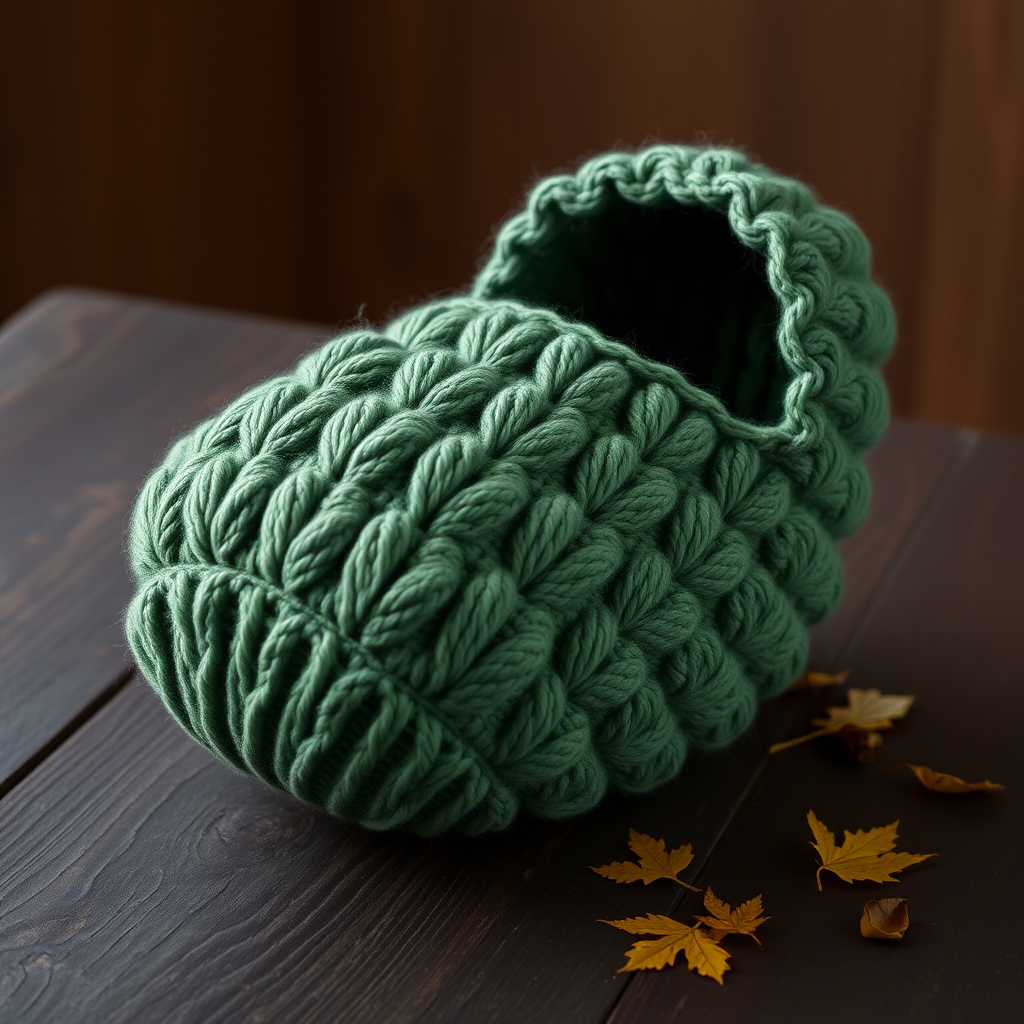
Whispering Willow Newborn Nest Free Pattern

Whispering Willow Newborn Nest: A Free Knitting Pattern
Wrap your little one in the gentle embrace of the Whispering Willow, a cocoon that mimics the soft sway of willow branches in a spring breeze. This super bulky knit is quick to make and perfect for cozy newborn photos or snuggly car rides. Designed for beginners and experienced knitters alike, this pattern creates a beautiful, tapered sack with a delicate eyelet pattern and a charming I-cord drawstring. Let's get started on creating a handmade treasure that will be cherished for years.
Materials Needed
Before you begin, gather the following supplies. Using the recommended yarn and needle size will ensure your cocoon matches the intended gauge and finished dimensions.
- Yarn: Super Bulky (6) weight yarn, approximately 200-250 yards. A great choice is Lion Brand Wool-Ease Thick & Quick in the color 'Willow' or 'Oatmeal' for a soft, heathered look.
- Needles: US 13 (9 mm) circular knitting needles, 16-inch length. You can also use straight needles if you prefer flat knitting.
- Extras: Tapestry needle for seaming and weaving in ends, scissors, and a stitch marker (optional).
Gauge
10 stitches and 14 rows = 4 inches in stockinette stitch (knit on RS, purl on WS). Always take time to check your gauge to ensure the correct size.
Step-by-Step Instructions
This cocoon is knitted flat from the bottom up, then seamed at the back. The top is finished with an I-cord drawstring for a gentle gather. Follow these detailed instructions carefully for a flawless finish.
Abbreviations
- K = knit
- P = purl
- K2tog = knit two stitches together (decrease)
- YO = yarn over (increase, creates an eyelet hole)
- St(s) = stitch(es)
- RS = right side
- WS = wrong side
Cast On
With your US 13 needles, cast on 40 stitches loosely. A long-tail cast-on works well here. Ensure your cast-on is not too tight, as this is the bottom edge of the cocoon.
Bottom Edge (Seed Stitch)
This section creates a firm, non-curling base for the nest.
- Row 1 (RS): *K1, P1; repeat from * to end of row.
- Row 2 (WS): *P1, K1; repeat from * to end of row.
- Repeat Rows 1-2 once more (for a total of 4 rows of seed stitch).
Body (Stockinette with Eyelet Pattern)
Now we will work the main body of the cocoon, which features a subtle leaf-like lace pattern.
- Row 5 (RS): K all stitches.
- Row 6 (WS): P all stitches.
- Row 7 (RS): K1, *YO, K2tog, K3; repeat from * to last 4 sts, YO, K2tog, K2. (This creates the eyelet pattern.)
- Row 8 (WS): P all stitches.
- Row 9 (RS): K all stitches.
- Row 10 (WS): P all stitches.
- Repeat Rows 5-10 until the piece measures 12 inches from the cast-on edge, ending with a WS row (Row 6, 8, or 10).
Top Shaping (Decrease Section)
This section gently tapers the cocoon to gather at the top.
- Row 1 (RS): K2, *K2tog, K4; repeat from * to last 2 sts, K2. (You will now have 34 sts.)
- Row 2 (WS): P all stitches.
- Row 3 (RS): K2, *K2tog, K3; repeat from * to last 2 sts, K2. (28 sts)
- Row 4 (WS): P all stitches.
- Row 5 (RS): K2, *K2tog, K2; repeat from * to last 2 sts, K2. (22 sts)
- Row 6 (WS): P all stitches.
- Row 7 (RS): K2, *K2tog, K1; repeat from * to last 2 sts, K2. (16 sts)
- Row 8 (WS): P all stitches.
- Row 9 (RS): K2, *K2tog; repeat from * to last 2 sts, K2. (10 sts)
- Row 10 (WS): P all stitches.
Cut the yarn, leaving a 12-inch tail. Thread the tail through a tapestry needle, then slide it through the remaining 10 stitches on your knitting needle. Pull tight to gather the top, and secure with a knot.
Finishing and Assembly
Follow these steps to seam your cocoon and add the final touches.
- Seaming: Fold the cocoon in half with the right sides together, matching the cast-on edges. Using your tapestry needle and the yarn tail (or a new piece of yarn), sew the side seam from the bottom up to the top of the shaping (about 12 inches). Leave the top open. Use a mattress stitch or whip stitch for a neat, flat seam.
- Turn Right Side Out: Carefully turn the cocoon so the right side is facing out.
- I-Cord Drawstring: With your US 13 needles, cast on 3 stitches. Work an I-cord for 30 inches: *K3, slide the stitches to the other end of the needle, do not turn your work; repeat from * until the cord measures 30 inches. Bind off all stitches.
- Thread the Drawstring: Weave the I-cord through the eyelet row (Row 7 of the body pattern), which is about 2 inches below the top edge. Start and end at the front center of the cocoon.
- Tie and Finish: Tie a loose, elegant bow at the front center. Weave in all loose ends with your tapestry needle to give your cocoon a professional finish.
Optional Adjustments
For a snugger fit, you can add a few more decrease rows before binding off. To adjust the length of the cocoon, simply add or remove repeats of Rows 5-10 in the body section. Your Whispering Willow Newborn Nest is now ready to cradle your little one in comfort and style!