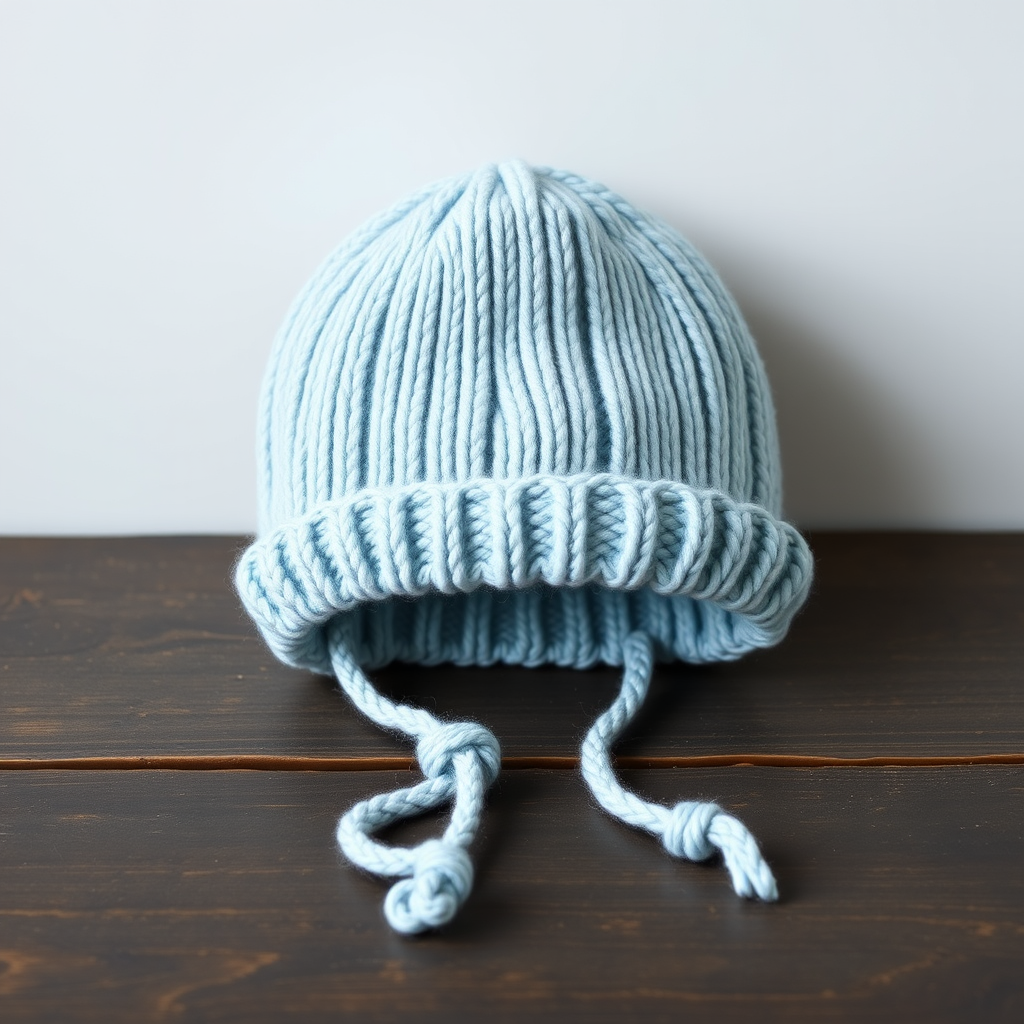
Willowmere Newborn Spring Beanie Free Pattern – Knit a Delicate Leaf-Stitch Bonnet

Wrap Your Little One in Spring: The Willowmere Newborn Beanie
There is something truly magical about knitting for a new baby—each stitch feels like a tiny wish for warmth, comfort, and sweet dreams. As the chill of winter fades and the first buds appear on the trees, our thoughts turn to lighter, fresher projects. The Willowmere Newborn Spring Beanie is the perfect embodiment of this seasonal shift. This charming bonnet features a delicate leaf-stitch pattern that cascades down the body, evoking the gentle growth of a spring garden. Finished with a soft scalloped brim and sweet ribbon ties, this hat is not just a practical accessory; it's a heartfelt keepsake. Whether you are a seasoned knitter looking for a quick weekend project or a beginner eager to try something new, this free pattern is designed to guide you through every step with clarity and ease. Let's pick up our needles and knit a little piece of spring for the newest member of the family.
Materials Needed
Before you begin, gather your materials. Using the correct yarn and needle size is crucial to achieving the right gauge and ensuring a perfect fit for your little one.
- Yarn: DK weight cotton blend (e.g., Lion Brand Coboo) in sage green (approx. 100 yards) and a small amount of cream yarn for the edging and ties.
- Needles: US 5 (3.75 mm) 16-inch circular needles and a set of double-pointed needles (DPNs) in the same size for the crown decreases.
- Crochet Hook: A small crochet hook (size C/2.5mm or D/3mm) for the scalloped edge and ribbon ties.
- Notions: Stitch marker, tapestry needle for weaving in ends, and scissors.
Gauge: 22 stitches and 30 rows = 4 inches in stockinette stitch. Always take the time to knit a gauge swatch—it ensures your finished beanie will have the correct circumference.
Step-by-Step Instructions
This pattern is worked in the round, creating a seamless, comfortable hat. Follow these detailed instructions carefully, and you'll have a beautiful beanie in no time.
Abbreviations
k = knit, p = purl, yo = yarn over, k2tog = knit two together, ssk = slip slip knit, pm = place marker, rnd = round, dc = double crochet, sc = single crochet.
Leaf Stitch Pattern (multiple of 6)
This is the signature stitch of the Willowmere beanie. It creates a beautiful, organic leaf pattern that is surprisingly simple to execute. Work these 8 rounds to form the body of the hat.
- Rnd 1: *k3, yo, ssk, k1* repeat to end.
- Rnd 2: *k4, yo, ssk* repeat to end.
- Rnd 3: *k5, yo, ssk* repeat to end.
- Rnd 4: *k6, yo, ssk* repeat to end.
- Rnd 5: *k7, yo, ssk* repeat to end.
- Rnd 6: *k8, yo, ssk* repeat to end.
- Rnd 7: *k9, yo, ssk* repeat to end.
- Rnd 8: *k10, yo, ssk* repeat to end.
Note: As you work these rounds, you will notice the stitch count increases by one each round due to the yarn overs. This is what creates the expanding leaf shape. The pattern is a multiple of 6, so it will always work out evenly.
Getting Started: The Brim
With your circular needle and sage green yarn, cast on 66 stitches. Place a stitch marker on your right-hand needle to mark the beginning of the round. Join in the round, being extremely careful not to twist your stitches. The cast-on edge should lie flat and face the same direction all the way around.
Work in a k1, p1 ribbing for 6 rounds. This creates a stretchy, snug brim that will keep the hat securely on your baby's head.
Knitting the Body
Once the ribbing is complete, you will begin the leaf stitch pattern. Switch to the leaf stitch pattern and work Rounds 1-8 of the pattern twice. This will give you a total of 16 rounds of the leaf pattern. After completing these rounds, your piece should measure approximately 3 inches from the cast-on edge. The beautiful leaf shapes will be clearly visible, cascading down the hat.
Shaping the Crown
Now it's time to shape the top of the hat. Switch to stockinette stitch (knit every round). The decreases will create a rounded, snug fit. Follow these rounds carefully, switching to double-pointed needles when the circular needle becomes too long for the number of stitches.
- Rnd 1: *k9, k2tog* repeat to end (60 stitches).
- Rnd 2: knit all.
- Rnd 3: *k8, k2tog* repeat to end (54 stitches).
- Rnd 4: knit all.
- Rnd 5: *k7, k2tog* repeat to end (48 stitches).
- Rnd 6: knit all.
- Rnd 7: *k6, k2tog* repeat to end (42 stitches).
- Rnd 8: knit all.
- Rnd 9: *k5, k2tog* repeat to end (36 stitches).
- Rnd 10: *k4, k2tog* repeat to end (30 stitches).
- Rnd 11: *k3, k2tog* repeat to end (24 stitches).
- Rnd 12: *k2, k2tog* repeat to end (18 stitches).
- Rnd 13: *k1, k2tog* repeat to end (12 stitches).
- Rnd 14: *k2tog* repeat to end (6 stitches).
Cut your yarn, leaving a 6-inch tail. Thread the tail onto a tapestry needle, slide it through the remaining 6 stitches, and pull tight to close the hole. Weave in the end securely on the inside of the hat.
Adding the Scalloped Edge (Optional but Beautiful)
This delicate touch adds a vintage, feminine charm to the beanie. With your cream yarn and crochet hook, work a round of single crochet (sc) evenly around the brim edge. This creates a clean base. Then, work the scallop pattern: *3 dc in next stitch, skip 1 stitch* repeat around. Fasten off and weave in the ends.
Finishing Touches: Ribbon Ties
With your cream yarn and crochet hook, create a chain that is 12 inches long. Make a second chain of the same length. Weave one chain through the ribbing at the brim, starting and ending at the front of the hat. Do the same with the second chain, starting from the opposite side so they cross in the middle. Tie a small, neat bow at the front. These ties are not only adorable but also help keep the hat securely on a wiggly baby.
Your Willowmere Newborn Spring Beanie is now complete! Gently hand-wash it in cool water with a mild detergent, lay it flat to dry, and it will be ready to gift or use. This pattern is a joy to knit, and the result is a stunning, heirloom-quality piece that perfectly captures the spirit of spring.