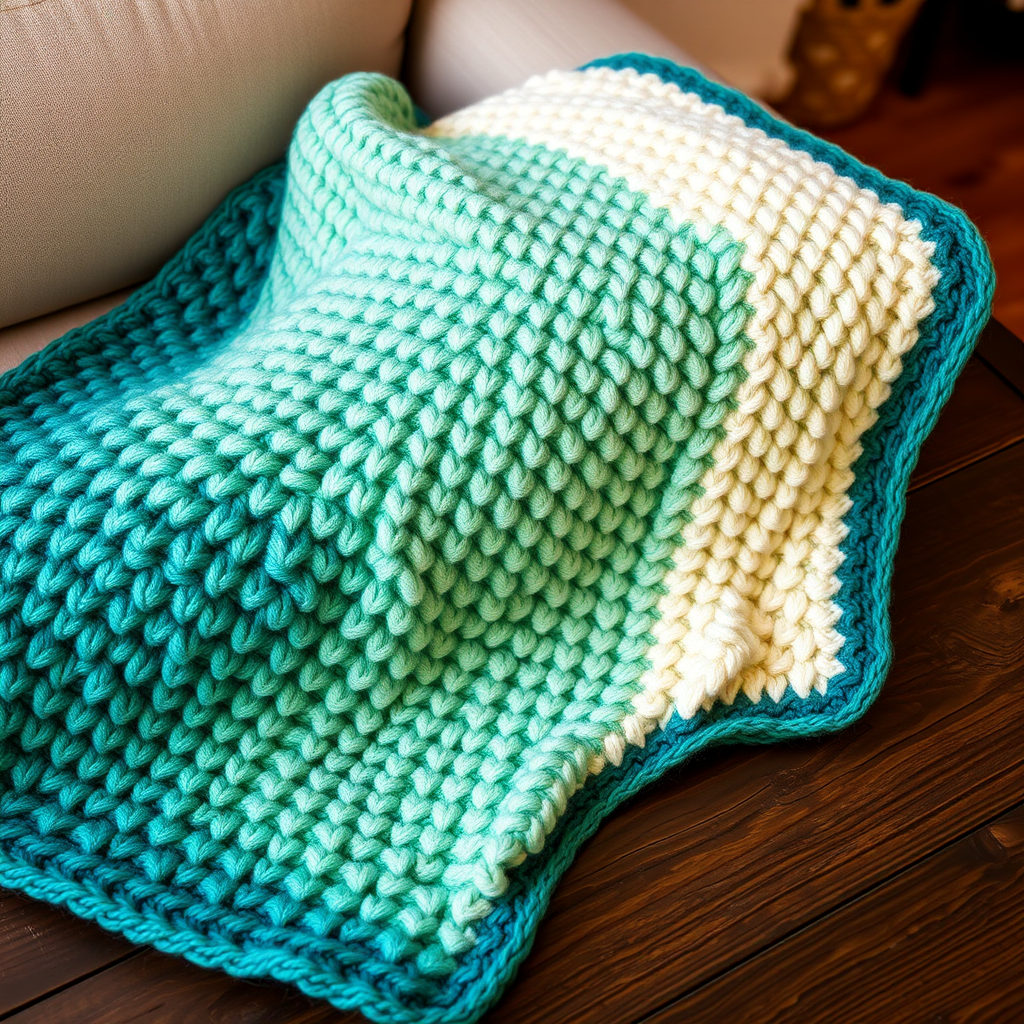
Aurora Sky Mosaic Throw Free Pattern – A Knitted Northern Lights Blanket

Aurora Sky Mosaic Throw Free Pattern – A Knitted Northern Lights Blanket
Wrap yourself in the ethereal beauty of the northern lights with this stunning mosaic knit throw. The shifting bands of color and textured slipped stitches create a mesmerizing, aurora-inspired masterpiece for your home. This free pattern is perfect for intermediate knitters looking to expand their skills, and the result is a cozy, artistic piece that looks like a slice of the night sky captured in yarn.
Whether you're curling up on the couch or draping it over a favorite armchair, this throw brings a touch of magic to any room. The mosaic technique is surprisingly simple once you get the rhythm, and the color transitions—from deep teal to midnight blue, emerald green, and soft lavender—mimic the flowing bands of the aurora borealis perfectly.
Materials Needed
Before you begin, gather the following supplies:
- Yarn: Worsted weight yarn in 4 colors:
- Color A: Deep Teal (approximately 300g)
- Color B: Midnight Blue (approximately 300g)
- Color C: Emerald Green (approximately 300g)
- Color D: Soft Lavender (approximately 300g)
- Needle: US 8 (5mm) circular knitting needle, 32 inches or longer (circular needle is recommended to accommodate the large number of stitches, but you will work back and forth in rows, not in the round).
- Other: Stitch markers (optional), tapestry needle for weaving in ends, scissors.
Gauge
18 stitches and 24 rows = 4 inches in stockinette stitch. Always knit a gauge swatch before starting to ensure your finished blanket matches the intended dimensions. Adjust needle size if necessary to achieve gauge.
Step-by-Step Instructions
This blanket is worked flat in one piece using a mosaic knitting technique. The pattern is a two-row repeat that creates a beautiful, woven-looking texture. Each color is worked for two rows, with slipped stitches creating the pattern. Always slip stitches purlwise with yarn in back (wyib) on knit rows and yarn in front (wyif) on purl rows. The pattern is a multiple of 8 + 2 stitches.
Getting Started
Cast on 130 stitches with Color A. Use a long-tail cast-on or your preferred method. The cast-on edge will be the bottom of your blanket.
Setup Row (WS): Purl all stitches with Color A.
Pattern Rows
Now you'll begin the mosaic pattern. Follow the rows below carefully, paying attention to the color changes and slipped stitches.
Row 1 (RS): With Color A, knit all stitches.
Row 2 (WS): With Color A, purl all stitches.
Row 3 (RS): With Color B, knit 1, *slip 1 wyib, knit 3, slip 1 wyib, knit 3, repeat from * to last stitch, knit 1.
Row 4 (WS): With Color B, purl 1, *slip 1 wyif, purl 3, slip 1 wyif, purl 3, repeat from * to last stitch, purl 1.
Row 5 (RS): With Color B, knit all stitches.
Row 6 (WS): With Color B, purl all stitches.
Row 7 (RS): With Color C, knit 1, *knit 3, slip 1 wyib, knit 3, slip 1 wyib, repeat from * to last stitch, knit 1.
Row 8 (WS): With Color C, purl 1, *purl 3, slip 1 wyif, purl 3, slip 1 wyif, repeat from * to last stitch, purl 1.
Row 9 (RS): With Color C, knit all stitches.
Row 10 (WS): With Color C, purl all stitches.
Row 11 (RS): With Color D, knit 1, *slip 1 wyib, knit 3, slip 1 wyib, knit 3, repeat from * to last stitch, knit 1.
Row 12 (WS): With Color D, purl 1, *slip 1 wyif, purl 3, slip 1 wyif, purl 3, repeat from * to last stitch, purl 1.
Row 13 (RS): With Color D, knit all stitches.
Row 14 (WS): With Color D, purl all stitches.
Repeating the Pattern
Repeat Rows 3-14 for the pattern, always following the color sequence: A, B, C, D. Continue until the blanket measures approximately 60 inches from the cast-on edge, ending with a complete color sequence (finish on Row 14 of the pattern).
Pro tip: Place a stitch marker every 8 stitches on your needle to help you keep track of the pattern repeats, especially when you're first starting out.
Finishing
Final Rows: With Color A, knit 2 rows (this creates a garter stitch border at the top). Bind off loosely knitwise.
Weave in all ends using a tapestry needle, being careful to weave them in on the wrong side of the work so they're invisible from the front.
Block the blanket gently to open up the mosaic pattern and even out the stitches. Lay it flat on a blocking mat, pin the edges to your desired dimensions (approximately 50 inches wide and 60 inches long), and mist with water. Allow it to dry completely before unpinning.
Tips for Success
- Keep your tension consistent when slipping stitches—don't pull the yarn too tight or leave it too loose, as this will affect the look of the mosaic pattern.
- Count your stitches regularly to ensure you haven't accidentally dropped or added any stitches.
- Use a row counter to keep track of where you are in the pattern, especially during the color changes.
- Don't rush the blocking step—this is what really makes the mosaic pattern shine and gives your blanket that professional, finished look.
Once complete, you'll have a stunning 50" x 60" throw that captures the magic of the northern lights. The textured mosaic pattern creates small geometric diamonds and zigzag lines across the surface, making this piece as beautiful to touch as it is to look at. Drape it over a wooden armchair, curl up with a good book, and enjoy the cozy, artistic warmth of your handmade aurora sky.
Happy knitting!