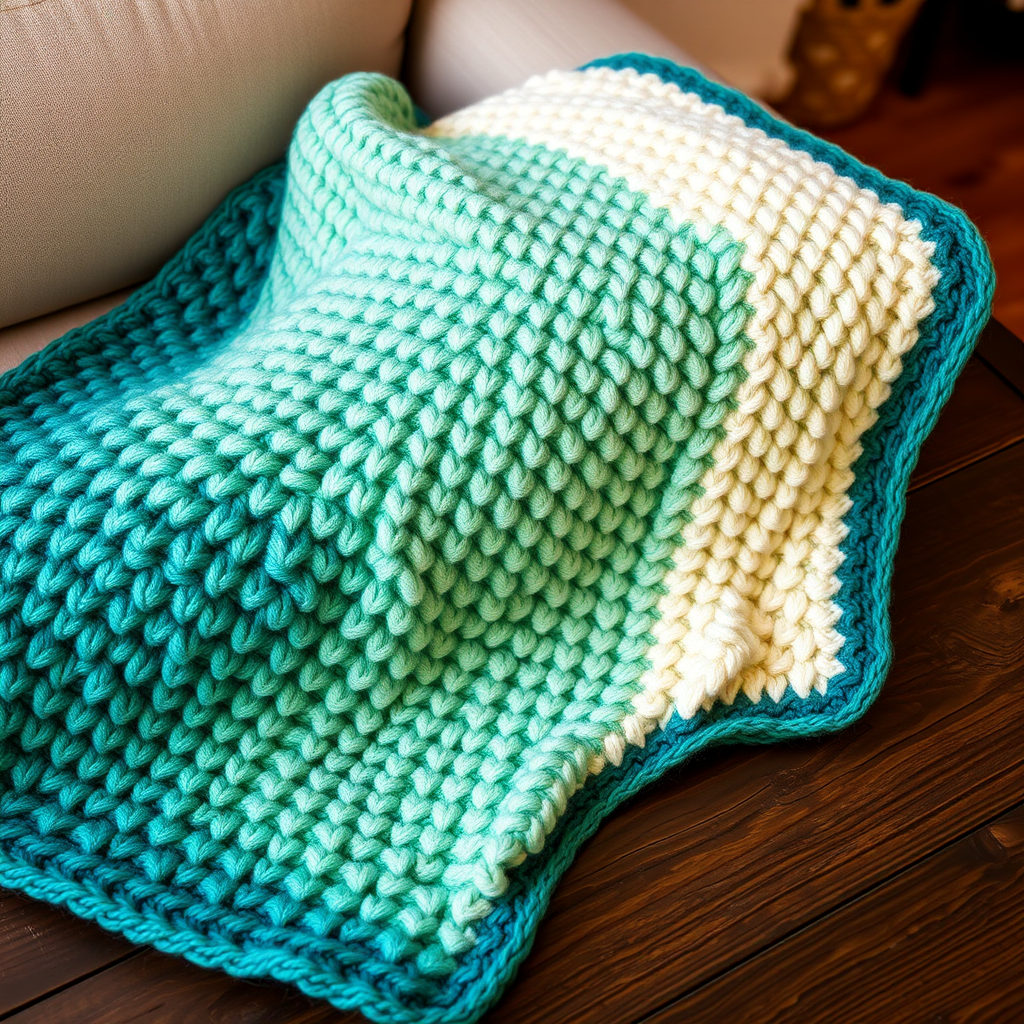
Enchanted Evergreen Forest Lapghan Free Pattern – A Knitted Woodland Mosaic Throw

Wrap Yourself in Woodland Serenity: The Enchanted Evergreen Forest Lapghan
Imagine curling up in your favorite reading nook, wrapped in the quiet, textured beauty of a pine forest. That's the magic of the Enchanted Evergreen Forest Lapghan. This free knitting pattern combines bold, twisting cables with the soothing rhythm of moss and seed stitches to create a richly dimensional throw that evokes the depth and calm of woodland trees. Designed as four vertical panels that are seamed together, this project is surprisingly approachable for adventurous beginners while offering a satisfying challenge for seasoned knitters. The result is a stunning, nature-inspired accent piece that measures approximately 48 inches square—perfect for draping over a chair or keeping your lap cozy on chilly evenings.
This pattern is a fantastic way to practice cable knitting without committing to a massive project. By working in manageable 12-inch wide panels, you can easily track your progress and enjoy the meditative repetition of the stitch patterns. Let's gather our materials and begin this journey into the forest.
Materials Needed: Your Knitter's Toolkit
Before you cast on, ensure you have all the necessary supplies. This project uses worsted-weight yarn, which is widely available and a joy to work with. The four earthy shades create the woodland palette, but feel free to substitute with your own favorite colors.
- Yarn: Worsted weight yarn in four shades:
- Yarn A (Deep Forest Green): Approx. 300 yards
- Yarn B (Mossy Fern): Approx. 300 yards
- Yarn C (Birch Bark Cream): Approx. 300 yards
- Yarn D (Charcoal Pine): Approx. 300 yards
- Needles: US Size 8 (5.0 mm) knitting needles. You can use straight needles or a circular needle for the panels.
- Cable Needle: A small cable needle (or a double-pointed needle) for making the cable twists.
- Tapestry Needle: For seaming the panels together and weaving in ends.
- Stitch Markers (Optional): Helpful for marking the cable sections.
Gauge
Getting the correct gauge is crucial for achieving the right size and drape. Always knit a swatch first!
Gauge: 18 stitches and 24 rows = 4 inches in stockinette stitch (knit one row, purl one row).
Step-by-Step Instructions: Knitting Your Forest Panels
This lapghan is constructed from four vertical panels, each measuring approximately 12 inches wide and 48 inches long. You will make two of each design and then seam them together. Let's break down each panel type.
Panel A (Cable & Moss Stitch) – Make 2
This panel features the majestic tree trunk cables, framed by a delicate moss stitch. The cable twist is worked every 8 rows to create a bold, braided look.
Special Stitch: C6F (Cable 6 Front): Slip next 3 stitches onto a cable needle and hold in front of your work. Knit the next 3 stitches from your left needle, then knit the 3 stitches from the cable needle.
Instructions:
- Cast On: With Yarn A, cast on 54 stitches.
- Row 1 (Right Side): K2, *p2, k2, p2, k6, p2, k2, p2, k2, p2, k6, p2, k2, p2, k2, p2, k6, p2, k2, p2, k2*; repeat from * to * once more, end with k2. (You will have three groups of k6 for the cables).
- Row 2 (Wrong Side): Purl all stitches.
- Row 3: K2, *p2, k2, p2, C6F, p2, k2, p2, k2, p2, C6F, p2, k2, p2, k2, p2, C6F, p2, k2, p2, k2*; repeat from * to * once more, end with k2.
- Row 4: Purl all stitches.
- Rows 5-8: Repeat Rows 1 and 2 twice. (This creates the 6-row gap between cable twists).
- Repeat: Repeat Rows 1-8 until the piece measures 48 inches from the cast-on edge, ending with a Wrong Side row (Row 2, 4, or 8).
- Bind Off: Bind off loosely in pattern (knit the knits and purl the purls as they appear).
Panel B (Moss & Seed Stitch) – Make 2
These inner panels provide a beautiful contrast with their soft, bumpy texture. They alternate between a simple seed stitch and a ribbed section, and they introduce the other three colors of your palette.
Instructions:
- Cast On: With Yarn B, cast on 54 stitches.
- Rows 1-4 (Seed Stitch Border):
- Row 1 (RS): *K1, p1*; repeat from * to * across.
- Row 2 (WS): *P1, k1*; repeat from * to * across. (This creates the seed stitch pattern).
- Rows 3-4: Repeat Rows 1 and 2.
- Row 5: K2, *p2, k2*; repeat from * to * until 2 stitches remain, end with k2. (This sets up a 2x2 ribbing).
- Row 6: Purl all stitches. (This purl row creates a subtle horizontal line that separates the textures).
- Rows 7-8: Repeat Rows 1 and 2 (Seed Stitch).
- Color Changes: Continue repeating Rows 1-8, but change your yarn color every 8 rows to create horizontal stripes.
- Rows 1-8: Yarn B (Mossy Fern)
- Rows 9-16: Yarn C (Birch Bark Cream)
- Rows 17-24: Yarn D (Charcoal Pine)
- Rows 25-32: Yarn B (Mossy Fern)
- Bind Off: Bind off loosely in pattern after completing a full 8-row color block.
Finishing Your Lapghan: Seaming and Blocking
Once all four panels are complete, it's time to bring your forest together. The seaming process is simple and creates a professional, polished finish.
- Layout: Lay your panels flat on a large surface. Arrange them in this order from left to right: Panel A, Panel B, Panel B, Panel A. This creates a symmetrical design with the cable panels on the outside.
- Seaming: Take the first two panels (Panel A and Panel B). Place them with their Right Sides together. Using your tapestry needle and a length of Yarn A (or a matching color), use the mattress stitch to seam them together along the long vertical edge. Work from the bottom to the top, picking up the horizontal bars between the edge stitches. This creates an invisible, flat seam. Repeat this process to attach the remaining panels.
- Weave in Ends: Using your tapestry needle, carefully weave in all loose yarn ends on the wrong side of the work. Make sure to secure them well so they don't unravel with use.
- Blocking: This is a crucial step! Blocking will even out your stitches, open up the cable patterns, and give your lapghan a beautiful, finished drape. Fill a basin with cool water and a splash of wool wash. Submerge the lapghan and let it soak for 20-30 minutes. Gently squeeze out the excess water (do not wring). Lay the lapghan flat on a clean towel, roll it up to remove more water, then lay it flat on a blocking mat. Gently stretch and pin it to its final dimensions (approximately 48" x 48"). Let it air dry completely.
Your Enchanted Evergreen Forest Lapghan is now complete! The rich textures and earthy colors will bring a touch of tranquil woodland charm to any room. This project is a wonderful way to build your knitting skills, and the result is a heirloom-quality piece you'll cherish for years. Happy knitting!