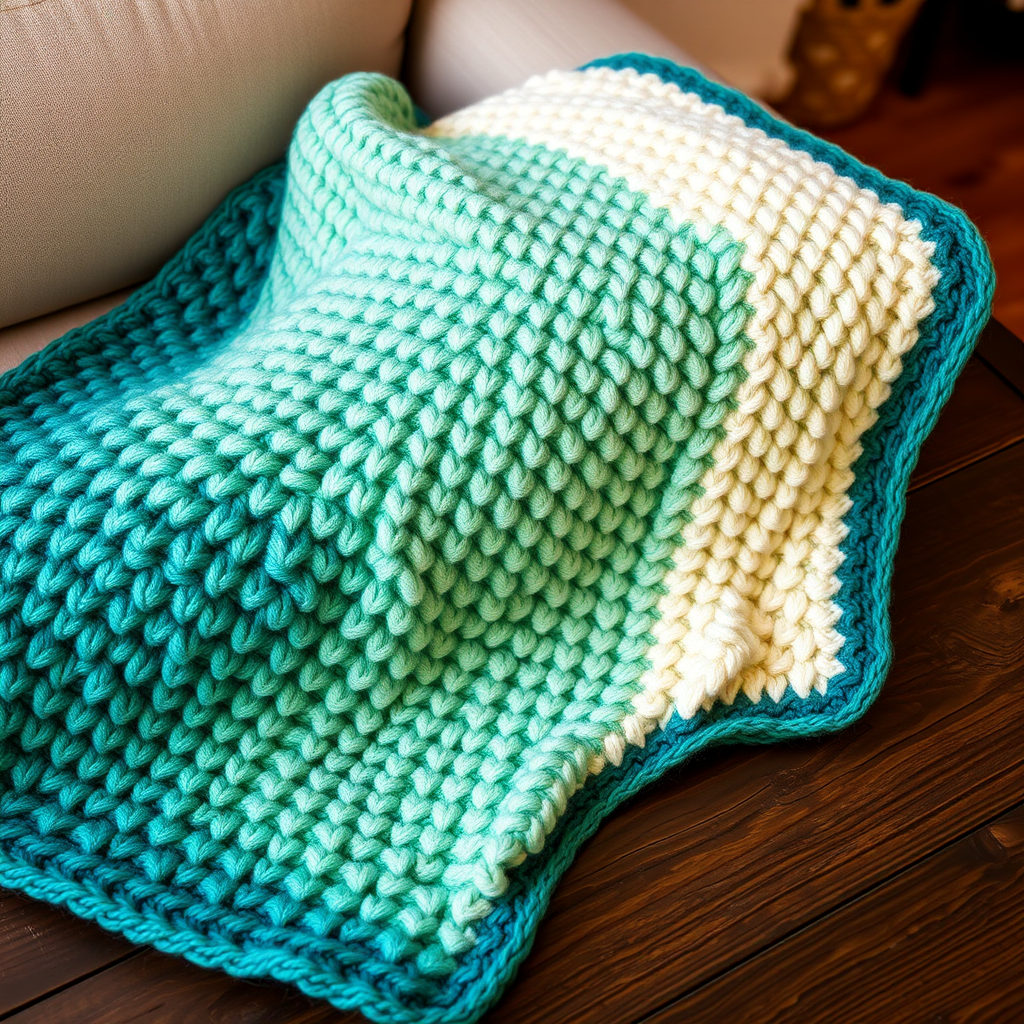
Bridget Bobble Blanket Free Pattern – A Knitted Vintage Garden Throw

Introducing the Bridget Bobble Blanket: A Vintage Garden Throw
Wrap yourself in the plush, tactile charm of the Bridget Bobble Blanket, a knitted heirloom piece that marries vintage bobble textures with a fresh, modern palette. This pattern guides you through creating a cozy, textured throw that feels like a warm hug on a chilly evening. Whether you're a seasoned knitter looking for a meditative project or a beginner eager to learn a new stitch, this blanket is the perfect companion for cozy evenings and thoughtful gift-giving.
The design features a soft cream base with horizontal bands of dusty rose, sage green, and butter yellow, creating a garden-inspired palette that feels both nostalgic and contemporary. The surface is covered in a regular grid of raised, spherical bobbles that add a delightful dimensional texture, making this throw as pleasing to touch as it is to behold. The clean garter stitch border ensures a polished finish, while the simple repeat pattern is easy to memorize and relaxing to knit.
Materials Needed
Before you begin, gather the following materials to ensure a smooth and enjoyable knitting experience:
- Yarn: Worsted weight yarn in 4 colors:
- Main Color (MC) – Soft Cream (approx. 1800 yds)
- Color A – Dusty Rose (approx. 400 yds)
- Color B – Sage Green (approx. 400 yds)
- Color C – Butter Yellow (approx. 400 yds)
- Needles: US Size 8 (5.0 mm) knitting needles (straight or circular for large projects)
- Notions: Tapestry needle for weaving in ends, stitch markers (optional but helpful)
Gauge: 18 stitches and 24 rows = 4 inches in stockinette stitch (after blocking). Achieving the correct gauge ensures your blanket matches the finished size and drape.
Finished Size: Approximately 50 inches wide x 60 inches long (adjustable by adding or removing pattern repeats).
Abbreviations & Pattern Notes
Familiarize yourself with these abbreviations before starting:
- K = knit
- P = purl
- K2tog = knit two together
- Yo = yarn over
- MB = make bobble (see detailed instructions below)
- St(s) = stitch(es)
- Rep = repeat
Pattern Notes:
- The blanket is worked flat in one piece from bottom to top.
- The bobble pattern is created with a simple repeat that is easy to memorize.
- Use a slip knot to cast on loosely to maintain edge flexibility.
How to Make a Bobble (MB)
This is the signature stitch of the Bridget Bobble Blanket. Follow these steps carefully:
- Knit into the front of the next stitch, but do not slip it off the left needle.
- Knit into the back of the same stitch (you now have 2 stitches on the right needle from 1).
- Knit into the front of the same stitch again (you now have 3 stitches on the right needle from 1).
- Slip the original stitch off the left needle.
- Turn your work. Purl these 3 stitches together (P3tog) – you now have 1 stitch again.
- Turn your work back. Knit this stitch normally to secure the bobble.
This creates a tight, spherical bobble that stands out beautifully from the fabric.
Step-by-Step Instructions
Cast On & Bottom Border
Cast On: With MC (Soft Cream), cast on 225 stitches loosely. A loose cast-on is crucial for a flexible edge that won't pucker.
Border (worked in garter stitch):
- Rows 1-6: Knit all stitches. This creates a sturdy, non-curling border.
Main Pattern (Stockinette & Bobble Repeat)
Now you'll begin the main body of the blanket. The pattern is a 10-row repeat that creates a staggered bobble grid.
- Row 7 (RS): Knit all stitches.
- Row 8 (WS): Purl all stitches.
- Row 9 (RS): K5 (border), *K5, MB, K5, rep from * to last 5 sts, K5 (border).
- Row 10 (WS): Purl all stitches.
- Row 11 (RS): Knit all stitches.
- Row 12 (WS): Purl all stitches.
- Row 13 (RS): K5 (border), *K2, MB, K9, rep from * to last 5 sts, K5 (border). (This staggers the bobbles for a pleasing offset pattern.)
- Row 14 (WS): Purl all stitches.
- Row 15 (RS): Knit all stitches.
- Row 16 (WS): Purl all stitches.
These 10 rows (7-16) form the complete pattern repeat. The bobbles appear in alternating rows, creating a beautiful diamond-like grid across the fabric.
Color Block Sequence
Follow this sequence to create the beautiful horizontal bands of color. Remember to always maintain the 5-stitch garter border on each side.
- MC (Soft Cream): Work Rows 7-16 for 10 inches.
- Color A (Dusty Rose): Switch yarn and work Rows 7-16 for 5 inches.
- MC (Soft Cream): Switch back and work Rows 7-16 for 5 inches.
- Color B (Sage Green): Switch yarn and work Rows 7-16 for 5 inches.
- MC (Soft Cream): Switch back and work Rows 7-16 for 5 inches.
- Color C (Butter Yellow): Switch yarn and work Rows 7-16 for 5 inches.
- MC (Soft Cream): Switch back and work Rows 7-16 for 10 inches (or until desired length, ending with MC).
Pro Tip: When changing colors, do so at the beginning of a right-side row (Row 7) to keep the color transitions clean and aligned with the pattern structure. Leave a 6-inch tail when switching to weave in later.
Top Border & Bind Off
Once you've reached your desired length, finish with the top border to match the bottom.
- Rows 1-6: Knit all stitches in MC.
Bind Off: Bind off loosely in knit on the right side. A loose bind-off is essential to match the flexibility of the cast-on edge. Consider using a larger needle for binding off if your bind-off tends to be tight.
Finishing Touches
Weave in Ends: Using your tapestry needle, carefully weave in all loose ends along the color change seams and edges. Be sure to weave in securely so the ends don't work loose with use.
Blocking: Gently wet block the blanket to even out stitches and enhance drape. To do this:
- Fill a basin with cool water and a small amount of wool wash.
- Submerge the blanket and let it soak for 15-20 minutes.
- Gently press out excess water (do not wring or twist).
- Lay the blanket flat on a clean towel, roll it up to remove more water.
- Lay flat on a blocking mat or dry towel, gently stretching to the finished measurements.
- Pin edges if needed and allow to dry completely.
Final Thoughts
The Bridget Bobble Blanket is more than just a knitting project—it's an heirloom in the making. The combination of classic bobble texture with a fresh, garden-inspired palette creates a piece that will be cherished for years to come. Whether draped over a vintage wooden chair as shown in the inspiration, or folded at the foot of your bed, this throw adds warmth and character to any space.
As you knit, you'll find the rhythm of the pattern becomes second nature, making this an ideal project for cozy evenings with a cup of tea. The bobble stitch is surprisingly simple once you master it, and the satisfaction of watching your textured grid grow is immensely rewarding.
Happy knitting, and enjoy creating your own Bridget Bobble Blanket!