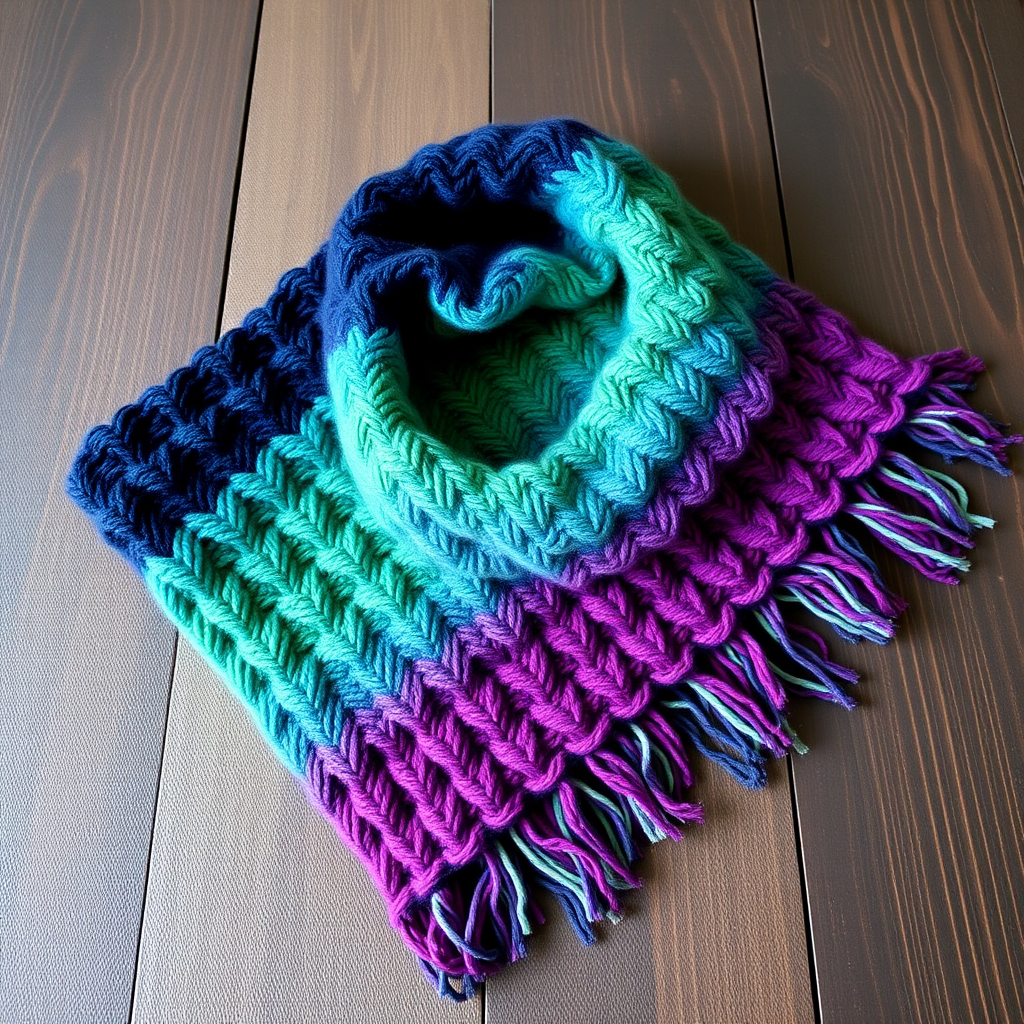
Brioche Bun Scarf Free Pattern – A Cozy Cloud Knit Wrap

Wrap Yourself in Cloud-Like Comfort: The Brioche Bun Scarf
Imagine wrapping yourself in a scarf so plush and squishy it feels like a warm hug on a chilly day. That's exactly what you'll create with the Brioche Bun Scarf—a two-tone brioche knit that's as beautiful as it is cozy. This pattern produces a reversible, deeply textured wrap with a unique rolled edge that curls inward like a soft bun, giving it a signature, polished look. Whether you're a seasoned knitter or a confident beginner looking for a new challenge, this free pattern will guide you through creating a stunning accessory that's perfect for draping over your shoulders or wrapping around your neck.
The magic of brioche stitch lies in its incredible elasticity and lofty, honeycomb-like texture. Worked in two contrasting colors, this scarf showcases a mesmerizing interplay of soft oatmeal cream and muted denim blue, creating a fabric that's not only warm but visually captivating. The best part? It's reversible—both sides are equally beautiful, so you can style it any way you like. Let's dive into this delightful project!
Materials Needed
Before you begin, gather these simple supplies:
- Yarn: Worsted weight yarn in two contrasting colors. You'll need approximately 220 yards of Color A (suggested: Lion Brand Wool-Ease in 'Oatmeal') and 220 yards of Color B (suggested: Lion Brand Wool-Ease in 'Denim').
- Needle: US 8 (5 mm) circular knitting needle, 24 inches or longer. The circular needle is essential for accommodating the large number of stitches, especially during the edging.
- Other Tools: Tapestry needle for weaving in ends, stitch marker, and scissors.
Gauge: 16 stitches and 24 rows = 4 inches in brioche stitch (after blocking). Gauge is important for achieving the correct size, but brioche is forgiving—just aim for a fabric that's dense yet squishy.
Step-by-Step Instructions
This pattern uses a few special brioche stitches. Don't worry—they're easier than they look! Here's what you need to know:
Special Stitches
- Brk (brioche knit): Knit the stitch that was slipped in the previous row together with its yarnover. Insert your right needle into both the slipped stitch and the yarnover as if to knit, then knit them together.
- Brp (brioche purl): Purl the stitch that was slipped in the previous row together with its yarnover. Insert your right needle into both the slipped stitch and the yarnover as if to purl, then purl them together.
- Sl1yo (slip 1 with yarnover): With yarn in front, slip the next stitch purlwise (as if to purl), then bring the yarn over the needle to the back. This creates a yarnover that sits on top of the slipped stitch, ready to be worked on the next row.
Getting Started: Cast On and Setup
Setup Row (worked once): With Color A, cast on 40 stitches loosely. A long-tail cast-on works beautifully here. Knit 1 row. This gives you a clean, stable base for the brioche pattern.
Main Body: Brioche Stitch Pattern
Now you'll work the two-row brioche pattern, alternating colors every row. This creates the beautiful two-tone effect.
Row 1 (Right Side, Color A): Sl1yo, *brk, sl1yo; repeat from * to the last stitch, k1. (Remember: the first stitch is slipped with a yarnover, then you alternate brk and sl1yo across the row, ending with a knit stitch.)
Row 2 (Wrong Side, Color B): Sl1yo, *brp, sl1yo; repeat from * to the last stitch, k1. (Same structure as Row 1, but you'll purl the brioche stitches instead of knitting them.)
Row 3 (Right Side, Color A): Sl1yo, *brk, sl1yo; repeat from * to the last stitch, k1.
Row 4 (Wrong Side, Color B): Sl1yo, *brp, sl1yo; repeat from * to the last stitch, k1.
Repeat Rows 1–4 until the scarf measures 60 inches from the cast-on edge, ending with a Row 4. This will give you a long, luxurious wrap. As you work, you'll see the beautiful honeycomb texture emerge, with the two colors creating a stunning contrast.
Creating the Bun Roll Edging
This is what gives the scarf its signature look! Instead of a flat edge, you'll create a rolled, seed-stitch border that curls inward like a bun.
Step 1: Pick Up Stitches
With Color A, pick up and knit 1 stitch for every slipped stitch along the long edge of the scarf. You should have about 240 stitches. This is where the circular needle comes in handy—it can hold all these stitches comfortably. Place a marker and join in the round, being careful not to twist the stitches.
Step 2: Work the Seed Stitch Border
Round 1: *K1, p1; repeat from * around.
Round 2: *P1, k1; repeat from * around. (This creates a seed stitch pattern, where each knit stitch is followed by a purl stitch, and vice versa.)
Repeat Rounds 1–2 for 4 more rounds (6 total rounds). The seed stitch creates a lovely, textured border that contrasts beautifully with the brioche body.
Step 3: Bind Off
Bind off loosely in pattern. To do this, knit the knit stitches and purl the purl stitches as you bind off, keeping the tension loose so the edge remains stretchy and doesn't pucker.
Finishing Touches
Weave in all ends with a tapestry needle, being careful to hide them within the brioche texture so they're invisible.
Now for the magic: Blocking. Soak the scarf in lukewarm water with a gentle wool wash for about 15-20 minutes. Gently squeeze out the excess water—never wring or twist, as this can felt the yarn. Lay the scarf flat on a clean towel, shaping it gently to its intended dimensions. Do not stretch it—the brioche will naturally puff up and become even squishier. As it dries, you'll notice the rolled edge curling inward like a bun, giving the scarf its signature look.
Once dry, your Brioche Bun Scarf is ready to wear! Drape it over your shoulders for a cozy evening, or wrap it around your neck for a stylish, cloud-like accessory. The reversible design means you can show off either color depending on your mood. This scarf makes a wonderful gift, too—handmade with love and incredibly warm.
Happy knitting! We'd love to see your finished Brioche Bun Scarf—share your photos and tag us so we can admire your beautiful work.