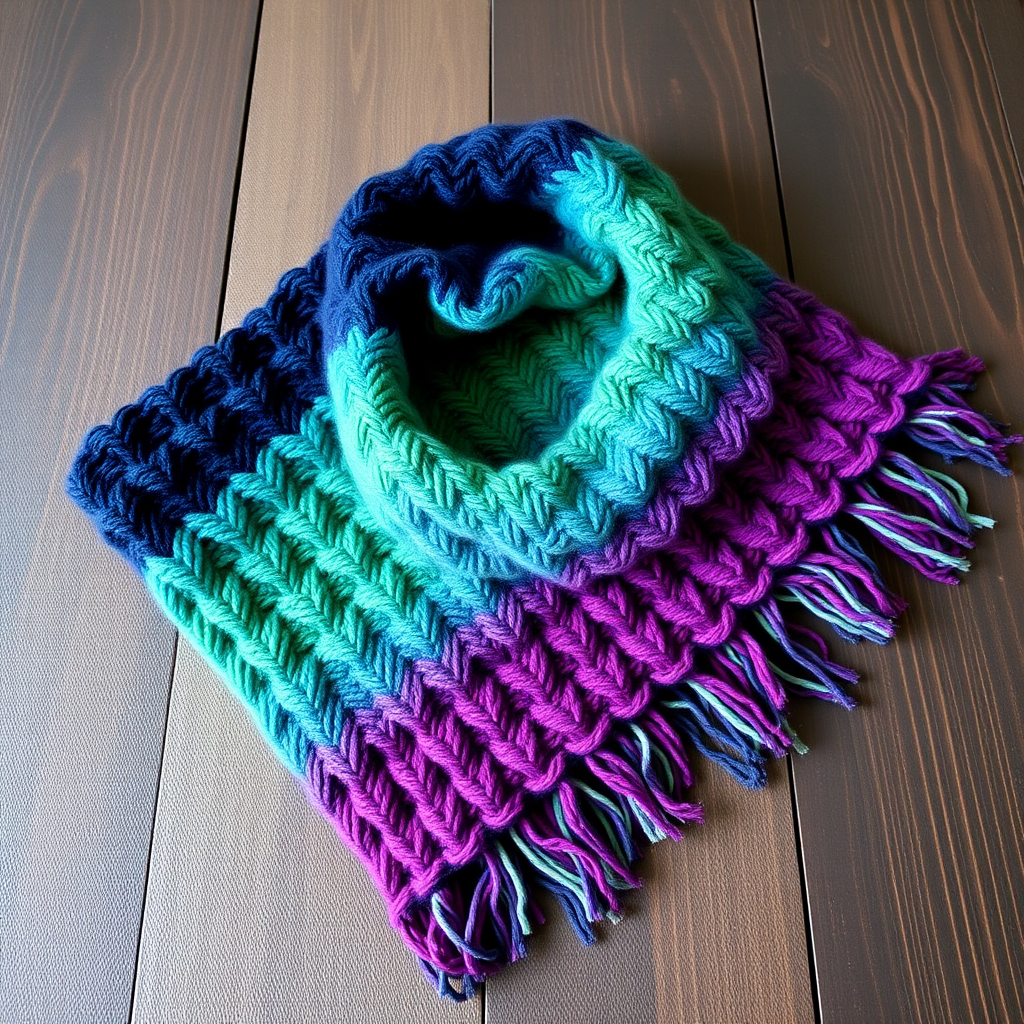
Cozy Cloud Ladder Stitch Scarf Free Pattern
Cozy Cloud Ladder Stitch Scarf: A Free Beginner-Friendly Knitting Pattern
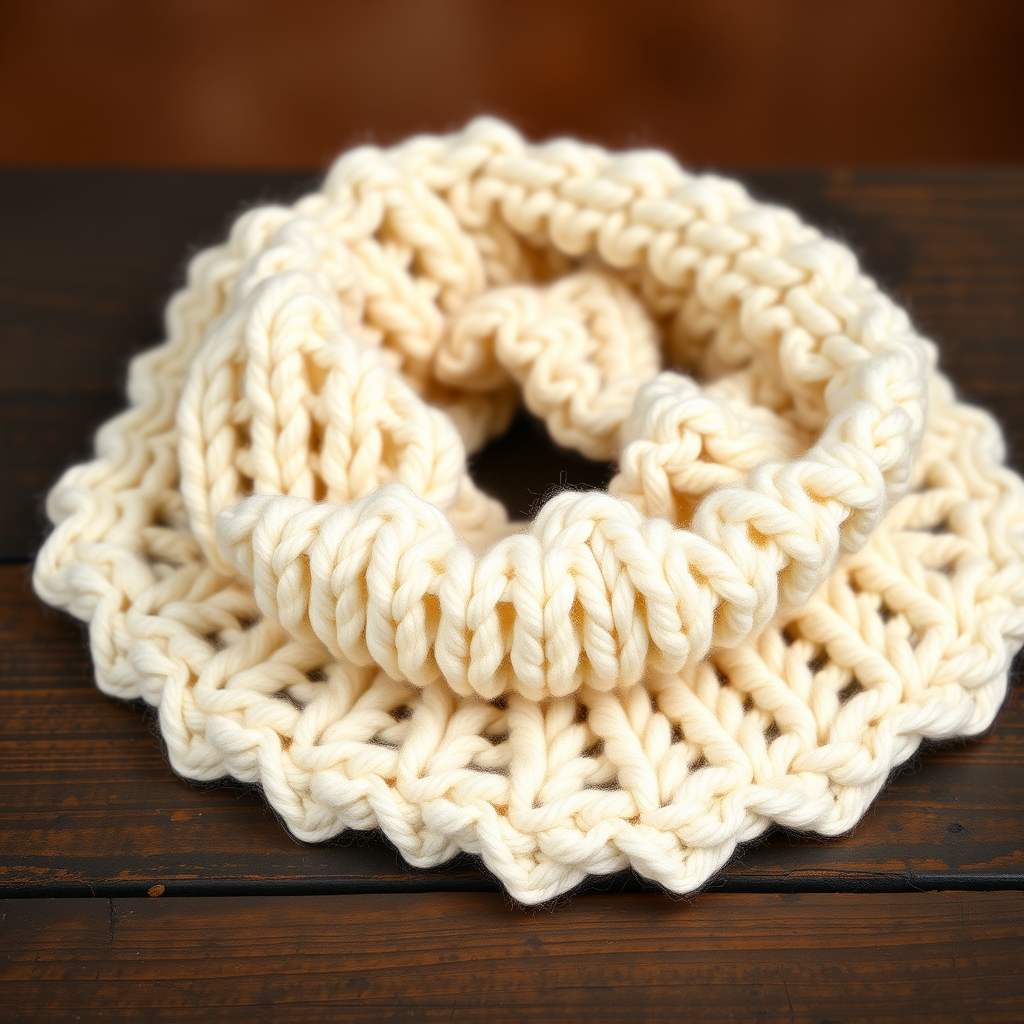
There are some knitting projects that feel like a warm hug from the very first stitch. The Cozy Cloud Ladder Stitch Scarf is exactly that. This pattern creates a stunning, airy fabric with a delicate lattice effect that resembles a soft, fluffy cloud. Despite its sophisticated, romantic look, this scarf relies on a simple one-row repeat that is perfect for beginners while remaining a joy for seasoned knitters. Using super bulky yarn and large needles, this project works up quickly, making it the ideal weekend make. The result is a minimalist, sophisticated accessory that drapes beautifully and adds a touch of whimsy to any winter wardrobe.
Whether you are looking for your first scarf project or a quick, satisfying gift, this pattern is your ticket to a cozy, handmade essential. Let’s dive into the fluffy details!
Materials Needed
Before you begin, gather your supplies. Because this pattern uses chunky materials, the prep is minimal, and the knitting is fast.
- Yarn: Super bulky weight yarn (size 6), approximately 200 yards. A soft cream or off-white color enhances the "cloud" effect, but any color will look gorgeous.
- Needles: US 15 (10 mm) knitting needles. Ensure you have a pair that is comfortable for you to hold for extended periods.
- Extras: A tapestry needle for weaving in ends, and a pair of scissors.
Gauge & Tension
For this pattern, the gauge is 8 stitches and 12 rows = 4 inches in pattern stitch. While exact gauge isn't critical for a scarf (since it doesn't need to fit precisely), matching it ensures you use the right amount of yarn and achieve the intended drape. If your scarf is too stiff, try larger needles; if it's too holey, try smaller ones.
Step-by-Step Instructions
This pattern is a dream because it only has one row to remember. Once you get into the rhythm, you can knit mindlessly while watching TV or listening to a podcast. Let's break it down.
Step 1: Casting On
Loosely cast on 24 stitches using your preferred method (the long-tail cast-on works beautifully here). Because the pattern involves yarn overs, you want a stretchy edge. Tip: Cast on over two needles held together, or use a needle one size larger for the cast-on row only, to ensure the edge isn't too tight.
Step 2: The Magic One-Row Repeat
Here is the entire pattern for the body of the scarf. It is a simple combination of a knit stitch, a yarn over, and a knit-two-together.
Row 1: *K1, yo, k2tog*; repeat from * to * across the row.
Let's decode that for absolute clarity:
- K1 (Knit 1): Knit the first stitch normally.
- Yo (Yarn Over): Bring the yarn to the front of the work (between the needles), then over the right needle to the back. This creates an extra loop on the needle, which will form the "hole" or "ladder" in the pattern.
- K2tog (Knit 2 Together): Insert your right needle into the next two stitches on the left needle as if to knit, and knit them together as one stitch. This decreases the stitch count by one, balancing out the yarn over you just made.
Repeat these three steps (K1, yo, k2tog) until you reach the end of the row. You will end with a total of 24 stitches on your needle, maintaining the count.
Step 3: Repetition is Key
Simply repeat Row 1 over and over until your scarf measures 60 inches (or your desired length). The pattern is reversible and looks identical on both sides, so don't worry about which side is the "right" side. As you knit, you will see the beautiful vertical columns and open lattice forming. The fabric will look airy and delicate, but the chunky yarn ensures it remains warm.
Step 4: Binding Off
When your scarf reaches the desired length, it's time to bind off. It is crucial to bind off loosely to match the stretchy nature of the cast-on edge. Here is the best method for this pattern:
- Knit the first stitch.
- Knit the second stitch.
- Using your left needle, lift the first stitch (the one on the right) over the second stitch and off the needle. One stitch is bound off.
- Knit the next stitch, and repeat the process of passing the previous stitch over the new one.
Pro Tip: To ensure a super stretchy bind-off, you can knit the stitches through the back loop on the bind-off row, or use a needle one size larger to bind off.
Step 5: Finishing Touches
Cut your yarn, leaving a 6-inch tail. Pull the tail through the last loop on your needle to secure it. Thread the tail onto your tapestry needle and weave in all ends carefully along the edge of the scarf. Because the pattern is open, be sure to weave the ends in a zig-zag pattern through the solid knit stitches to hide them completely.
Final Thoughts
And that's it! You've created a stunning, cloud-like scarf with a simple one-row repeat. The delicate, scalloped edges and open lattice design make it a standout piece, while the super bulky yarn makes it a fast and satisfying project. This pattern is a perfect introduction to yarn overs and decreases, giving you the confidence to tackle more complex lace patterns in the future.
Wear it wrapped high around your neck, draped over a coat, or gift it to someone special. The Cozy Cloud Ladder Stitch Scarf is proof that simple stitches can create truly magical results. Happy knitting!