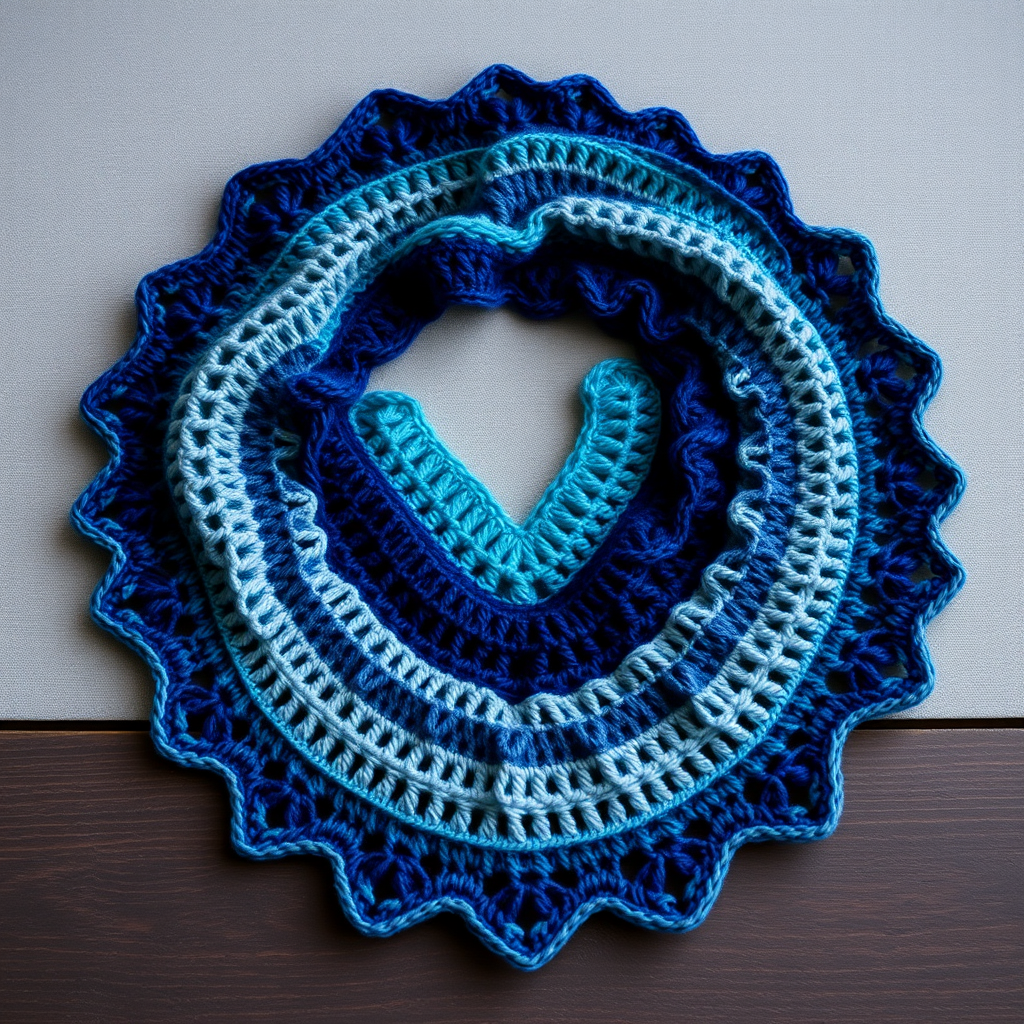
Crimson Tide Lace Ripple Scarf Free Pattern – Crochet with Magenta Waves and Pearl Edging

Crimson Tide Lace Ripple Scarf Free Pattern – Crochet with Magenta Waves and Pearl Edging
Drape yourself in the ocean's blush with this lacy magenta ripple scarf, a crochet masterpiece that flows like liquid silk. The undulating waves and delicate pearl trim make it a statement piece for any season. Whether you're a seasoned crocheter or a confident beginner looking for a rewarding project, this pattern offers a beautiful balance of rhythmic repetition and elegant finishing. The rich magenta hue is vibrant and eye-catching, while the open, lacy texture ensures the scarf drapes beautifully without feeling heavy. The crowning touch is the cream-colored picot edging, which mimics a string of tiny pearls and elevates the entire piece from simple accessory to heirloom-quality handmade treasure.
This pattern is perfect for those who love texture and visual movement. The ripple stitch is a classic, and this version—with its pronounced peaks and valleys—creates a stunning play of light and shadow. The cotton blend yarn gives it a crisp, defined stitch definition, making the lace pattern pop. Displayed flat on a neutral background, the scarf's vibrant waves and delicate trim speak for themselves, promising a project that is as enjoyable to make as it is to wear.
Materials Needed
Before you begin, gather the following materials. Having everything ready will make your crochet session smooth and enjoyable.
- Yarn: DK weight cotton blend yarn in magenta (approx. 350 yards). A cotton blend is ideal as it provides excellent stitch definition and a beautiful drape. Look for a smooth, non-fuzzy yarn to showcase the lace pattern.
- Contrasting Yarn: Small amount of contrasting cream yarn for the edging. This should be the same weight (DK) to ensure the edging matches the body of the scarf in scale.
- Crochet Hook: US G/6 (4.0 mm) crochet hook. This hook size is perfect for DK weight yarn, creating a fabric that is substantial yet drapey.
- Other Tools: Yarn needle for weaving in ends, scissors, and a tape measure to check your length.
Gauge
To ensure your scarf turns out the correct size, it's important to check your gauge. The specified gauge is 4 ripple repeats (12 stitches) and 8 rows = 4 inches in pattern stitch. This means that across 4 inches, you should have 12 stitches (one full ripple repeat) and 8 rows of the pattern. If your gauge is off, adjust your hook size accordingly—use a larger hook if your gauge is too tight, and a smaller hook if it's too loose.
Step-by-Step Instructions
Follow these detailed instructions carefully. The pattern is a multiple of 12 + 2, which creates the perfect balance of peaks and valleys. Take your time with the first few rows, and you'll quickly fall into the soothing rhythm of the ripple.
Foundation Chain
To begin, make a slip knot and chain 122. This number is a multiple of 12 (120) plus 2 for the turning chain. Count your chains carefully—this is the most important step to ensure your scarf is the correct width and your pattern aligns perfectly.
Row 1: Establishing the Ripple
This first row sets the foundation for the entire pattern. Work into the chain as follows:
- First Peak: Double crochet (dc) in the 4th chain from your hook. This counts as your first dc. Then, dc in the next 4 chains. You should now have 5 dc stitches total (including the initial chain-3 that counts as a dc).
- Peak Increase: Work 3 dc in the next chain. This creates the "peak" or the top of the wave.
- Descending: Dc in the next 5 chains.
- Valley: Skip the next 2 chains. This creates the "valley" or the bottom of the wave.
- Repeat: Now repeat the sequence: *dc in the next 5 chains, 3 dc in the next chain, dc in the next 5 chains, skip 2 chains*. Repeat from * across the entire row.
- Final Stitch: You will end the row with a dc in the very last chain. Turn your work.
Row 2 and Beyond: The Ripple Rhythm
Now that your foundation is set, the pattern becomes a simple repeat. This row and all subsequent rows follow the exact same logic.
- Turning Chain: Chain 3. This counts as your first double crochet for this row.
- First Peak: Dc in the next 4 dc stitches. You now have 5 dc (including the chain-3).
- Peak Increase: Work 3 dc in the next dc (the center stitch of the peak from the previous row). This is your new peak.
- Descending: Dc in the next 5 dc stitches.
- Valley: Skip the next 2 dc stitches. You are skipping the two stitches that form the bottom of the valley.
- Repeat: Repeat the sequence: *dc in the next 5 dc, 3 dc in the next dc, dc in the next 5 dc, skip 2 dc*. Repeat from * across the row.
- Final Stitch: End the row by working a dc into the top of the turning chain from the previous row. Turn your work.
Pro Tip: When you work 3 dc into the peak stitch, make sure you are working into the center stitch of the 3-dc group from the row below. This ensures your peaks stack neatly on top of each other. When skipping stitches in the valley, you are skipping the two stitches that sit between the 5-dc groups on either side.
Repeat Row 2 until your scarf measures approximately 60 inches or your desired length. It's best to end with a wrong-side row, so the right side of the work is facing you when you begin the edging. The scarf will naturally curl and ripple, which is exactly what you want.
Finishing: The Pearl Edging
This is where the scarf transforms from beautiful to breathtaking. The cream picot edging mimics a string of pearls and gives the scarf a polished, professional finish.
- Attach Cream Yarn: With the right side of the scarf facing you, attach the cream yarn with a slip stitch in any corner.
- Round of Single Crochet: Work a round of single crochet (sc) evenly around the entire perimeter of the scarf. This includes the long sides, the short ends, and the corners. The purpose of this round is to create a clean, even base for the picot edging.
- Corner Increases: When you reach each corner, work 3 sc in the corner stitch. This will help the edging turn the corner smoothly without puckering.
- Picot Edging: Once you have completed the round of sc and are back at your starting corner, begin the picot edging. Work as follows: *sc in the next stitch, chain 3, slip stitch (sl st) in the same stitch you just worked the sc into, skip the next stitch*. Repeat from * around the entire scarf.
- Joining: When you reach the end of the round, join with a slip stitch to the first sc of the picot round.
- Finishing Touches: Fasten off the yarn and weave in all loose ends with your yarn needle. Give your scarf a gentle block if desired to open up the lace pattern and even out the edges.
Your Crimson Tide Lace Ripple Scarf is now complete! The combination of the rich magenta waves and the delicate cream pearl edging creates a stunning accessory that is sure to draw compliments. The open, lacy texture makes it perfect for transitional weather, and the cotton blend yarn ensures it will hold its shape beautifully for years to come. Enjoy wearing your handmade masterpiece, and don't be surprised if you find yourself making another one in a different color!