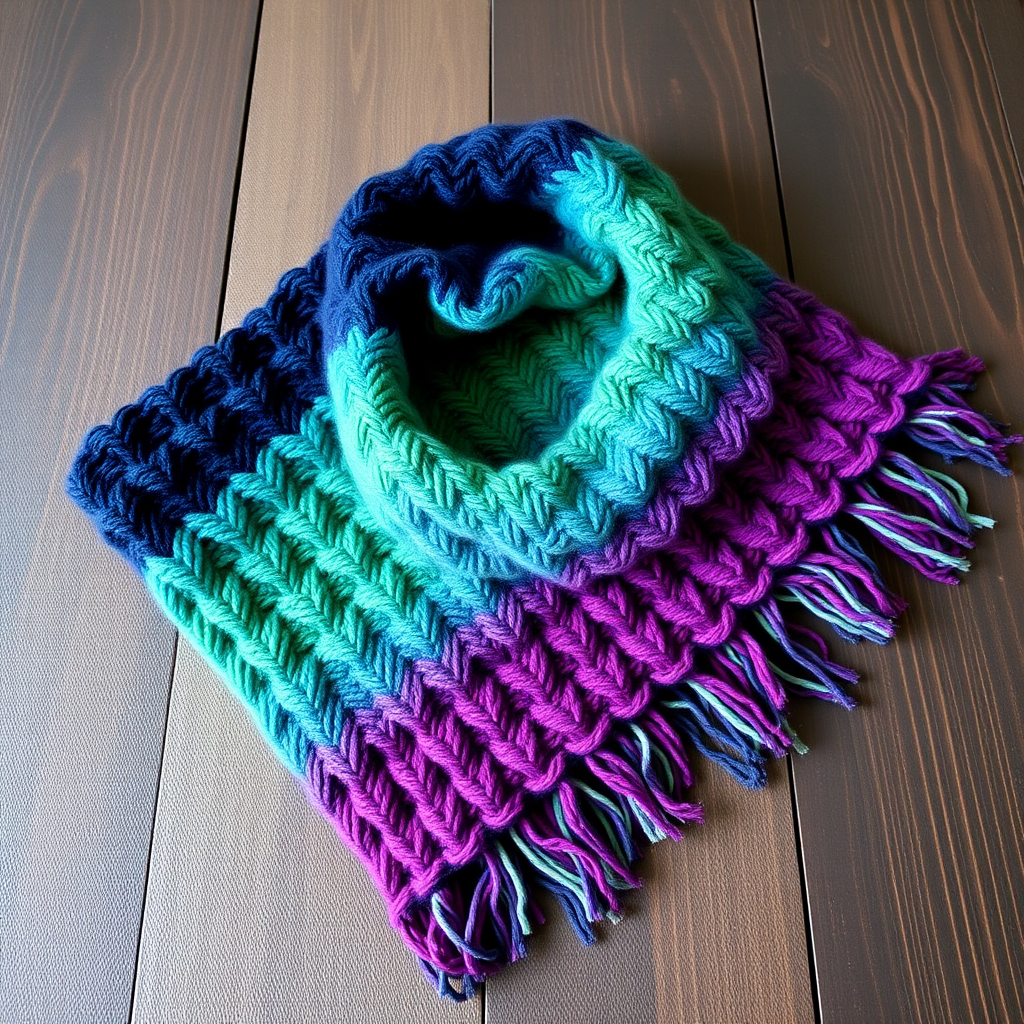
Ember Dune Knitted Scarf Free Pattern – A Wavy Desert Dune Wrap

Wrap Yourself in the Warmth of the Desert: Introducing the Ember Dune Scarf
Imagine the sun setting over a vast desert, painting the sand in hues of terracotta, burnt orange, and golden amber. That breathtaking, serene beauty is now something you can wrap around your neck. The Ember Dune Knitted Scarf is a uniquely textured, wavy wrap that captures the shifting sands of a desert sunset. Its undulating ridges and warm gradient create a cozy, sculptural accessory that feels like a gentle breeze over dunes. This free knitting pattern is perfect for intermediate beginners looking to expand their skills with simple increases and decreases, resulting in a stunning, modern piece that is as enjoyable to make as it is to wear.
This pattern is designed to be knitted flat in one piece, using a simple wave pattern created by increases and decreases. The color changes mimic the layered dunes, creating a beautiful gradient effect that is both eye-catching and elegant. Let's dive into the shifting sands and create your own Ember Dune scarf.
Materials Needed for Your Ember Dune Scarf
Before you begin your knitting journey, gather the following materials. Using the specified yarn weight and needle size is crucial to achieving the correct gauge and the desired drape and texture of the scarf.
- Yarn: Worsted weight yarn in 3 shades:
- Color A: Terracotta (approx. 100g)
- Color B: Burnt Orange (approx. 100g)
- Color C: Golden Sand (approx. 100g)
- Needles: US 8 (5mm) knitting needles
- Other: Tapestry needle for weaving in ends, scissors, and a measuring tape.
Gauge: 18 stitches and 24 rows = 4 inches in stockinette stitch. Always take time to check your gauge to ensure your scarf matches the intended dimensions.
Step-by-Step Instructions: Knitting Your Wavy Desert Wrap
This scarf is knitted flat in one piece. The wave pattern is created by a simple repeat of increases (Kfb) and decreases (K2tog), which naturally form the undulating ridges. The color changes are worked in blocks to create the gradient effect. Follow these detailed instructions carefully, and you'll have a beautiful scarf in no time.
Abbreviations
- K = knit
- P = purl
- K2tog = knit two together (decrease)
- Kfb = knit front and back (increase)
- St(s) = stitch(es)
- Rep = repeat
- RS = right side
- WS = wrong side
Getting Started: The Foundation
Cast on: With Color A (Terracotta), cast on 40 stitches. Ensure your cast-on is not too tight, as this will make the first row difficult to knit and can cause the edge to pucker.
Creating the Wave Pattern
Follow the rows below to create the wave texture. The pattern is a 12-row repeat, with each color worked over 12 rows (one full repeat).
Row 1 (RS): With Color A, knit all stitches.
Row 2 (WS): With Color A, purl all stitches.
Row 3: With Color A, K1, *Kfb, K1, K2tog, K1, Kfb, K1, K2tog, K1*; rep from * to * across, end K1. (You will still have 40 sts after this row; the increases and decreases balance each other out, creating the wave.)
Row 4: With Color A, purl all stitches.
Row 5: Switch to Color B (Burnt Orange). K1, *K2tog, K1, Kfb, K1, K2tog, K1, Kfb, K1*; rep from * to * across, end K1. (Notice how the pattern is offset to create the wave's curve.)
Row 6: With Color B, purl all stitches.
Row 7: With Color B, K1, *Kfb, K1, K2tog, K1, Kfb, K1, K2tog, K1*; rep from * to * across, end K1.
Row 8: With Color B, purl all stitches.
Row 9: Switch to Color C (Golden Sand). K1, *K2tog, K1, Kfb, K1, K2tog, K1, Kfb, K1*; rep from * to * across, end K1.
Row 10: With Color C, purl all stitches.
Row 11: With Color C, K1, *Kfb, K1, K2tog, K1, Kfb, K1, K2tog, K1*; rep from * to * across, end K1.
Row 12: With Color C, purl all stitches.
Continuing the Pattern
Repeat Rows 3-12, continuing the color sequence (A, B, C, A, B, C...) until the scarf measures approximately 60 inches from the cast-on edge. Important: Ensure you end with a complete color block (all 12 rows of a color) to maintain the symmetry of the gradient.
Finishing Touches: The Border and Bind Off
Final rows: With the last color used, knit 2 rows (garter stitch border). This will help prevent the edges from curling and give a neat, finished look.
Bind off: Bind off all stitches loosely in knit on the next row. A loose bind-off is essential to maintain the stretchy, wavy edge of the scarf. You can use a larger needle to bind off if you tend to knit tightly.
Weaving in Ends and Blocking
Finishing: Weave in all loose ends with your tapestry needle, being careful to weave them in on the wrong side of the work so they are invisible from the front.
Blocking: This is a crucial step to open up the wave pattern and even out the edges. Lightly wet block the scarf by soaking it in lukewarm water, gently squeezing out the excess (do not wring), and laying it flat on a towel. Gently stretch it to the desired dimensions and pin the edges to encourage the waves to lay flat and even. Allow it to dry completely before wearing.
Your Ember Dune Scarf is now complete! The beautiful gradient and sculptural waves make it a stunning statement piece that will keep you cozy and stylish all season long. Enjoy the warmth and the compliments that are sure to come your way.