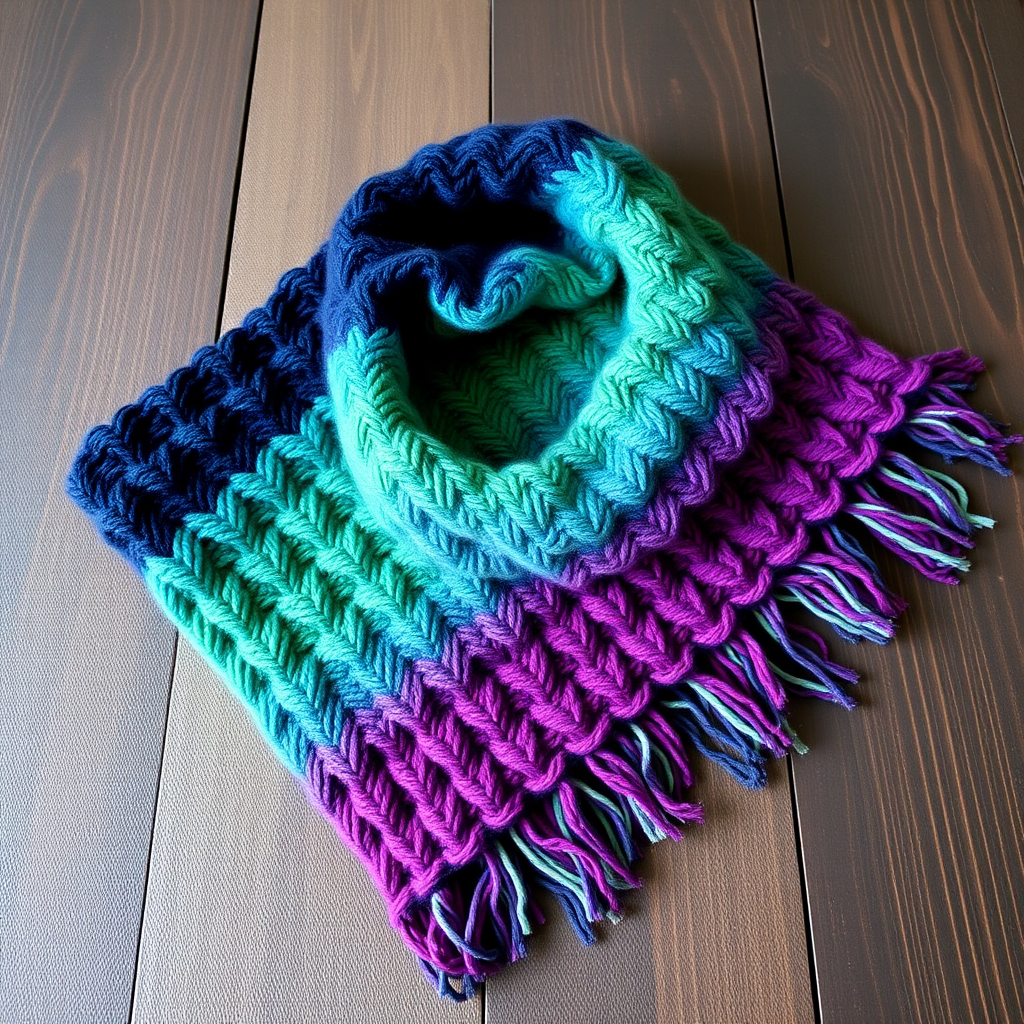
Emberwood Twisted Chainlink Infinity Scarf Free Pattern – Cozy Knit with Braided Cable Motif

Introducing the Emberwood Twisted Chainlink Infinity Scarf
Wrap yourself in the rustic elegance of the Emberwood Twisted Chainlink Infinity Scarf—a richly textured knit that mimics interlocking chain links with a modern cable twist. This cozy accessory is perfect for adding a handcrafted statement to any winter outfit. The deep burnt orange tones evoke autumn embers, while the braided cable motifs create a dense, chunky fabric that catches light and shadow beautifully. Worked seamlessly in the round, this pattern is accessible to confident beginners ready to tackle their first cables—and the result is a stunning, wearable piece of art.
This free knitting pattern walks you through every step, from casting on to the final twist that creates the infinity shape. With clear abbreviations and detailed instructions, you'll have a gorgeous, handcrafted scarf in no time.
Materials Needed
Before you begin, gather the following supplies:
- Yarn: Worsted weight yarn (approx. 300–350 yards) in a deep burnt orange or rust tone. Recommended: Lion Brand Wool-Ease in "Spice" (or any similar worsted weight yarn with good stitch definition).
- Needles: US 9 (5.5 mm) circular knitting needle, 24-inch length (for knitting in the round).
- Cable needle: A small cable needle (or double-pointed needle) for cable stitches.
- Stitch marker: One removable marker to indicate the beginning of the round.
- Tapestry needle: For weaving in ends and seaming.
- Scissors and a measuring tape.
Gauge: 18 stitches and 24 rows = 4 inches in stockinette stitch (knit every round). Adjust needle size if necessary to match gauge.
Step-by-Step Instructions
This infinity scarf is worked in the round to create a seamless tube, then twisted once before joining to form the infinity shape. The pattern uses a combination of knit, purl, and cable stitches to create the twisted chainlink effect.
Abbreviations
- CO: Cast on
- K: Knit
- P: Purl
- C4F: Slip 2 stitches to cable needle, hold to front, knit 2, knit 2 from cable needle
- C4B: Slip 2 stitches to cable needle, hold to back, knit 2, knit 2 from cable needle
- Rep: Repeat
- Rnd(s): Round(s)
Getting Started: Cast On and Join
CO 120 stitches. Place a marker and join in the round, being careful not to twist the stitches. This is crucial—if your cast-on is twisted, the entire scarf will be twisted incorrectly. Take a moment to ensure all stitches lie flat on the needle before joining.
Ribbing Foundation (Rounds 1–4)
Rnds 1–4: *K2, P2; rep from * around.
This creates a 2×2 ribbing that forms the base of the scarf. Work these four rounds evenly, keeping your tension consistent.
First Cable Round (Rnd 5)
Rnd 5: *C4F, P2; rep from * around.
Here's how to work the C4F cable:
- Slip the next 2 stitches onto your cable needle and hold it to the front of your work.
- Knit the next 2 stitches from the left needle.
- Knit the 2 stitches from the cable needle.
- Purl the next 2 stitches.
Repeat this sequence (C4F, P2) all the way around. You'll see the cables begin to lean to the left.
Body of the Pattern (Rounds 6–12)
Rnds 6–8: *K4, P2; rep from * around.
These three rounds are worked straight—knit the knit stitches and purl the purl stitches as they appear. This allows the cables to settle and the fabric to build.
Rnd 9: *C4B, P2; rep from * around.
For the C4B cable:
- Slip the next 2 stitches onto your cable needle and hold it to the back of your work.
- Knit the next 2 stitches from the left needle.
- Knit the 2 stitches from the cable needle.
- Purl the next 2 stitches.
This creates a right-leaning cable, which interlocks with the previous left-leaning cable to form the chainlink effect.
Rnds 10–12: *K4, P2; rep from * around.
Again, work these rounds straight, knitting the knits and purling the purls.
Repeating the Pattern
Repeat Rnds 5–12 until the scarf measures approximately 60 inches (152 cm) from the cast-on edge, ending with a Rnd 12. This will give you a generous infinity scarf that drapes beautifully. Measure from the cast-on edge, not from the needle tip.
Binding Off
Bind off loosely in pattern. This means: knit the knit stitches, purl the purl stitches, and pass the previous stitch over as you go. Do not bind off too tightly—the edge needs to stretch to match the body of the scarf. If you tend to bind off tightly, consider using a needle one size larger for the bind-off row.
Creating the Infinity Twist
With the right side facing, twist the tube once (180 degrees) so that the two ends are aligned but the fabric has a single twist. This is what creates the classic infinity figure-eight shape. Hold the two edges together, making sure the twist is even and the cables align as nicely as possible.
Seaming and Finishing
Use a tapestry needle to sew the cast-on and bind-off edges together. Use a mattress stitch or whip stitch, working through the edge stitches to create a nearly invisible seam. Take your time—this seam will be visible at the twist point, so neatness counts.
Weave in all ends securely, using a tapestry needle to thread the yarn tails through the wrong side of the fabric. Trim any excess yarn.
Blocking
Block lightly to even out the cables and set the stitches. To wet block: soak the scarf in lukewarm water with a drop of mild soap, gently squeeze out excess water (do not wring), lay flat on a towel, and roll to remove more moisture. Then shape the scarf into its infinity form and let it dry completely. This will relax the yarn and make the cables pop beautifully.
Final Thoughts
Your Emberwood Twisted Chainlink Infinity Scarf is now complete! The dense, chunky texture and interlocking cable motifs make this a statement piece that's both cozy and elegant. Whether you wear it draped once or doubled, the single twist at the seam creates a graceful figure-eight that stays in place beautifully.
This pattern is perfect for practicing cable techniques in the round, and the result is a wardrobe staple you'll reach for all winter long. Happy knitting!