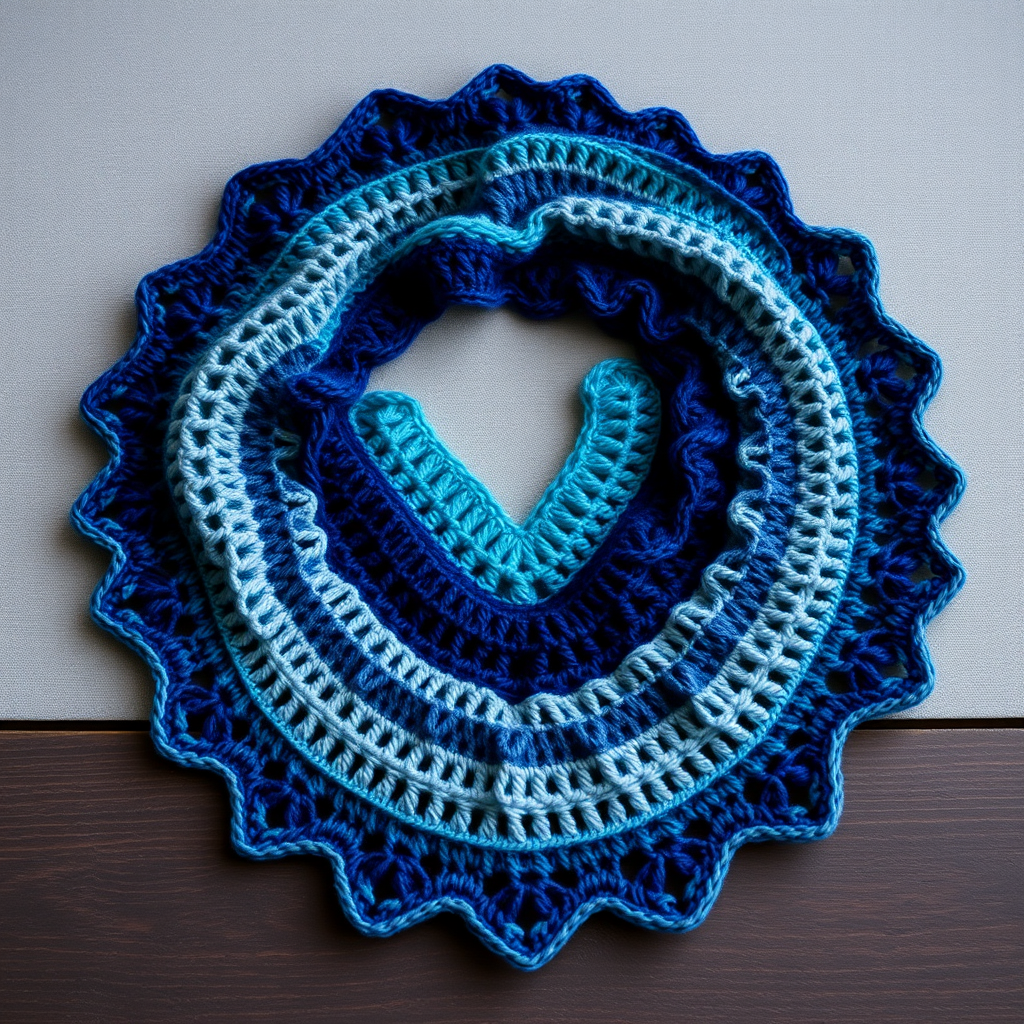
Enchanted Fern Hooded Scarf Free Pattern – A Textured Leaf Motif Wrap

Wrap Yourself in Woodland Charm: The Enchanted Fern Hooded Scarf
Imagine stepping into a crisp autumn forest, the earthy scent of moss and leaves filling the air, and wrapping yourself in a scarf that captures that very essence. The Enchanted Fern Hooded Scarf is more than just a winter accessory—it's a wearable piece of nature. This free crochet pattern combines the cozy functionality of a hooded scarf with the delicate, organic beauty of fern leaf motifs. Using a rich palette of deep forest green and mossy olive, this textured wrap is perfect for woodland walks, chilly commutes, or simply snuggling by the fire with a warm drink. Whether you're a seasoned crocheter or a confident beginner, this pattern offers a rewarding project that results in a stunning, handmade treasure.
This pattern is designed to be approachable, using basic stitches like double crochet and single crochet to create a dense, plush fabric. The unique fern leaf appliqués add a whimsical touch that sets this scarf apart from any store-bought accessory. Let's gather our materials and begin crafting this enchanting piece.
Materials Needed
Before you begin, ensure you have all the necessary supplies. This project uses worsted weight yarn, which is easy to work with and widely available. The two-tone color scheme adds depth and visual interest.
- Yarn: Worsted weight yarn in two shades:
- Main Color (MC): Deep Forest Green – approximately 400-450 yards
- Contrast Color (CC): Mossy Olive – approximately 150-200 yards
- Hook: 5.5 mm (I-9) crochet hook
- Other: Yarn needle for weaving in ends and sewing motifs, scissors
Gauge: 14 double crochet (dc) x 8 rows = 4 inches (10 cm) in double crochet. It's crucial to check your gauge to ensure your scarf turns out the correct size. If your gauge is off, adjust your hook size accordingly.
Step-by-Step Instructions
This pattern is broken down into three main parts: the Hood, the Scarf Body, and the Fern Leaf Motifs. Follow each step carefully, and you'll have a beautiful, finished scarf in no time.
Part 1: The Hood Section
The hood is worked in the round from the top down, creating a seamless, rounded dome. We'll start with a magic ring and increase evenly to shape the crown.
- Foundation: With MC, make a magic ring. (Alternatively, ch 4 and join with a slip stitch to form a ring.)
- Round 1: Ch 3 (counts as your first dc here and throughout), work 11 dc into the ring. Join with a slip stitch to the top of the beginning ch-3. (12 dc total)
- Round 2: Ch 3, dc in the same stitch (this creates your increase). Work 2 dc in each stitch around. Join with a slip stitch. (24 dc)
- Round 3: Ch 3, dc in the same stitch, dc in the next stitch. *Work 2 dc in the next stitch, dc in the next stitch.* Repeat from * to * around. Join. (36 dc)
- Round 4: Ch 3, dc in the same stitch, dc in the next 2 stitches. *Work 2 dc in the next stitch, dc in the next 2 stitches.* Repeat from * to * around. Join. (48 dc)
- Round 5: Ch 3, dc in the same stitch, dc in the next 3 stitches. *Work 2 dc in the next stitch, dc in the next 3 stitches.* Repeat from * to * around. Join. (60 dc)
- Rounds 6-10: Ch 3, work 1 dc in each stitch around. Join with a slip stitch to the top of the ch-3. (60 dc each round) Note: This creates the height of the hood.
- Color Change: Fasten off MC. Join CC with a slip stitch to the first stitch of the round.
- Round 11: With CC, Ch 3, work 1 dc in each stitch around. Join with a slip stitch. (60 dc) This creates a subtle color-block stripe.
- Color Change: Fasten off CC. Join MC with a slip stitch.
- Rounds 12-14: With MC, Ch 3, work 1 dc in each stitch around. Join with a slip stitch. (60 dc each round)
- Finish Hood: Fasten off and weave in the ends. Your hood should now be a rounded dome shape, open at the bottom.
Part 2: The Scarf Body
Now we'll attach the yarn to the bottom edge of the hood and work back and forth in rows to create the long scarf panel.
- Attach Yarn: With MC, attach your yarn to the bottom edge of the hood (the opening). You will be working across the 60 stitches of the last round.
- Row 1: Ch 3 (counts as first dc), work 1 dc in each stitch across the bottom edge. Turn your work. (60 dc)
- Row 2: Ch 3, work 1 dc in each stitch across. Turn your work. (60 dc)
- Repeat: Continue repeating Row 2 until the scarf body measures approximately 60 inches (152 cm) from the hood, or until it reaches your desired length. Tip: You can try it on as you go to find your perfect length.
- Finish Scarf: Fasten off and weave in all loose ends.
Part 3: The Fern Leaf Motifs (Make 2)
These stylized leaves are the signature detail of this scarf. They are worked in rows and then sewn onto the hood. The contrasting color and embroidered vein create a beautiful, realistic effect.
- Foundation Chain: With CC, ch 16.
- Row 1: This row uses a combination of stitches to create the leaf shape.
- Sc in the 2nd ch from the hook.
- Hdc in the next ch.
- Dc in the next 2 ch.
- Tr in the next 2 ch.
- Dc in the next 2 ch.
- Hdc in the next ch.
- Sc in the next ch.
- Sl st in the next ch. (This is the center point of the leaf.)
- Sc in the next ch.
- Hdc in the next ch.
- Dc in the next 2 ch.
- Tr in the next 2 ch.
- Dc in the next 2 ch.
- Hdc in the next ch.
- Sc in the last ch.
- Finish Leaf: Fasten off, leaving a long tail (about 12 inches) for sewing.
- Embroider Vein: Thread your yarn needle with MC. Using a simple running stitch, embroider a straight line down the center of the leaf, from the top point to the bottom point. This represents the central vein of the fern.
- Attach Leaves: Position one leaf on each side of the hood, near the front edge where the hood meets the scarf. Angle them slightly outward so they look like natural foliage. Using the long tail, sew them securely in place. Weave in the ends.
Finishing Touches
- Weave in Ends: Carefully weave in any remaining yarn ends using your yarn needle to ensure a clean, professional finish.
- Optional Fringe: To add a boho-chic touch, create a fringe along the bottom edge of the scarf. Cut strands of both MC and CC yarn to your desired fringe length (about 10-12 inches). Fold each strand in half, pull the loop through the edge stitch, and pull the ends through the loop to secure. Alternate colors across the edge for a playful look.
Your Enchanted Fern Hooded Scarf is now complete! The dense double crochet fabric is incredibly warm, while the leaf motifs and earthy color palette give it a unique, handcrafted charm. This pattern is a wonderful way to practice your skills and create a statement piece that you'll love for years to come. Happy crocheting!