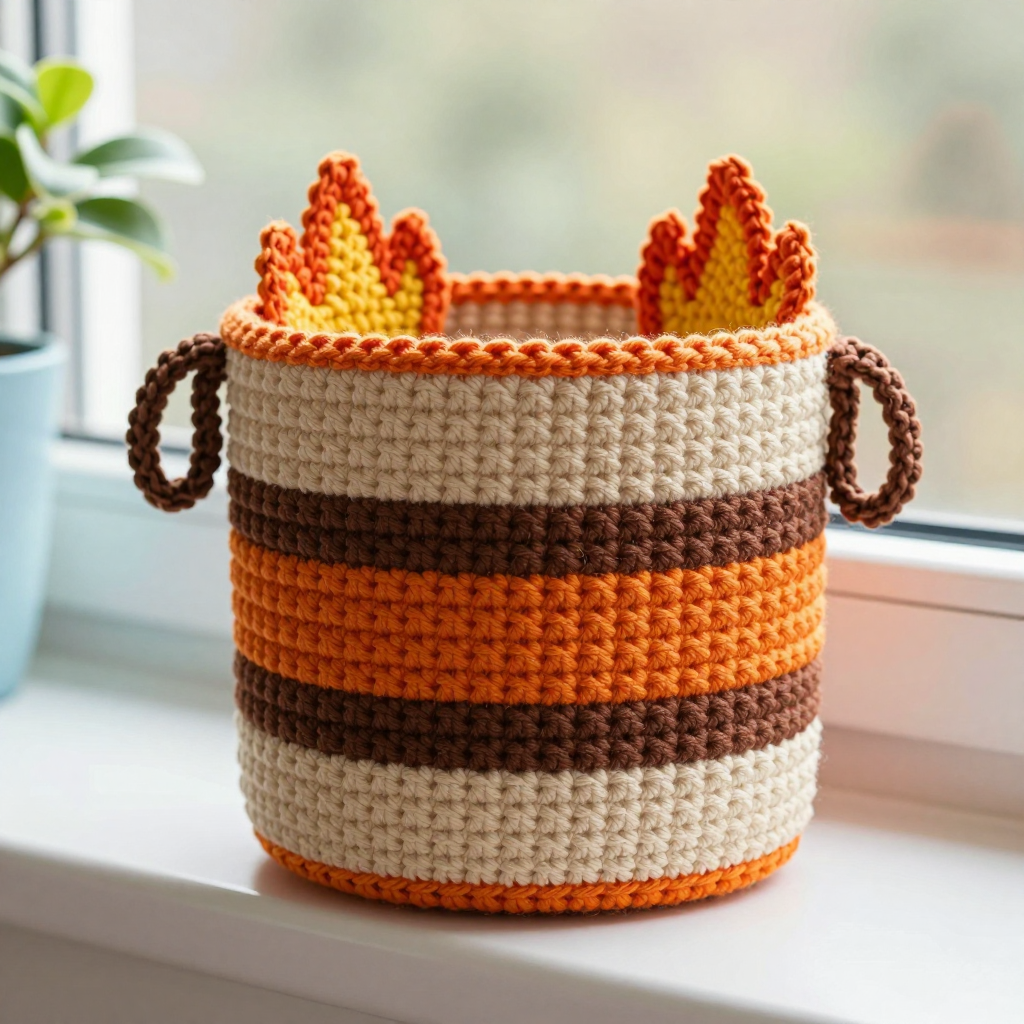
Foam Crest Crochet Cozy Free Pattern: Ocean Chevron Drawstring Pouch

Foam Crest Crochet Cozy Free Pattern: Ocean Chevron Drawstring Pouch
Introduction
If you have never held a crochet hook before, this is the perfect first "real" project for you. The Foam Crest Crochet Cozy is a small, dreamy tube of soft worsted-weight yarn that grows stitch by stitch into a little ocean-inspired pouch with wavy stripes and a frothy picot crest at the top. It is worked almost entirely in single crochet in the round, so you only need to learn one stitch to make the whole thing. The finished cozy is about 3 inches wide and 4.5 inches tall, with a braided drawstring in white, pale aqua, and ocean blue that pulls the top closed. It feels dense, squishy, and wonderfully handmade — like a tiny piece of the sea you can carry in your pocket.
Materials Needed
- Yarn: Worsted weight (category 4) acrylic or cotton-blend yarn, approximately 45–55 yards total: 25 yards white (Color A), 15 yards pale aqua (Color B), 10 yards ocean blue (Color C).
- Crochet hook: H/8 (5.0 mm).
- Stitch marker (one, or a scrap of contrasting yarn) to mark the first stitch of each round.
- Tapestry needle (also called a yarn needle — a big needle with a blunt tip and a large eye) for weaving in ends.
- Scissors.
- Finished size: Width about 3 inches (7.5 cm) flat, 6 inches (15 cm) circumference. Height about 4.5 inches (11.5 cm) from base to picot crest.
Abbreviations and Beginner Glossary
- ch – chain. Make a loop with the yarn on your hook (yarn over) and pull it through the loop already on your hook. That is one chain.
- sc – single crochet. Insert your hook into the next stitch, yarn over (wrap yarn around hook), pull up a loop (you now have 2 loops on the hook), yarn over again, and pull through both loops. One single crochet made.
- sl st – slip stitch. Insert hook into the stitch, yarn over, and pull the yarn straight through both the stitch and the loop on your hook in one motion. It joins stitches without adding height.
- 2 sc in next st – work two single crochet stitches into the same stitch. This is an increase (it makes the piece wider).
- sc2tog – single crochet two together (a decrease). Insert hook in next st, yarn over, pull up a loop, insert hook in the following st, yarn over, pull up a loop, yarn over, pull through all 3 loops on hook. Two stitches become one.
- picot – ch 3, then sl st into the third ch from hook. This makes a tiny loop that forms the wavy crest.
- magic ring – an adjustable loop of yarn you crochet into, then pull closed so there is no hole in the middle.
- st / sts – stitch / stitches.
- round – one complete circle of stitches worked in the round (spiraling around), as opposed to a "row," which goes back and forth.
- yarn over – wrap the working yarn over your hook from back to front.
- fasten off – cut the yarn a few inches from the work and pull the tail all the way through the last loop to lock it.
- [ ] – brackets mean "repeat everything inside the brackets" the number of times stated after them.
Gauge
16 sc x 18 rounds = 4 inches (10 cm) in single crochet worked in the round.
Gauge simply means how big your stitches turn out. If your stitches are looser or tighter than the pattern writer's, your cozy will come out bigger or smaller than 3 inches wide. To check, crochet a small flat swatch of single crochet about 4 inches square, lay a ruler across the middle, and count how many stitches fit in 4 inches. If you get more than 16, try a larger hook; if you get fewer, try a smaller hook. Because this cozy is small, being one or two stitches off is fine — but a quick swatch saves you from a pouch that will not fit what you made it for.
Beginner Tips Before You Start
- Use a stitch marker. Place it in the first stitch of each round so you always know where the round begins and ends. Move it up as you go.
- Do not pull the yarn too tight. Tension should feel relaxed. Tight stitches make the tube stiff and hard to work into.
- Count your stitches at the end of every round. Every round in this pattern has a stitch count in parentheses — check it before moving on.
- Change colors on the last pull-through. When you finish the last stitch of a color band, pull the new color through to complete that stitch, then continue. Leave a 4-inch tail to weave in later.
- Keep the right side out. As the tube grows, the smooth, neat side should face you. Push the base gently outward if it curls inward.
- Work loosely on the picot round. Small loops are easier to see and open up nicely when steamed.
Step-by-Step Instructions
Base (worked in the round, do not turn)
With Color A (white), make a magic ring.
Round 1: 6 sc in ring, pull ring closed, sl st to first sc. (6 sc)
Round 2: ch 1, 2 sc in each st around, sl st to first sc. (12 sc)
Round 3: ch 1, [2 sc in next st, sc in next st] around, sl st to first sc. (18 sc)
Round 4: ch 1, [2 sc in next st, sc in next 2 sts] around, sl st to first sc. (24 sc)
Round 5: ch 1, [2 sc in next st, sc in next 3 sts] around, sl st to first sc. (30 sc)
Round 6: ch 1, [2 sc in next st, sc in next 4 sts] around, sl st to first sc. (36 sc)
Round 7: ch 1, sc in each st around, sl st to first sc. (36 sc)
The base should measure about 3 inches across.
Body (straight tube, worked evenly)
Rounds 8–10: With A, ch 1, sc in each st around, sl st to first sc. (36 sc)
Rounds 11–13: Change to B (pale aqua), ch 1, sc in each st around, sl st to first sc. (36 sc)
Rounds 14–16: Change to C (ocean blue), ch 1, sc in each st around, sl st to first sc. (36 sc)
Rounds 17–19: Change to A, ch 1, sc in each st around, sl st to first sc. (36 sc)
Rounds 20–22: Change to B, ch 1, sc in each st around, sl st to first sc. (36 sc)
Rounds 23–25: Change to C, ch 1, sc in each st around, sl st to first sc. (36 sc)
Rounds 26–28: Change to A, ch 1, sc in each st around, sl st to first sc. (36 sc)
The tube should measure about 4 inches tall before the crest.
Chevron Accent Rounds
Round 29: With B, ch 1, sc in first 3 sts, [2 sc in next st, sc in next 4 sts, sc2tog over next 2 sts, sc in next 4 sts] twice, 2 sc in next st, sc in last 3 sts, sl st to first sc. (36 sc)
Round 30: With C, ch 1, sc in each st around, sl st to first sc. (36 sc)
Round 31: With A, ch 1, sc in each st around, sl st to first sc. (36 sc)
Wavy Picot Crest
Round 32: With A, ch 1, sc in first st, [picot, sc in next st] around, sl st to first sc. Fasten off and weave in ends.
The picot crest should form a soft wavy edge about 1/4 inch tall.
Drawstring Channel
With C, join yarn at any stitch of Round 31, ch 1, sc in each st around, sl st to first sc. Fasten off and weave in ends. This creates a firm band for the drawstring.
Braided Drawstring
Cut 3 strands each of A, B, and C, about 18 inches long. Knot one end and braid the strands together. Knot the other end. Thread the braid through the channel of Round 31, leaving both ends hanging at the front. Trim ends evenly.
Assembly and Finishing
Weave in all loose ends. Thread each tail onto the tapestry needle and run it back and forth through the inside of the fabric for about an inch, then trim close to the work. This hides the ends and keeps them from working loose.
Steam the crest. Hold a steam iron or kettle steam a few inches away from the picot loops and gently press them open with your fingers. Do not touch the iron directly to the yarn — just let the steam relax the loops.
Shape the pouch. Gently push the base flat and smooth the tube into a neat cylinder. Slide the drawstring to close the top and check that it moves freely.
Pro Tips and Variations
- Change the colors: Swap the ocean palette for sunset shades (peach, coral, gold) or a single solid color for a minimalist look. Keep the same yardage.
- Make it bigger or smaller: Add or remove rounds in the base (each extra increase round adds 6 stitches) and add or remove 3-round color bands in the body. Keep the chevron and picot rounds at the top.
- Substitute yarn: Cotton yarn gives a crisper, sturdier pouch; acrylic is softer and stretchier. Just check your gauge again with the new yarn.
- Add a charm or bead: Thread a small bead or shell charm onto the drawstring ends before knotting for a beachy finishing touch.