Sea Shell Cluster Beanie: Free Crochet Preemie Hat Pattern

Sea Shell Cluster Beanie: Free Crochet Preemie Hat Pattern
Introduction
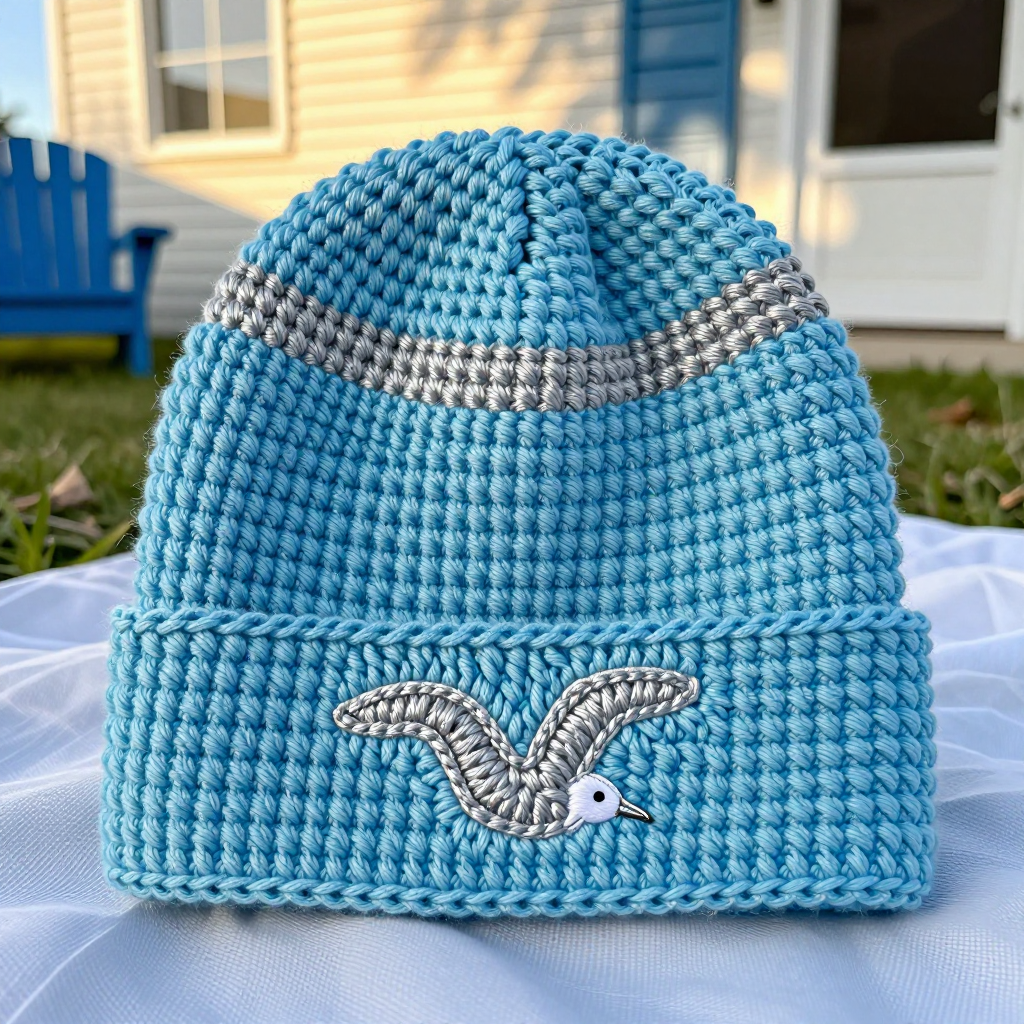
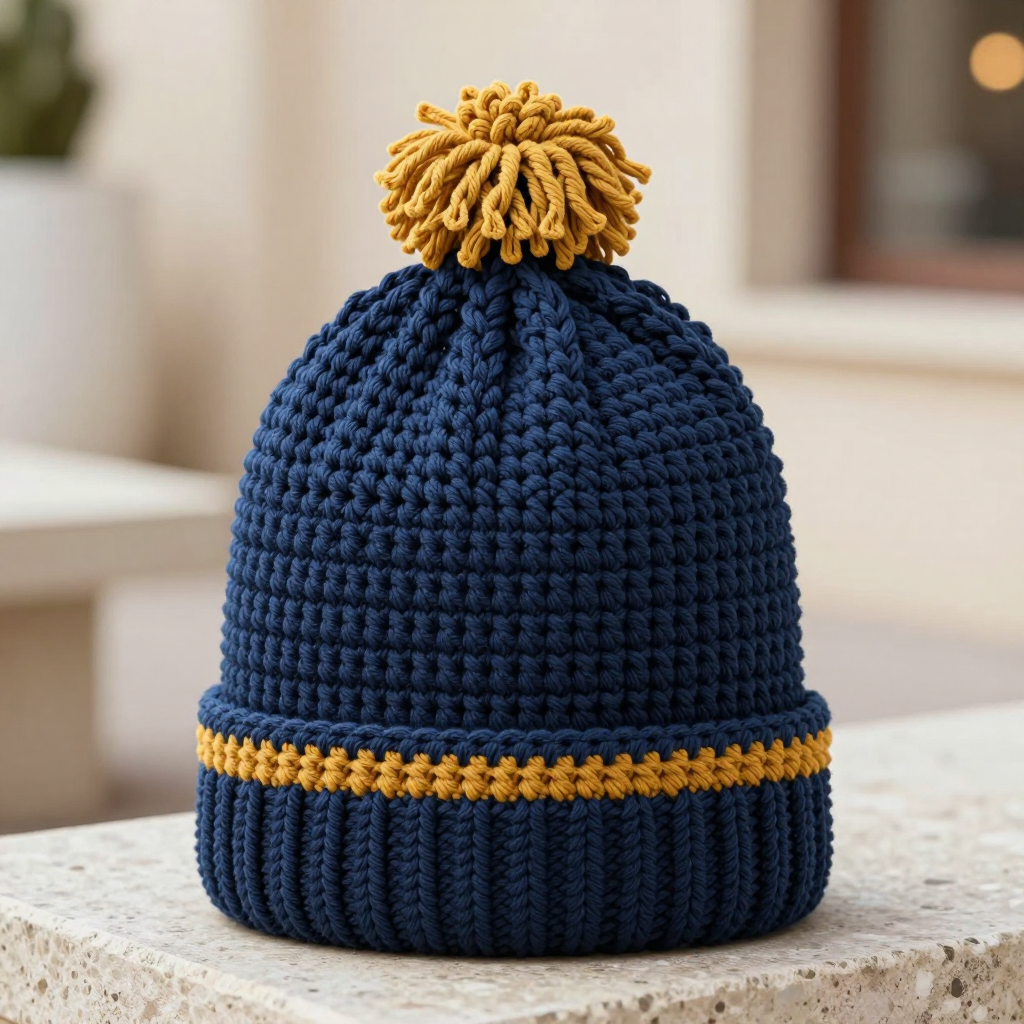
This little Sea Shell Cluster Beanie is the perfect first project for anyone who has ever wanted to make something with their own hands for a tiny baby. It is a small, soft preemie cap worked in deep navy yarn from the crown down to a gently ribbed band, and it is finished with a bold row of four ocean-blue scallop-shell appliqués across the front. The finished hat is about the size of a large orange, squishy and matte, with a rounded crown and a subtle ridge where the ribbing begins. Because it uses only simple stitches and a handful of yarn, it works up in an evening or two and makes a heartfelt gift for a hospital, a new parent, or a charity donation box. If you have never held a hook before, you are in exactly the right place.
Materials Needed
- Yarn (hat body): Worsted weight (category 4) acrylic or cotton-blend yarn, approximately 60 yards of deep navy.
- Yarn (shells): Approximately 15 yards total of worsted weight yarn in ocean blues — a few yards each of teal, aqua, light blue, and sea-foam.
- Main hook: US I/9 (5.5 mm) crochet hook for the hat body.
- Small hook: US G/6 (4.0 mm) crochet hook for the shell appliqués.
- Stitch marker (one is enough) to mark the first stitch of each round.
- Yarn needle (also called a tapestry needle — a big blunt needle with an eye large enough for yarn) for sewing on the shells and weaving in ends.
- Scissors for cutting yarn.
- Finished size: Preemie/newborn cap, approximately 11 inches in circumference (unstretched) and 5 inches tall from crown to lower edge.
Abbreviations and Beginner Glossary
Every abbreviation used in this pattern is listed below with a plain-English explanation. Read through this list once before you begin — you do not need to memorize it.
- ch – chain. Make a loop of yarn over your hook and pull it through the loop already on your hook. This creates a small link called a chain stitch.
- sl st – slip stitch. Insert your hook into the stitch, wrap yarn over the hook, and pull that loop straight through both the stitch and the loop on your hook. It joins stitches together without adding height.
- sc – single crochet. Insert hook into stitch, pull up a loop (2 loops on hook), yarn over, pull through both loops. (1 loop remains.)
- hdc – half double crochet. Yarn over first, insert hook into stitch, pull up a loop (3 loops on hook), yarn over, pull through all 3 loops at once.
- dc – double crochet. Yarn over, insert hook into stitch, pull up a loop (3 loops on hook), yarn over and pull through 2 loops, yarn over and pull through the last 2 loops.
- tr – treble crochet. Yarn over twice, insert hook into stitch, pull up a loop, then yarn over and pull through 2 loops three times. (Not used in this pattern but listed for reference.)
- hdc2tog – half double crochet 2 together. A decrease: start an hdc in one stitch, then start another hdc in the next stitch, and pull through all loops at once to join them into one. (Not used in this pattern but listed for reference.)
- st(s) – stitch(es). One completed loop or "V" in your fabric.
- rnd – round. One complete circle of stitches worked around the hat.
- magic ring – an adjustable loop of yarn that you crochet into, then pull tight so the center hole closes completely. It is how the crown of this hat begins.
- back loop only – each stitch has two top loops (a front one and a back one). Working "through the back loop only" means you insert your hook under just the loop farthest from you, which creates a ridge and a stretchy ribbed look.
- fasten off – cut the yarn a few inches from your work and pull the tail all the way through the last loop to lock it.
- weave in ends – thread a yarn tail onto a yarn needle and sew it back and forth through the inside of the fabric so it disappears and cannot unravel.
Gauge
Gauge: 12 hdc and 9 rounds = 4 inches in half double crochet worked in the round (about 3 rounds = 3 inches).
Gauge simply means how big your stitches come out. If your stitches are looser or tighter than the designer's, your hat will be bigger or smaller than 11 inches around — and a preemie hat needs to fit a very small head. To check, crochet a small practice circle: work Rounds 1–4 of the hat body exactly as written, then measure across the flat circle. It should measure about 2½ inches across. If it is larger, try a smaller hook; if smaller, try a larger hook. Do not skip this step — it takes five minutes and saves you from re-making the whole hat.
Beginner Tips Before You Start
- Use a stitch marker. Place it in the very first stitch of each round. When you reach the marker again, you know the round is complete and you will not accidentally add or lose stitches.
- Do not pull your yarn too tight. Tension is the number-one beginner struggle. Hold the yarn gently — tight stitches make a stiff, tiny hat that will not stretch over a baby's head.
- Count every round. The stitch count in parentheses at the end of each round is your safety net. If it does not match, fix it before moving on.
- Keep your magic ring tail handy. After Round 2, pull the starting tail firmly to close the center hole completely, then weave it in later.
- Work the shells on the smaller hook. The G/6 (4.0 mm) hook makes the appliqués firmer and flatter so they sit neatly on the hat instead of curling.
- Relax and enjoy it. This hat is small and forgiving. Small mistakes disappear once the hat is finished and worn.
Step-by-Step Instructions
Hat Body (navy, US I/9 / 5.5 mm hook, worked in the round)
Rnd 1: Make a magic ring. Ch 1 (this does not count as a stitch). Work 8 hdc into the ring. Join with sl st to the first hdc. (8 hdc)
Rnd 2: Ch 1. Work 2 hdc in each st around. Join with sl st to first hdc. (16 hdc)
Rnd 3: Ch 1. *2 hdc in next st, 1 hdc in next st; repeat from * around. Join with sl st to first hdc. (24 hdc)
Rnd 4: Ch 1. *2 hdc in next st, 1 hdc in each of next 2 sts; repeat from * around. Join with sl st to first hdc. (32 hdc)
Rnd 5: Ch 1. *2 hdc in next st, 1 hdc in each of next 3 sts; repeat from * around. Join with sl st to first hdc. (40 hdc)
Rnd 6: Ch 1. *2 hdc in next st, 1 hdc in each of next 4 sts; repeat from * around. Join with sl st to first hdc. (48 hdc)
The crown should now measure about 4 inches across. (48 sts at 12 hdc per 4 inches gives a 16-inch crown circle, which relaxes to about 11 inches circumference when worn.)
Rnds 7–16: Ch 1. Work 1 hdc in each st around. Join with sl st to first hdc. (48 hdc) — 10 rounds total.
The body should measure about 4 inches from the crown edge to the lower edge.
Rnd 17 (ribbing round): Ch 1. Work 1 sc in each st around, working through the back loop only. Join with sl st to first sc. (48 sc)
Rnd 18: Ch 1. Work 1 sc in each st around. Join with sl st to first sc. (48 sc)
Fasten off navy and weave in the ends. The hat now measures approximately 5 inches tall.
Shell Appliqués (make 4, one in each ocean blue, US G/6 / 4.0 mm hook)
Note: Work each shell in a different shade — teal, aqua, light blue, and sea-foam — so the finished row reads as a bold ocean gradient.
Row 1: Ch 6. Work 1 sc in the 2nd ch from hook and in each ch across. (5 sc)
Row 2: Ch 3 (counts as first dc). Work 2 dc in the first sc, 1 dc in each of the next 3 sc, 3 dc in the last sc. (9 dc)
Row 3: Ch 3 (counts as first dc). Work 1 dc in the same st, 2 dc in the next st, 1 dc in each of the next 5 sts, 2 dc in the next st, 2 dc in the last st. (13 dc)
Row 4 (scallop edge): Ch 1. Work 1 sc in the first st, *skip 1 st, 3 dc in the next st, skip 1 st, 1 sc in the next st; repeat from * across, ending with 1 sc in the last st. Fasten off, leaving a 10-inch tail for sewing. (3 scallop bumps)
Weave in the starting end only — keep the long tail for attaching the shell to the hat.
Assembly
See the Assembly and Finishing section below for exactly how to place and sew on the four shells.
Assembly and Finishing
- Arrange the shells. Lay the hat flat with the ribbing band at the bottom. Place the four shells in a row across the front, about 1 inch above the ribbing rounds, with the scallop edges pointing down. Space them evenly so the row looks balanced — the four shades should read as a gradient from teal to sea-foam.
- Sew each shell in place. Thread the 10-inch tail onto your yarn needle. Sew small, neat stitches along the top edge of each shell, catching only the surface of the hat fabric — do not push the needle all the way through to the inside, or the stitches will show when the hat is worn. Take two or three stitches per shell and pull gently so the shell lies flat.
- Weave in all remaining ends. Turn the hat inside out. Thread each tail onto the needle and sew it back and forth through the inside of the fabric for about an inch, then trim close to the fabric. Do the same for the shell tails on the inside of the hat.
- Block the hat. Lightly steam-block: hold a steam iron a few inches above the hat (never press it directly onto the yarn) and let the steam relax the stitches. Then press the shell edges flat with your fingers while the yarn is still warm and slightly damp. Let the hat dry completely before wearing.
Care: Hand wash cold, reshape, and lay flat to dry.
Pro Tips and Variations
- Change the colors. Swap the navy for any solid worsted color and choose four shells in a matching gradient — pinks and corals for a sunset hat, greens for a garden hat, or grays and whites for a neutral look.
- Adjust the size. For a slightly larger newborn hat, add one more increase round (Rnd 7: *2 hdc in next st, 1 hdc in each of next 5 sts; repeat around — 56 hdc) and work Rnds 8–17 even before the ribbing. For a tinier preemie hat, stop increasing after Rnd 5 (40 hdc) and work 10 even rounds before the ribbing.
- Substitute the yarn. Cotton-blend yarn gives a crisper, more defined stitch; acrylic gives a softer, stretchier hat. Either works — just check your gauge again, because different fibers behave differently.
- Add more shells. Five or six smaller shells make a fuller band, or work a single large shell centered on the front for a simpler, bolder look.