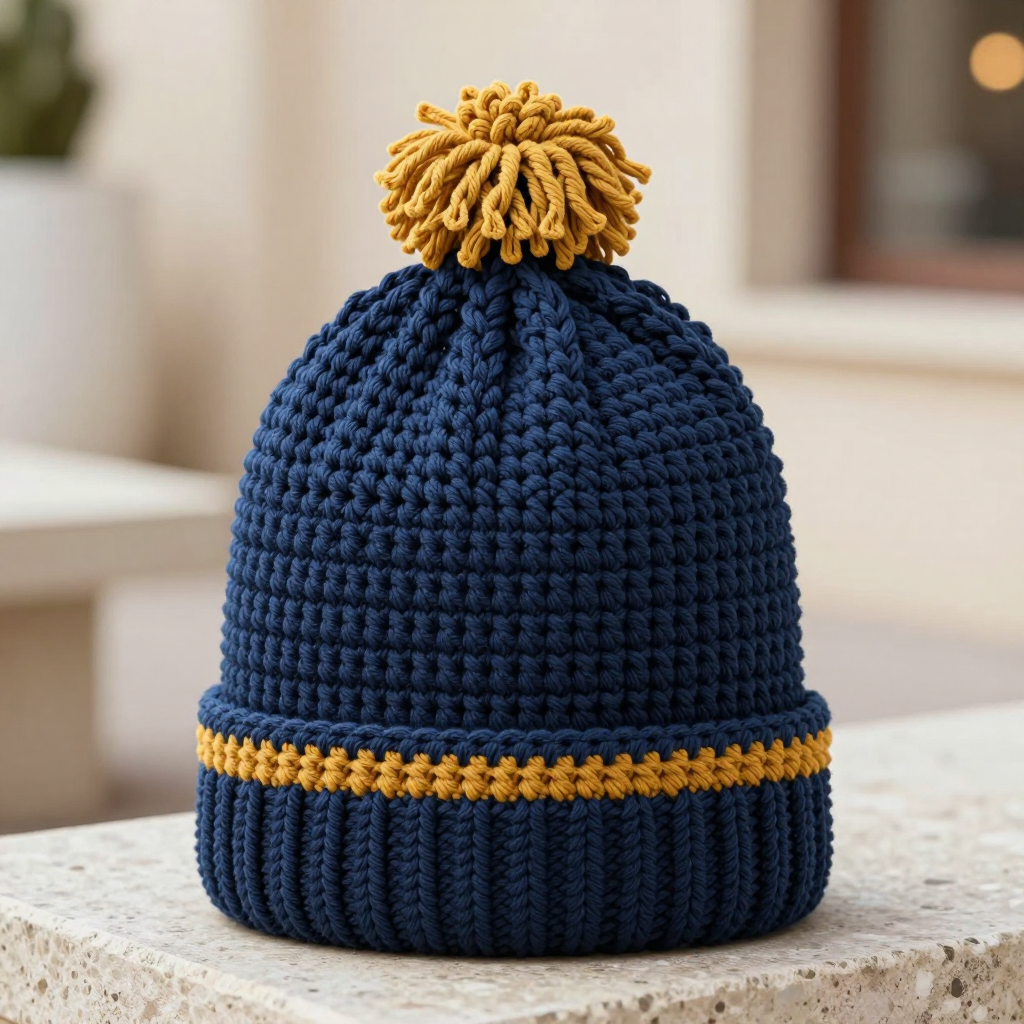
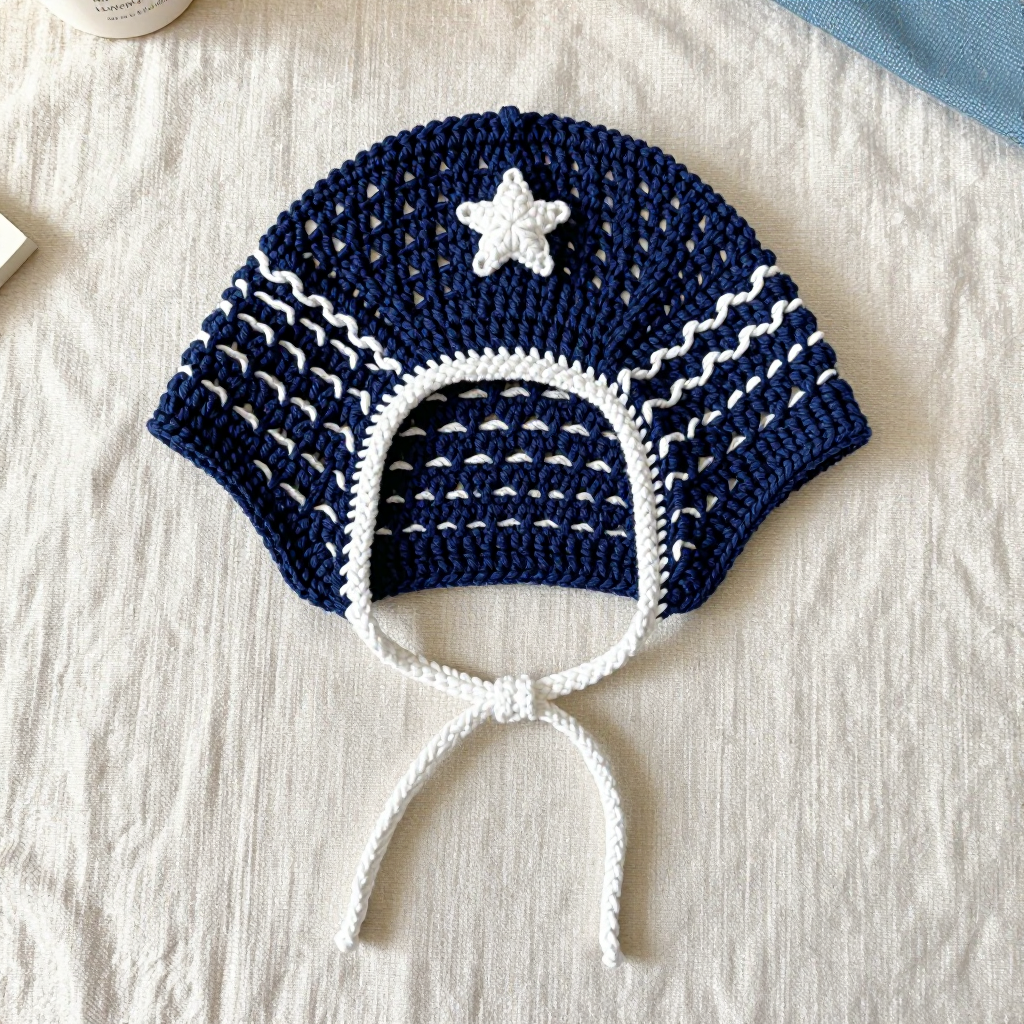
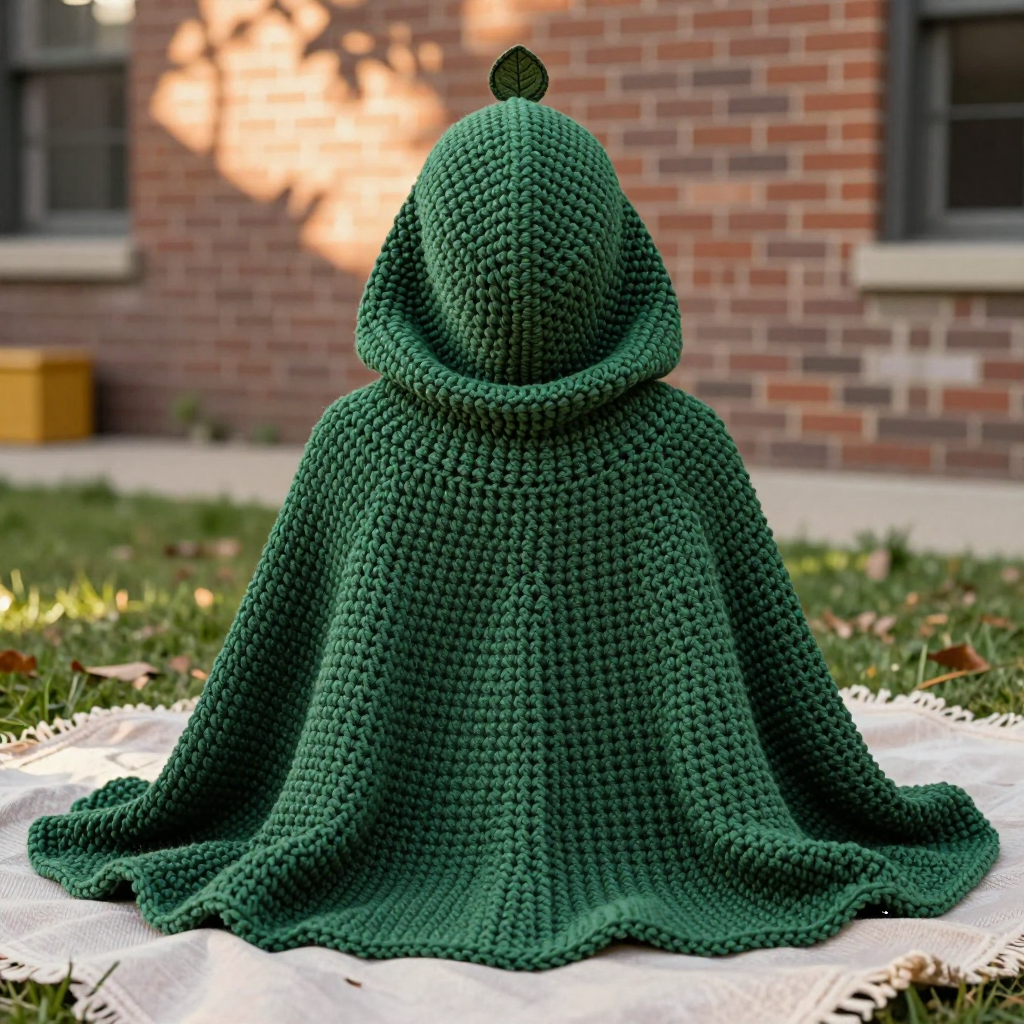
Rust Mushroom Cap Beanie Free Crochet Pattern

Rust Mushroom Cap Beanie: A Cozy, Retro Crochet Pattern for Beginners
This softly domed rust beanie is the perfect first "real" project for a brand-new crocheter who has just learned the single crochet stitch. It is worked almost entirely in one simple stitch, so you can relax and enjoy the rhythm of your hook while the hat grows before your eyes. The finished beanie looks like a little woodland mushroom cap: warm terracotta rust for the body, a crisp forest green ear-band around the bottom edge, and a sweet retro mushroom appliqué sewn onto the front. It feels squishy, warm, and wonderfully handmade, and the 90s-inspired colorway makes it a gift that people actually wear. If you can make a slip knot, a chain, and a single crochet, you can make this hat.
Materials Needed
- Yarn (cap): Bulky (weight 5) acrylic or wool-blend yarn in rust/terracotta. Approx. 120–180 yd (110–165 m) depending on size.
- Yarn (ear-band and mushroom cap): Bulky (weight 5) yarn in forest green. Approx. 40–60 yd (35–55 m).
- Yarn (mushroom stem): A small amount of the rust yarn (a few yards).
- Crochet hook: Size K/10.5 (6.5 mm), or whatever size gets you the gauge below.
- Stitch marker: One removable marker (or a safety pin, or a scrap of contrasting yarn).
- Tapestry needle: A blunt-tipped yarn needle for sewing the appliqué and weaving in ends.
- Scissors for cutting yarn.
- Measuring tape for checking gauge and fit.
Finished sizes: Newborn (0–3 Months, 3–6 Months, 6–12 Months, 1–3 Years). Finished head circumference approx. 13 (14, 15, 16, 18) in / 33 (36, 38, 41, 46) cm. Finished cap depth approx. 5 (5.5, 6, 6.5, 7) in / 13 (14, 15, 16.5, 18) cm. When you see numbers in parentheses, they refer to the larger sizes in order; a single number applies to all sizes.
Abbreviations and Beginner Glossary
- ch – chain. Yarn over (wrap yarn around hook), pull the hook through the loop on your hook. This makes one chain stitch.
- sc – single crochet. Insert hook into the stitch, yarn over, pull up a loop (2 loops on hook), yarn over again, pull through both loops. One single crochet made.
- sc2tog – single crochet 2 together (a decrease). Insert hook into first stitch, yarn over, pull up a loop; insert hook into next stitch, yarn over, pull up a loop; yarn over and pull through all three loops. Turns 2 stitches into 1. (Not used in this pattern, but good to know.)
- sl st – slip stitch. Insert hook into stitch, yarn over, pull through both the stitch and the loop on your hook in one motion. Used here only to join and close a round.
- st(s) – stitch(es).
- rnd – round. One full circle of stitches worked around.
- MR – magic ring. An adjustable loop you crochet into, then pull tight so there is no hole in the center. To make one: wrap yarn around two fingers to form a loop, insert hook into the loop, pull up a loop, chain 1 to secure, then work your stitches into the ring; pull the short tail to close it.
- rep – repeat. Do the instructions between the asterisks (*) again.
- 2 sc in next st – work two single crochets into the same stitch. This is an increase (it makes the circle bigger).
- yarn over – wrap the working yarn over your hook from back to front.
Gauge
Gauge: 6 sc = 2 in (5 cm); 6 sc rounds = 2 in (5 cm) in single crochet worked in the round.
Why gauge matters: Gauge is how big your stitches come out. If your stitches are bigger than the pattern's, the hat will be too big; if smaller, it will be too tight. Because a hat must fit a real head, gauge is the one thing worth checking first.
How to make a gauge swatch: With your rust yarn and hook, make a magic ring, work 6 sc into it, then work increase rounds (2 sc in each st, then *2 sc in next st, sc in next st* around) until your swatch is about 3 in (7.5 cm) across. Lay it flat and measure across the middle: 6 stitches should measure 2 in (5 cm). If your stitches are too big, switch to a smaller hook; if too small, switch to a larger hook. Then begin the hat.
Beginner Tips Before You Start
- Use your stitch marker every single round. Because this hat is worked in a spiral (no joining), the first stitch of each round moves. Clip the marker into the first stitch of the round and move it up as you go, or you will lose your place.
- Do not pull your yarn too tight. Tension should feel relaxed. Tight stitches make a stiff, small hat and make it hard to insert your hook.
- Count your stitches at the end of every round. The number in parentheses is your checkpoint. If it is off by one or two, fix it now rather than later.
- Keep the magic ring tail handy. After Round 2, pull the short tail firmly to close the center hole completely.
- Work the increase rounds slowly. Say the pattern out loud: "two in one, then one, one, one…" It keeps you on track.
- Try the hat on as you go. Once the crown is done, slip it onto the head it is for. It should reach just above the top of the ear before you start the ear-band.
Step-by-Step Instructions
Part 1: The Cap (Rust)
The cap is worked in continuous single-crochet rounds from the crown down, spiraling without joining. Place a stitch marker in the first stitch of each round and move it up as you go.
Rnd 1: Make a magic ring. Work 6 sc into the ring. (6 sc)
Rnd 2: 2 sc in each st around. (12 sc)
Rnd 3: *2 sc in next st, sc in next st; rep from * around. (18 sc)
Rnd 4: *2 sc in next st, sc in next 2 sts; rep from * around. (24 sc)
Rnd 5: *2 sc in next st, sc in next 3 sts; rep from * around. (30 sc)
Rnd 6: *2 sc in next st, sc in next 4 sts; rep from * around. (36 sc)
Rnd 7: *2 sc in next st, sc in next 5 sts; rep from * around. (42 sc)
Rnd 8: *2 sc in next st, sc in next 6 sts; rep from * around. (48 sc)
Rnd 9: *2 sc in next st, sc in next 7 sts; rep from * around. (54 sc)
Rnd 10: *2 sc in next st, sc in next 8 sts; rep from * around. (60 sc)
Rnd 11: *2 sc in next st, sc in next 9 sts; rep from * around. (66 sc)
Rnd 12: *2 sc in next st, sc in next 10 sts; rep from * around. (72 sc)
Rnd 13: *2 sc in next st, sc in next 11 sts; rep from * around. (78 sc)
Rnd 14: *2 sc in next st, sc in next 12 sts; rep from * around. (84 sc)
Rnd 15: *2 sc in next st, sc in next 13 sts; rep from * around. (90 sc)
Rnd 16: *2 sc in next st, sc in next 14 sts; rep from * around. (96 sc)
Rnd 17: *2 sc in next st, sc in next 15 sts; rep from * around. (102 sc)
Rnd 18: *2 sc in next st, sc in next 16 sts; rep from * around. (108 sc)
Rnd 19: *2 sc in next st, sc in next 17 sts; rep from * around. (114 sc)
Rnd 20: *2 sc in next st, sc in next 18 sts; rep from * around. (120 sc)
Rnd 21: *2 sc in next st, sc in next 19 sts; rep from * around. (126 sc)
Rnd 22: *2 sc in next st, sc in next 20 sts; rep from * around. (132 sc)
Rnd 23: *2 sc in next st, sc in next 21 sts; rep from * around. (138 sc)
Rnd 24: *2 sc in next st, sc in next 22 sts; rep from * around. (144 sc)
Rnd 25: *2 sc in next st, sc in next 23 sts; rep from * around. (150 sc)
Rnd 26: *2 sc in next st, sc in next 24 sts; rep from * around. (156 sc)
Rnd 27: *2 sc in next st, sc in next 25 sts; rep from * around. (162 sc)
Rnd 28: *2 sc in next st, sc in next 26 sts; rep from * around. (168 sc)
Rnd 29: *2 sc in next st, sc in next 27 sts; rep from * around. (174 sc)
Rnd 30: *2 sc in next st, sc in next 28 sts; rep from * around. (180 sc)
Size adjustment: The crown is complete when the flat circle measures approx. 4.5 (5, 5.5, 6, 6.5) in / 11.5 (12.5, 14, 15, 16.5) cm across. For smaller sizes, stop increasing after the round that gives the correct diameter, then work even. Stop after: Newborn — Rnd 7 (42 sc); 0–3 Months — Rnd 9 (54 sc); 3–6 Months — Rnd 11 (66 sc); 6–12 Months — Rnd 13 (78 sc); 1–3 Years — complete through Rnd 30 (180 sc).
Part 2: Work Even (All Sizes)
Next rnds: Sc in each st around, without increasing, until the cap measures approx. 4 (4.5, 5, 5.5, 6) in / 10 (11.5, 12.5, 14, 15) cm from the crown center, or until the cap reaches just above the top of the ear. Do not fasten off.
Part 3: Ear-Band (Forest Green)
Change to forest green yarn at the beginning of the next round. Carry the rust yarn up the inside of the hat, or cut it leaving a 6-in (15-cm) tail to weave in later.
Rnd 1: Sc in each st around. (same stitch count as last cap round)
Rnd 2: Sc in each st around.
Rnd 3: Sc in each st around.
Rnd 4: Sc in each st around. Sl st in next st to join. Fasten off, leaving a 12-in (30-cm) tail. Weave in the rust tail on the inside of the cap. The ear-band should measure approx. 1 in (2.5 cm) deep.
Part 4: Mushroom Appliqué
Cap of mushroom (forest green):
Rnd 1: With forest green, make a magic ring. Work 6 sc into the ring. (6 sc)
Rnd 2: 2 sc in each st around. (12 sc)
Rnd 3: *2 sc in next st, sc in next st; rep from * around. (18 sc)
Rnd 4: *2 sc in next st, sc in next 2 sts; rep from * around. (24 sc)
Rnd 5: Sc in each st around. (24 sc)
Rnd 6: Sc in each st around. Sl st in next st. Fasten off, leaving a 10-in (25-cm) tail for sewing. The mushroom cap should measure approx. 2 in (5 cm) across.
Stem (rust):
Row 1: With rust, ch 6. Sc in 2nd ch from hook and in each ch across. (5 sc)
Rows 2–4: Ch 1, turn. Sc in each st across. (5 sc)
Fasten off, leaving a 10-in (25-cm) tail. The stem measures approx. 1 in (2.5 cm) wide by 1.5 in (4 cm) tall.
Assembly and Finishing
- Position the mushroom cap. Pin the forest green mushroom cap to the center front of the beanie, approx. 1.5 in (4 cm) above the top edge of the forest green ear-band. Look at it from the front and adjust until it sits straight.
- Sew the cap. Thread the forest green tail onto your tapestry needle. Sew around the edge of the mushroom cap with small whipstitches (bring the needle up through the hat and the appliqué edge, over the edge, and back down), catching only the surface of the beanie so the stitches do not show on the inside. Sew all the way around, then knot on the inside.
- Add the stem. Center the rust stem directly below the mushroom cap, overlapping the lower edge of the cap by about 1/4 in (6 mm). Pin, then sew in place with the rust tail using the same small whipstitches. Knot on the inside.
- Weave in all ends. Thread each remaining tail onto the tapestry needle and run it through the inside of the hat for about 2 in (5 cm), then back through a few stitches to lock it. Trim close to the fabric.
- Block. Gently steam-block the beanie and appliqué to smooth the stitches and set the domed mushroom-cap shape. Hold a steam iron an inch or two above the fabric (never press it down flat), let the steam relax the stitches, then pat the hat into shape and let it dry completely.
Pro Tips and Variations
- Make it slouchier. For a relaxed 90s fit, add 2–4 extra even rounds (sc in each st around) before you start the ear-band. Each extra round adds about 1/3 in (1 cm) of depth.
- Change the colorway. Swap the rust for mustard, cream, or dusty rose, and the forest green for charcoal or burgundy. Change colors only at the beginning of a round so the join stays tidy at the back.
- Adjust the size. To make a bigger hat, keep increasing in the crown until the flat circle measures the diameter you need (about half the head circumference), then work even. To make a smaller hat, stop increasing sooner.
- Substitute yarn. Any bulky (weight 5) yarn works, but always re-check your gauge. If you use worsted (weight 4), go up one hook size and expect to work a few more rounds to reach the same depth.