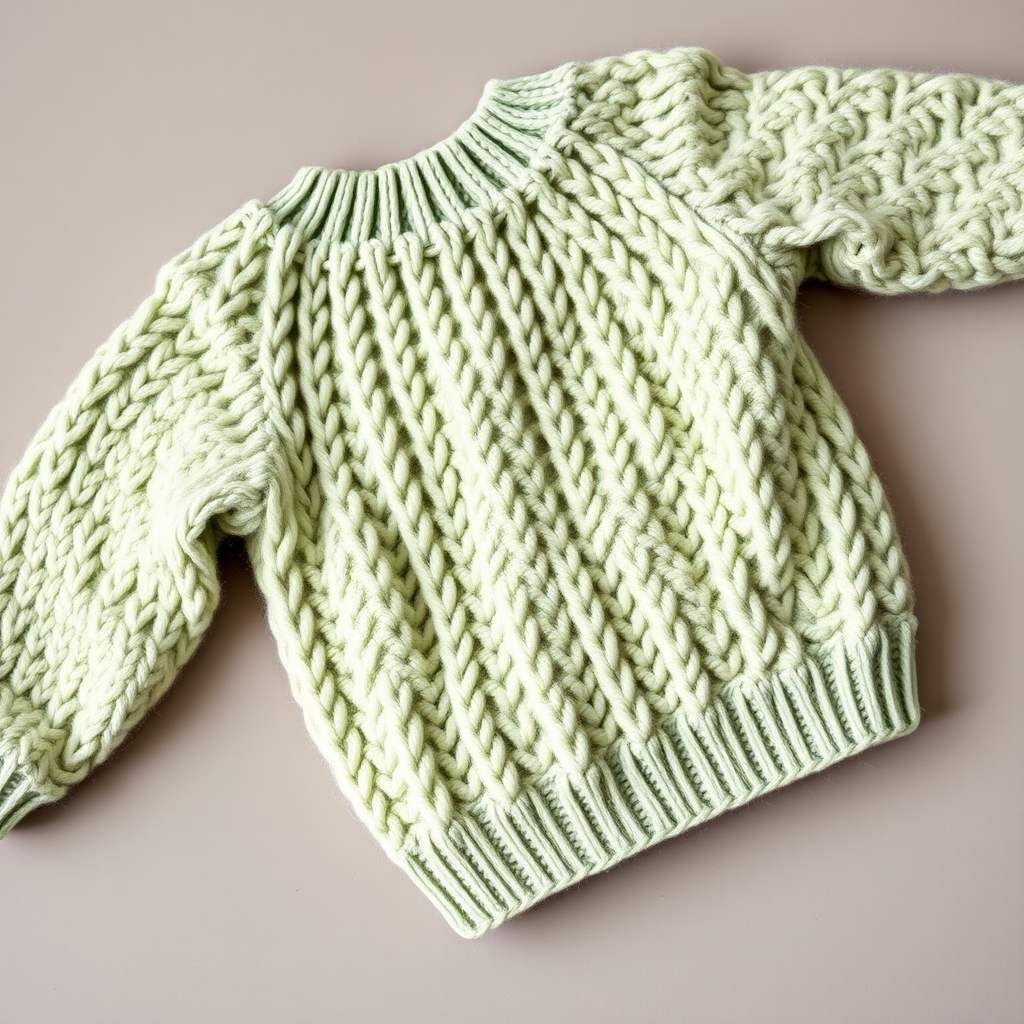
Frosty Alpine Baby Child Sweater Free Pattern – A Knitted Nordic Snowflake Yoke

Frosty Alpine Baby Sweater: A Nordic Snowflake Yoke Knitting Pattern
Wrap your little one in the cozy charm of a Nordic winter with this heirloom-quality knitted sweater. The Frosty Alpine Baby Sweater features a delicate snowflake yoke and frosty alpine colorwork that evokes a snowy Scandinavian forest. Designed for intermediate knitters seeking a memorable, wearable project, this pattern creates a classic round-yoke silhouette with a slightly flared body and set-in sleeves. The result is a cozy, heirloom-quality garment that will be treasured for years to come.
Whether you're an experienced knitter looking for a satisfying colorwork challenge or a confident beginner ready to expand your skills, this pattern offers clear instructions and stunning results. The combination of creamy off-white, sage green, and soft powder blue creates a frosty alpine aesthetic that's both timeless and modern.
Materials Needed
Before you begin, gather the following materials to ensure a smooth knitting experience:
Yarn
- MC (Main Color): Cream – 350 yards of worsted weight yarn
- CC1 (Contrast Color 1): Sage Green – 150 yards of worsted weight yarn
- CC2 (Contrast Color 2): Soft Blue – 100 yards of worsted weight yarn
Suggested yarn: Knit Picks Swish Worsted (100% Superwash Merino Wool) or any comparable worsted weight yarn that achieves the correct gauge.
Needles
- US 7 (4.5 mm) 16-inch circular needle and double-pointed needles for the yoke
- US 6 (4.0 mm) circular needle and double-pointed needles for ribbing
Additional Supplies
- Stitch markers
- Stitch holders or waste yarn
- Tapestry needle for weaving in ends
- Scissors
Gauge
20 stitches and 26 rows = 4 inches in stockinette stitch on larger needles (US 7). Always knit a gauge swatch before beginning to ensure your finished sweater matches the intended measurements.
Step-by-Step Instructions
Sizes and Measurements
This pattern includes three sizes: 6-12 months (12-18 months, 2T). Finished chest measurements are 20 (22, 24) inches. Instructions are written for the smallest size, with larger sizes in parentheses.
Yoke
Step 1: Cast On and Ribbing
With smaller needles (US 6) and MC, cast on 60 (66, 72) stitches. Join in the round, being careful not to twist your stitches. Place a stitch marker to mark the beginning of the round.
Work k1, p1 ribbing for 1.5 inches. This creates a neat, stretchy neckline that will comfortably fit over baby's head.
Step 2: Switch to Larger Needles
Switch to larger needles (US 7). Knit 2 rounds even in stockinette stitch (knit every stitch).
Step 3: First Increase Round
Increase Round 1: *K5, M1* repeat to end of round – you will now have 72 (79, 86) stitches on your needles.
To make M1 (Make One): Insert your left needle from front to back under the horizontal strand between the stitch just worked and the next stitch. Knit through the back loop to create a new stitch. This invisible increase prevents holes in your work.
Knit 3 rounds even in stockinette stitch.
Step 4: Second Increase Round
Increase Round 2: *K6, M1* repeat to end – you will now have 84 (92, 100) stitches.
Knit 3 rounds even in stockinette stitch.
Colorwork Chart (Worked over 12 Rounds)
Now you'll begin the beautiful Nordic snowflake pattern. When working colorwork, remember to keep your floats (the strands of yarn carried behind your work) loose but not too loose. Stretch your stitches slightly on the right needle before carrying the unused color across the back.
Round 1: With MC, *k2, k1 with CC1* repeat to end of round.
Round 2: With MC, *k1, k1 with CC1, k1 with MC* repeat to end.
Round 3: With CC1, *k3, k1 with MC* repeat to end.
Round 4: With MC, *k2, k1 with CC2, k1 with MC* repeat to end.
Round 5: With MC, *k1, k1 with CC2, k2 with MC* repeat to end.
Round 6: With CC2, *k4, k1 with MC* repeat to end.
Round 7: With MC, *k3, k1 with CC2, k1 with MC* repeat to end.
Round 8: With MC, *k2, k1 with CC2, k2 with MC* repeat to end.
Round 9: With CC1, *k1, k1 with MC, k3 with CC1* repeat to end.
Round 10: With MC, *k1, k1 with CC1, k3 with MC* repeat to end.
Round 11: With MC, *k2, k1 with CC1, k2 with MC* repeat to end.
Round 12: With CC1, *k5, k1 with MC* repeat to end.
After completing all 12 colorwork rounds, you'll see the beautiful snowflake and diamond motifs emerging across the yoke.
Step 5: Third Increase Round
With MC, Increase Round 3: *K7, M1* repeat to end – you will now have 96 (105, 114) stitches.
Knit 2 rounds even in stockinette stitch with MC.
Step 6: Fourth Increase Round
Increase Round 4: *K8, M1* repeat to end – you will now have 108 (118, 128) stitches.
Knit 2 rounds even in stockinette stitch with MC.
Separate for Sleeves
Step 7: Divide the Work
Now you'll separate the body from the sleeves. Follow these steps carefully:
- Knit 16 (18, 20) stitches for the back.
- Place the next 22 (24, 26) stitches on a stitch holder or waste yarn for the first sleeve.
- Cast on 4 (4, 6) stitches underarm using the backward loop method.
- Knit 32 (36, 40) stitches for the front.
- Place the next 22 (24, 26) stitches on a stitch holder or waste yarn for the second sleeve.
- Cast on 4 (4, 6) stitches underarm.
- Knit the remaining 16 (18, 20) stitches for the back.
Your total body stitches are now: 72 (80, 92) stitches.
Body
Step 8: Knit the Body
Continue knitting in stockinette stitch with MC in the round until the body measures 6 (7, 8) inches from the underarm. Measure from the cast-on underarm stitches down to ensure accuracy.
Step 9: Bottom Ribbing
Switch to smaller needles (US 6). Work k1, p1 ribbing for 1.5 inches. This creates a neat, stretchy hem that will comfortably fit over baby's head.
Bind off loosely in pattern. To ensure a stretchy bind-off, use a needle one size larger or use the Elizabeth Zimmermann sewn bind-off method.
Sleeves
Step 10: First Sleeve
Place the 22 (24, 26) sleeve stitches from the holder onto double-pointed needles. Starting at the center of the underarm cast-on stitches, pick up 4 (4, 6) stitches from the underarm. Join in the round, placing a marker at the beginning of the round.
Knit in the round with MC, decreasing 1 stitch on each side of the marker every 4 rounds. To decrease: knit 2 together before the marker, then slip-slip-knit after the marker.
Continue decreasing until the sleeve measures 5 (6, 7) inches from the underarm.
Step 11: Sleeve Ribbing
Switch to smaller needles (US 6). Work k1, p1 ribbing for 1 inch.
Bind off loosely in pattern.
Step 12: Second Sleeve
Repeat Steps 10 and 11 for the second sleeve.
Finishing
Step 13: Weave in Ends
Using a tapestry needle, carefully weave in all loose ends on the wrong side of the work. Pay special attention to the colorwork section, securing each color change neatly to prevent unraveling.
Step 14: Blocking
Block the sweater gently to the specified measurements. For wool yarn, use a gentle wet blocking method: soak the sweater in lukewarm water with a drop of wool wash, gently squeeze out excess water (never wring), and lay flat on a towel to dry. Shape to the correct measurements while damp.
For superwash wool, you can also use a steam iron on a low setting, holding the iron slightly above the fabric to avoid flattening the stitches.
Tips for Success
- Colorwork tension: If your colorwork tends to pucker, try using a larger needle for the colorwork section or stretch the stitches on your right needle more before carrying the yarn across.
- Yarn management: When working with multiple colors, keep your yarn balls organized to prevent tangling. Consider using yarn bowls or small bags for each color.
- Stitch markers: Place a marker every 10-20 stitches during the colorwork section to help you keep track of your pattern repeats and catch mistakes early.
- Gauge swatch: Always knit and block a gauge swatch in the colorwork pattern as well as in plain stockinette, as colorwork can affect your gauge.
This Frosty Alpine Baby Sweater is more than just a garment—it's a piece of heirloom craftsmanship that will be passed down through generations. The delicate snowflake yoke and frosty alpine colorwork create a timeless design that captures the magic of a snowy Scandinavian forest. Whether you're knitting this for your own little one or as a cherished gift, the result will be a cozy, beautiful sweater that's sure to become a family treasure.
Happy knitting, and may your needles bring warmth and joy to the little one who wears this special creation!