Gold Harvest Crown Headband Free Crochet Pattern

Gold Harvest Crown Headband: A Cozy Autumn Project for Total Beginners
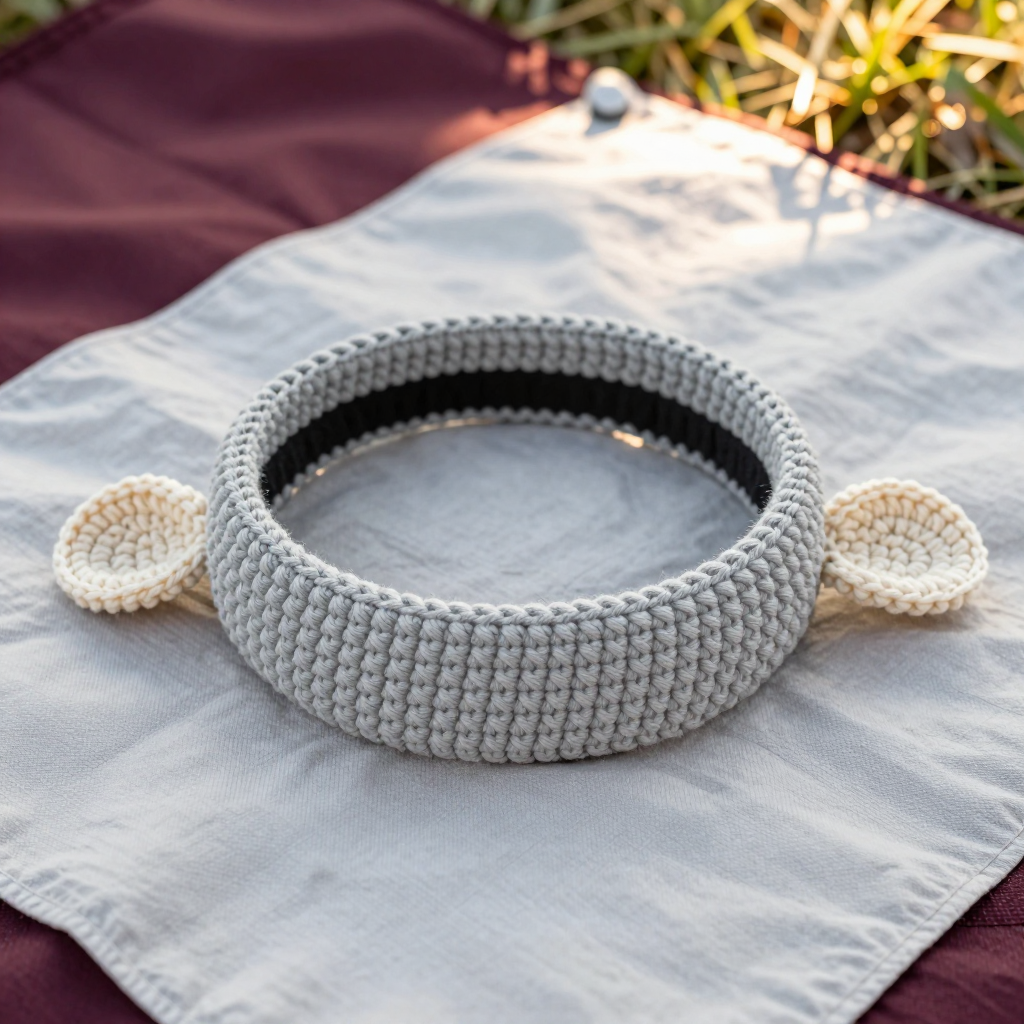
If you have never held a crochet hook before, this is the perfect first project for you. The Gold Harvest Crown Headband is a simple tube of warm golden single crochet, finished with three tiny burgundy leaves stitched along the front. It works up in an afternoon, uses only a handful of basic stitches, and gives you a finished accessory you can actually wear. The dense single crochet fabric feels soft and slightly stretchy, hugging your head comfortably while keeping your ears warm on crisp fall days. Best of all, there is no complicated shaping, no counting to a hundred, and no sewing machine required — just you, a hook, and two pretty colors of yarn.
Materials Needed
- Yarn (main color): Worsted weight (category 4) acrylic or wool-blend yarn in warm gold — approximately 90 yards.
- Yarn (leaf color): Worsted weight (category 4) yarn in burgundy — approximately 15 yards.
- Crochet hook: US G/6 (4.0 mm).
- Stitch marker (one is enough; a safety pin or paper clip works too).
- Tapestry needle (a large-eyed, blunt-tipped needle for sewing yarn).
- Scissors.
Finished size: Fits an average adult head circumference of 21–23 inches (53–58 cm). The headband tube measures approximately 2 inches (5 cm) wide and 19 inches (48 cm) in circumference before seaming. Each leaf measures about 1 inch (2.5 cm) long and 1/2 inch (1.3 cm) wide.
Abbreviations and Beginner Glossary
- ch – chain. Make a loop with the yarn, then pull a new loop through it. Each loop you pull through counts as one chain stitch. Chains form your starting foundation.
- sc – single crochet. Insert your hook into the stitch, yarn over (wrap the yarn around the hook), pull up a loop (you now have 2 loops on the hook), yarn over again, and pull through both loops. One single crochet made.
- sl st – slip stitch. Insert your hook into the stitch, yarn over, and pull the yarn straight through both the stitch and the loop on your hook in one motion. This makes a nearly invisible joining stitch.
- hdc – half double crochet. Yarn over first, insert hook into the stitch, yarn over, pull up a loop (3 loops on hook), yarn over, pull through all 3 loops at once.
- dc – double crochet. Yarn over first, insert hook into the stitch, yarn over, pull up a loop (3 loops on hook), yarn over, pull through 2 loops, yarn over, pull through the last 2 loops.
- sc2tog – single crochet 2 stitches together (a decrease). Insert hook into the first stitch, pull up a loop, insert hook into the next stitch, pull up a loop, yarn over, pull through all 3 loops. Two stitches become one. (Listed here for reference — this pattern does not use it, but you may see it in other patterns.)
- st(s) – stitch or stitches.
- rnd – round. One complete circuit around a piece worked in a circle.
- yarn over – wrapping the working yarn around your hook from back to front.
- fasten off – cut the yarn a few inches from your work, then pull the tail all the way through the last loop to lock it.
- whipstitch – a simple sewing stitch: bring the needle up through both layers, over the edge, and back down, repeating along the seam.
Gauge
16 sc x 18 rows = 4 inches (10 cm) in single crochet worked in the round.
Why gauge matters: Gauge is simply how many stitches and rows fit into a square of fabric. If your stitches are looser or tighter than the pattern expects, your finished headband will be wider or narrower than planned. Because this headband is worked to a measured length, gauge is not critical for the fit around your head — but it does affect how wide the band turns out.
How to make a gauge swatch: With your gold yarn and G/6 hook, chain 21. Work 20 single crochet stitches across, then work 20 rows of single crochet. Lay the swatch flat and measure a 4-inch (10 cm) section in the middle. Count your stitches across and your rows up. If you have more than 16 stitches in 4 inches, your stitches are tight — try a larger hook. If you have fewer, your stitches are loose — try a smaller hook.
Beginner Tips Before You Start
- Use a stitch marker. Place it in the first stitch of each round so you always know where the round begins and ends. Move it up as you go.
- Do not pull your yarn too tight. Tension is the number one beginner struggle. Hold the yarn gently — snug, not strangling. Tight stitches make a stiff, narrow band that is hard to work into.
- Count your stitches at the end of every round. You should always have 64 single crochet stitches. Catching a mistake early is far easier than fixing it later.
- Work the foundation chain loosely. If your chain is tight, the first round will be difficult. Try chaining with a hook one size larger, then switch back to your G/6 for Round 1.
- Keep your turning point tidy. In Round 1 you work along both sides of the chain. Take your time there — it is the trickiest part of the whole project.
- Leave generous tails. A 12-inch tail for seaming and 6-inch tails on the leaves give you plenty of yarn to work with.
Step-by-Step Instructions
Note on construction: The headband is a flat tube worked in joined rounds, then seamed into a loop. The three burgundy leaves are made separately and stitched to the front. All instructions use US terms.
Headband Tube (make 1 in gold)
With gold yarn, ch 33.
Rnd 1: Sc in the 2nd ch from hook and in each ch across (32 sc). Turn to work along the opposite side of the foundation chain, then sc in each ch across. Join with sl st to the first sc. (64 sc)
Rnd 2: Ch 1, sc in each st around, join with sl st to the first sc. (64 sc)
Rnds 3–9: Repeat Rnd 2. (64 sc per round; 9 rounds total)
Fasten off, leaving a 12-inch (30 cm) tail for seaming.
Seaming the Tube
Fold the tube so the two open ends meet, right sides together. Thread the tapestry needle with the long tail. Whipstitch the two ends together, passing the needle through both layers along the edge, until the seam is closed. Weave in the ends. Turn the headband right side out. The tube should now measure about 2 inches (5 cm) wide and about 19 inches (48 cm) around.
Burgundy Leaf Appliqué (make 3)
With burgundy yarn, ch 7.
Row 1: Sc in the 2nd ch from hook, sc in the next ch, hdc in the next ch, dc in the next ch, hdc in the next ch, sc in the last ch. Do not turn. (6 sts)
Row 2: Working along the opposite side of the foundation chain, sc in the first ch, hdc in the next ch, dc in the next ch, hdc in the next ch, sc in the next ch, sl st in the last ch. Fasten off, leaving a 6-inch (15 cm) tail for attaching. (6 sts plus 1 sl st)
Each leaf should measure about 1 inch (2.5 cm) long and 1/2 inch (1.3 cm) wide.
Attaching the Leaves
Arrange the three leaves along the front of the headband, spaced about 1 inch (2.5 cm) apart, with the center leaf slightly higher than the two outer leaves. Thread the tapestry needle with a leaf tail and stitch each leaf securely to the headband, catching only the front layer of the tube so the stitches do not show on the inside. Repeat for all three leaves, then weave in all ends.
Assembly and Finishing
Seaming: Your tube seam is already done — check that it lies flat and that no stitches show on the right side. If the seam feels bulky, gently roll it between your fingers to flatten it.
Weaving in ends: Thread each yarn tail onto the tapestry needle and run it back and forth through the inside of the fabric for about 2 inches (5 cm), changing direction once so it locks in place. Trim the yarn close to the fabric. Never knot your ends — knots create bumps that press into the head.
Blocking: Lightly steam the headband with an iron held a few inches above the fabric (never touch the iron to acrylic yarn, which can melt), or spritz it with water and lay it flat to dry in a circle shape. Do not press the leaves flat — keep them slightly raised for texture.
Pro Tips and Variations
- Change the colors: Swap the gold for rust, mustard, or deep olive, and the burgundy leaves for cream or charcoal. The same pattern reads completely differently in a new palette.
- Adjust the size: For a child's headband, reduce the foundation chain by 4–6 chains and work 8 rounds instead of 9. For a larger adult fit, add 4 chains and one extra round.
- Substitute yarn: Any worsted weight (category 4) yarn works. Cotton gives a crisper, less stretchy band; wool blends feel warmer and softer. Always check your gauge swatch if you switch fibers.
- Add more leaves: Make five leaves instead of three and fan them across the front for a fuller, more dramatic crown effect — a lovely gift variation.