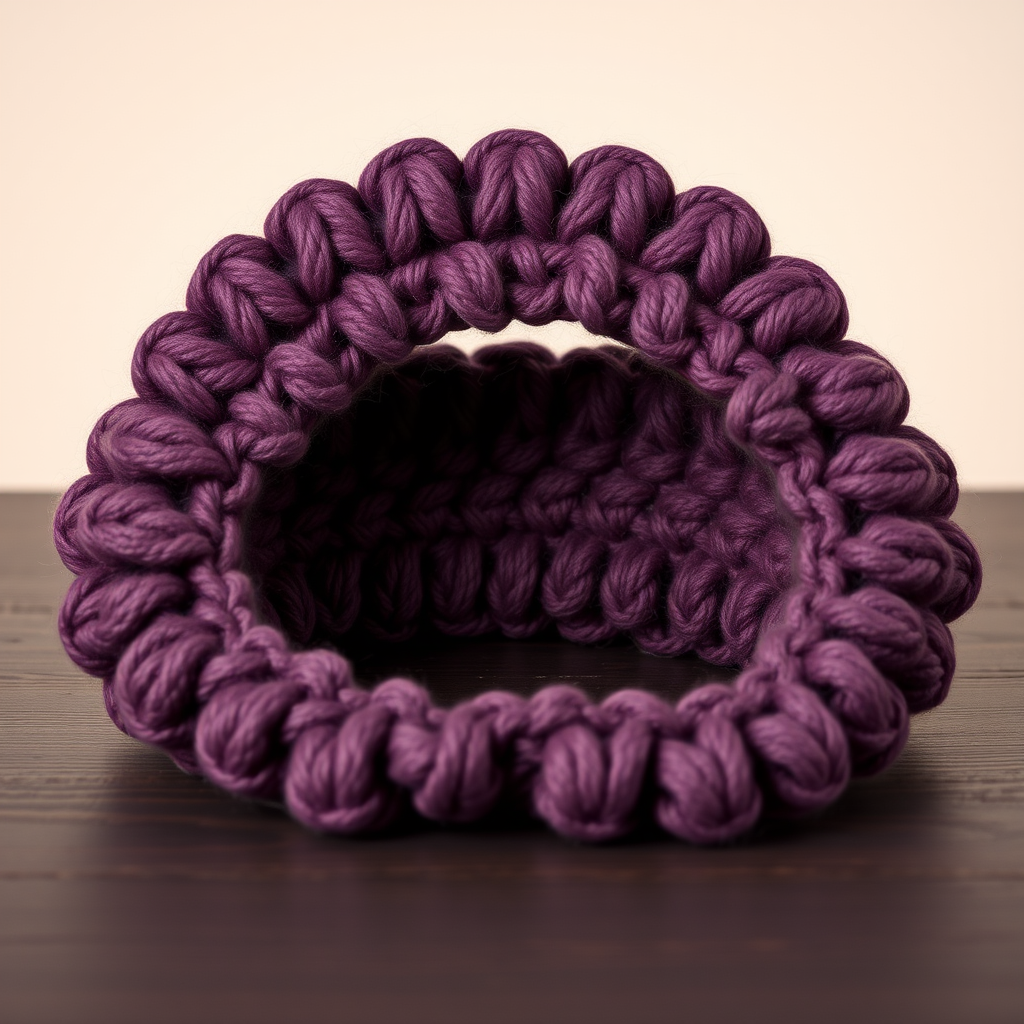
Sleepy Sheep Ear Band Free Crochet Pattern: A Cozy Hygge Bedtime Headband
Introduction
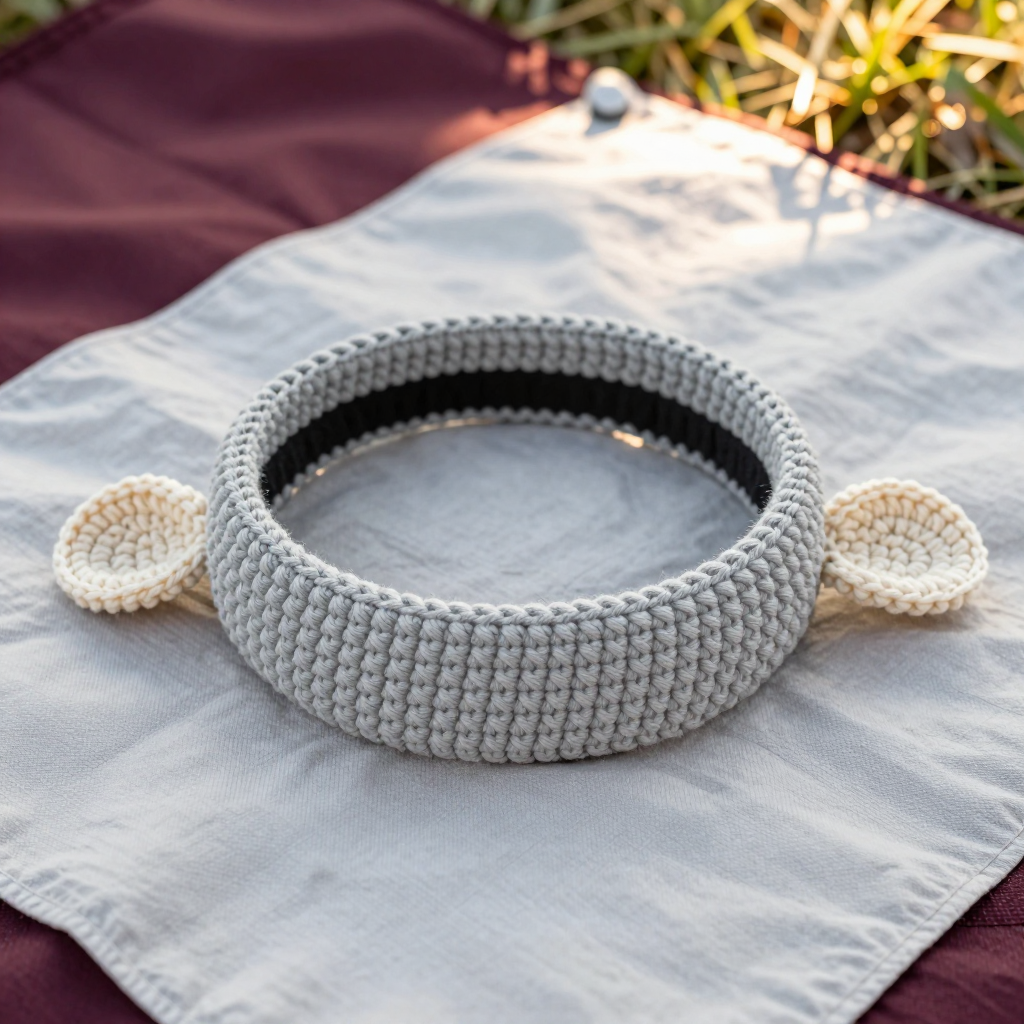
If you have never held a crochet hook before, this Sleepy Sheep Ear Band is the perfect first project for you. It is a soft, calming headband made from simple single crochet rows, finished with two little cream sheep ears that droop gently to the sides for a sleepy, hygge look. It is worked flat (back and forth in straight rows, never in a circle), so there is no confusing "working in the round" to worry about, and the only skills you need are chaining and single crochet. The finished band feels soft and matte against your forehead, about 2 inches wide, with floppy ears that give it a quiet, storybook charm. It makes a lovely handmade gift, a cozy bedtime accessory, or a gentle first project you can actually wear.
Materials Needed
- Yarn: Worsted weight (category 4) acrylic or cotton-blend yarn, approximately 80–100 yards total. You need 60–70 yards of soft heathered grey for the band and 20–30 yards of cream for the ears.
- Crochet hook: G/6 (4.0 mm).
- Stitch markers: 2 or more (helpful for marking the first stitch of a row and for ear placement).
- Tapestry needle (yarn needle): a large-eyed, blunt-tipped needle for seaming and weaving in ends.
- Scissors for cutting yarn.
- Measuring tape for checking gauge and length.
- Finished size: Band approximately 20 inches (51 cm) long x 2 inches (5 cm) wide, fitting a child to small adult head of 20–22 inches (51–56 cm) with a seamed join. Ears approximately 2.5 inches (6.5 cm) long x 1.5 inches (4 cm) wide at the base.
Abbreviations and Beginner Glossary
- ch – chain. Make a loop of yarn on your hook (a slip knot), then wrap yarn over the hook and pull it through the loop on your hook. That is one chain. Chains form the starting foundation.
- sc – single crochet. Insert your hook into the stitch, wrap yarn over the hook, pull up a loop (you now have 2 loops on the hook), wrap yarn over again, and pull through both loops. One single crochet made.
- sl st – slip stitch. Insert hook into the stitch, wrap yarn over, and pull it through both the stitch and the loop on your hook in one motion. Used to join pieces.
- sc2tog – single crochet 2 together (a decrease). Insert hook into the first stitch, pull up a loop, insert hook into the next stitch, pull up a loop (3 loops on hook), wrap yarn over and pull through all 3 loops. This turns 2 stitches into 1, making the piece narrower.
- st(s) – stitch(es). One completed single crochet is one stitch.
- turn – flip your work over so you can work back across the row you just made.
- fasten off – cut the yarn leaving a tail, then pull the tail all the way through the last loop on your hook to lock it.
- right side – the "front" or prettier face of the fabric that will show on the outside.
- whipstitch / mattress stitch – simple hand-sewing stitches used with a yarn needle to join two edges together invisibly.
- weave in ends – thread a yarn tail onto a tapestry needle and run it back and forth through the fabric so it disappears and cannot unravel.
Gauge
16 single crochet stitches x 18 rows = 4 inches (10 cm) in single crochet worked flat.
Why gauge matters: Gauge is how many stitches and rows fit into 4 inches. If your stitches are bigger than the pattern expects, your band will be too long and loose; if smaller, it will be too short and tight. Checking first saves you from redoing the whole project.
How to make a gauge swatch: Chain 21. Single crochet in the second chain from the hook and in each chain across (20 sc). Work 20 rows of single crochet (chain 1, turn at the start of each row, then sc in each stitch across). Lay it flat, measure 4 inches across the middle and count the stitches; measure 4 inches up and count the rows. If you have more stitches than 16, your tension is tight — try a larger hook. If you have fewer, your tension is loose — try a smaller hook. The band is forgiving, so being within one or two stitches is fine.
Beginner Tips Before You Start
- Count your first stitch every row. The turning chain (the ch 1 at the start of a row) does not count as a stitch. Your first single crochet goes into the very first stitch, which can hide under the chain. Place a stitch marker in it so you never lose it.
- Do not pull the yarn too tight. Keep an even, relaxed tension. Tight stitches make a stiff, narrow band that is hard to seam.
- Check your length as you go. After about 40 rows, measure the band. You want roughly 20 inches total, so adjust the row count in multiples of 2 if needed.
- Use stitch markers for ear placement. Before sewing the ears on, mark both spots with markers and try the band on — it is much easier to move a marker than to unpick a seam.
- Keep your tails long. Leave the 12-inch band tail and 10-inch ear tails as written; short tails are impossible to thread and sew with.
- Work in good light and take breaks. Single crochet is repetitive; a few minutes at a time keeps your hands and eyes fresh.
Step-by-Step Instructions
Band (make 1 in soft grey)
Row 1: Ch 9. Sc in the 2nd ch from hook and in each ch across. (8 sc)
Row 2: Ch 1, turn. Sc in each st across. (8 sc)
Rows 3–90: Repeat Row 2. (8 sc per row)
Do not fasten off. Leave a 12-inch (30 cm) tail for seaming. The band should measure approximately 20 inches (51 cm) long and 2 inches (5 cm) wide. If it measures shorter or longer, adjust the number of rows in multiples of 2 until it reaches 20 inches.
Seaming the Band
Fold the band in half with right sides together, matching the two short ends. Thread the long grey tail onto your tapestry needle. Using whipstitch or mattress stitch, sew the short ends together to form a loop: bring the needle through both layers, up and over, and repeat along the whole edge, keeping the stitches small and even. Fasten off securely and weave in the end. Turn the band right side out so the seam sits on the inside.
Ears (make 2 in cream)
Row 1: Ch 6. Sc in the 2nd ch from hook and in each ch across. (5 sc)
Row 2: Ch 1, turn. Sc in each st across. (5 sc)
Row 3: Ch 1, turn. Sc in first st, sc2tog, sc in next st, sc2tog. (3 sc)
Row 4: Ch 1, turn. Sc in each st across. (3 sc)
Row 5: Ch 1, turn. Sc2tog, sc in last st. (2 sc)
Row 6: Ch 1, turn. Sc2tog. (1 sc)
Fasten off, leaving a 10-inch (25 cm) tail for attaching. The ear should measure approximately 2.5 inches (6.5 cm) long and 1.5 inches (4 cm) wide at the widest point, tapering to a rounded point. Make a second ear the same way.
Attaching the Ears
Try the band on to find the desired ear placement. A good placement is approximately 3 inches (7.5 cm) in from each side seam, with the ears angled slightly downward and outward for a sleepy, drooping look. Mark both spots with stitch markers. Using the cream tails and a yarn needle, sew the wide base of each ear to the band with small, secure stitches, working through both layers of the ear base and the band. Sew along the base edge only so the ear remains free and floppy. Fasten off and weave in all ends.
Assembly and Finishing
Seaming: Your band seam and ear seams are already done above. Check that the band seam is flat and hidden inside the loop, and that each ear is firmly attached at its base with no wobble.
Weaving in ends: Thread each remaining tail onto the tapestry needle. Run the needle back and forth through the inside of the fabric for about an inch in one direction, then change direction and go another inch. This locks the tail so it will not work loose. Trim the yarn close to the fabric.
Blocking: Gently steam the band and ears with an iron held a few inches above the fabric (never press the iron directly onto acrylic, which can melt), or lightly wet the piece and pat it into shape. Lay it flat to dry completely, smoothing the band straight and encouraging the ears to droop softly. Blocking relaxes the stitches and gives the finished piece a smooth, even look.
Pro Tips and Variations
- Color changes: Make the band in any soft neutral — oatmeal, dusty rose, or pale blue — and keep the ears cream for contrast. You can also work the last 2 rows of each ear in grey for a tipped-ear look.
- Size adjustments: For a larger head, add rows in multiples of 2 to lengthen the band before seaming; for a smaller child, remove rows in multiples of 2. Keep the 8-stitch width the same so the proportions stay right.
- Wider band: For a slightly wider band, begin with a chain of 11 and work 10 sc per row, adjusting the number of rows to maintain the 20-inch length.
- Yarn substitution: Any worsted weight (category 4) yarn works; a cotton blend gives a crisper stitch, while acrylic feels softer and more cuddly. Always crochet a quick gauge swatch with the new yarn so the fit stays comfortable.