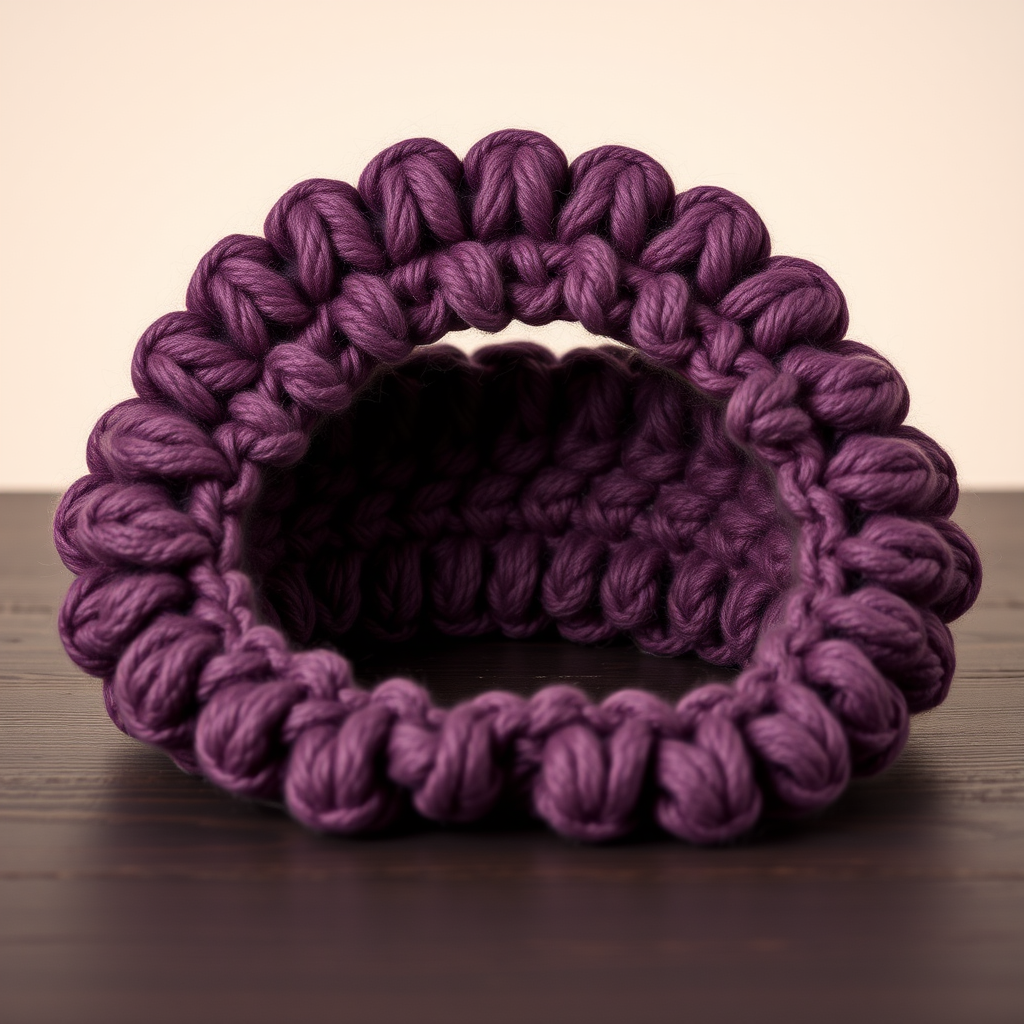
The Moonlit Grove Owl Headband Free Pattern – A Textured Crochet Crown with Feathered Ears

The Moonlit Grove Owl Headband Free Pattern – A Textured Crochet Crown with Feathered Ears
Wrap yourself in woodland whimsy with this cozy crochet headband, featuring a sculpted owl face, layered feather stitches, and soft, earthy tones. Perfect for chilly evenings and nature-loving crafters, this pattern is beginner-friendly yet yields a stunning, textured accessory that looks like it came straight from a forest fairy tale. The combination of warm taupe, cream, and deep forest green creates a rustic, organic palette that pairs beautifully with autumn coats or cozy sweaters.
This headband is not just functional—it's a statement piece. The feathered ear tufts and embroidered brows give it personality, while the dense single crochet fabric ensures warmth and durability. Whether you're making it for yourself or as a handmade gift, this pattern is designed to be clear, detailed, and achievable for anyone with basic crochet knowledge.
Materials Needed
Before you begin, gather the following supplies. All materials are standard and widely available at craft stores or online.
- Yarn: Worsted weight yarn in three colors:
- Color A (warm taupe) – approximately 80g
- Color B (cream) – approximately 50g
- Color C (deep forest green) – approximately 20g
- Crochet Hook: 5.0 mm (H-8) crochet hook
- Yarn Needle: For seaming and embroidery
- Scissors
- Stitch Markers (optional): Helpful for keeping track of rows
Gauge: 16 single crochet (sc) x 18 rows = 4 x 4 inches (10 x 10 cm) in single crochet. Important: Gauge is critical for the headband to fit properly. If your gauge is off, adjust your hook size accordingly—use a smaller hook if your stitches are too loose, or a larger hook if they're too tight.
Step-by-Step Instructions
This headband is worked flat in rows, then seamed at the back. The owl face is created with surface crochet and embroidery. All pieces are crocheted separately and assembled. Follow each step carefully, and you'll have a beautiful owl headband in no time.
Part 1: Headband Base (Worked in Rows)
The headband base is a simple rectangle of single crochet. It's worked lengthwise, so the rows run vertically around your head.
- Row 1: With Color A (warm taupe), chain 12. Single crochet (sc) in the 2nd chain from the hook and in each chain across. You should have 11 sc stitches. Turn your work.
- Rows 2-60: Chain 1 (this counts as the first stitch of the row), then sc in each sc across (11 sc). Turn at the end of each row. Repeat this row until the band measures 20 inches (50 cm) or your head circumference minus 2 inches (5 cm) for stretch. Tip: To check the length, wrap the band around your head (or the recipient's head) without stretching it. It should overlap by about 2 inches. If you need more rows, simply continue; if fewer, stop early.
- Fasten off: When the band reaches the desired length, fasten off, leaving a long tail (at least 12 inches / 30 cm) for seaming the ends together later.
Part 2: Owl Face Panel (Worked in Rows)
The owl face panel is a separate rectangle that will be sewn onto the front of the headband. It's worked in cream (Color B) and features the ear tufts on top.
- Row 1: With Color B (cream), chain 16. Sc in the 2nd chain from the hook and in each chain across (15 sc). Turn.
- Rows 2-10: Chain 1, sc in each sc across (15 sc). Turn. Repeat this row until you've completed Row 10. At the end of Row 10, do not fasten off—you'll continue directly into the ear tufts.
Part 3: Feathered Ear Tufts (Worked on Top of the Panel)
These pointed tufts give the owl its distinctive, feathered look. You'll work them in two separate sections on top of the face panel.
First Ear Tuft (Left side):
- Row 11: Chain 1, sc in the first 5 sc stitches. Turn. (5 sc)
- Row 12: Chain 1, sc2tog (single crochet 2 together) over the first two stitches, sc in the next 1 sc, sc2tog over the last two stitches. Turn. (3 sc)
- Row 13: Chain 1, sc3tog (single crochet 3 together) across all 3 stitches. (1 sc) Fasten off.
Second Ear Tuft (Right side):
- Skip the next 5 sc stitches in the center of the panel (these will be the owl's forehead).
- Join Color A (warm taupe) with a slip stitch in the 11th sc of Row 10 (the first stitch after the skipped center section).
- Repeat Rows 11-13 exactly as for the first ear tuft. Fasten off.
Note: The ear tufts are worked in Color A (taupe) to match the headband base, creating a cohesive look. The center 5 stitches remain unworked, forming a dip between the ears.
Part 4: Owl Eyes (Make 2)
The eyes are worked in the round using Color C (deep forest green). They're simple circles that will be sewn onto the face panel.
- Round 1: With Color C, make a magic ring. Chain 1 (does not count as a stitch), work 6 sc into the ring. Pull the ring tight to close. (6 sc)
- Round 2: Work 2 sc in each sc around. (12 sc) Join with a slip stitch to the first sc of the round. Fasten off, leaving a long tail (at least 8 inches / 20 cm) for sewing.
Part 5: Owl Beak
The beak is a small triangle worked in Color C. It's quick and easy.
- With Color C, chain 4.
- Sc in the 2nd chain from the hook, hdc (half double crochet) in the next chain, dc (double crochet) in the last chain. Fasten off, leaving a tail for sewing.
Part 6: Assembly
Now it's time to bring all the pieces together. Take your time with this step—proper assembly makes the headband look professional and polished.
- Seam the headband base: Fold the headband base in half with the right sides together (the right side is the side you want facing outward). Using the long tail left from fastening off, whip stitch the short ends together. Turn the band right side out. The seam will be at the back of the headband.
- Position the owl face panel: Lay the headband flat with the seam at the back. Center the owl face panel on the front of the headband, with the ear tufts pointing upward. The bottom of the panel should align with the bottom edge of the headband. Pin or hold in place.
- Sew the panel to the headband: Using Color A and a yarn needle, whip stitch the panel to the headband along all four edges. Make sure to catch both the panel and the headband fabric securely. Keep your stitches even and small for a neat finish.
- Attach the eyes: Position the two eyes on the face panel, just below the ear tufts and about 2 inches (5 cm) apart. They should sit roughly in the middle of the panel, slightly toward the top. Sew each eye in place using the tail left from the eye, weaving the needle in and out of the panel and the eye edge. Secure firmly.
- Attach the beak: Place the beak between and slightly below the eyes, centered. Sew it in place using its tail, tucking the point of the beak downward.
- Embroider the brows: Using Color C and a yarn needle, embroider a small 'V' shape above each eye. To do this, bring the needle up from the back of the panel at the inner corner of the eye, then down at the outer corner, creating a slanted line. Repeat for the other eye, angling the lines to meet in the middle. This creates a slightly stern, owl-like expression.
- Weave in all ends: Use your yarn needle to weave any remaining tails into the back of the work, trimming excess yarn.
Part 7: Finishing (Optional Border)
For a polished, textured edge, add a border of reverse single crochet (crab stitch) around the entire outer edge of the headband. This gives a crisp, finished look and helps the headband lie flat.
- Join Color C with a slip stitch anywhere along the bottom edge of the headband.
- Work reverse single crochet (crab stitch) around the entire outer edge. To do this, instead of working left to right, work right to left: insert your hook into the next stitch to the right, yarn over, pull up a loop, yarn over, and pull through both loops on the hook. Repeat around the entire perimeter.
- When you reach the starting point, slip stitch to join and fasten off. Weave in the end.
Congratulations! Your Moonlit Grove Owl Headband is complete. This cozy, whimsical accessory is perfect for crisp autumn walks, cozy evenings by the fire, or as a thoughtful handmade gift for a nature-loving friend. The textured stitches and earthy colors make it a timeless piece you'll reach for all season long.
Happy crocheting, and may your days be filled with woodland magic!