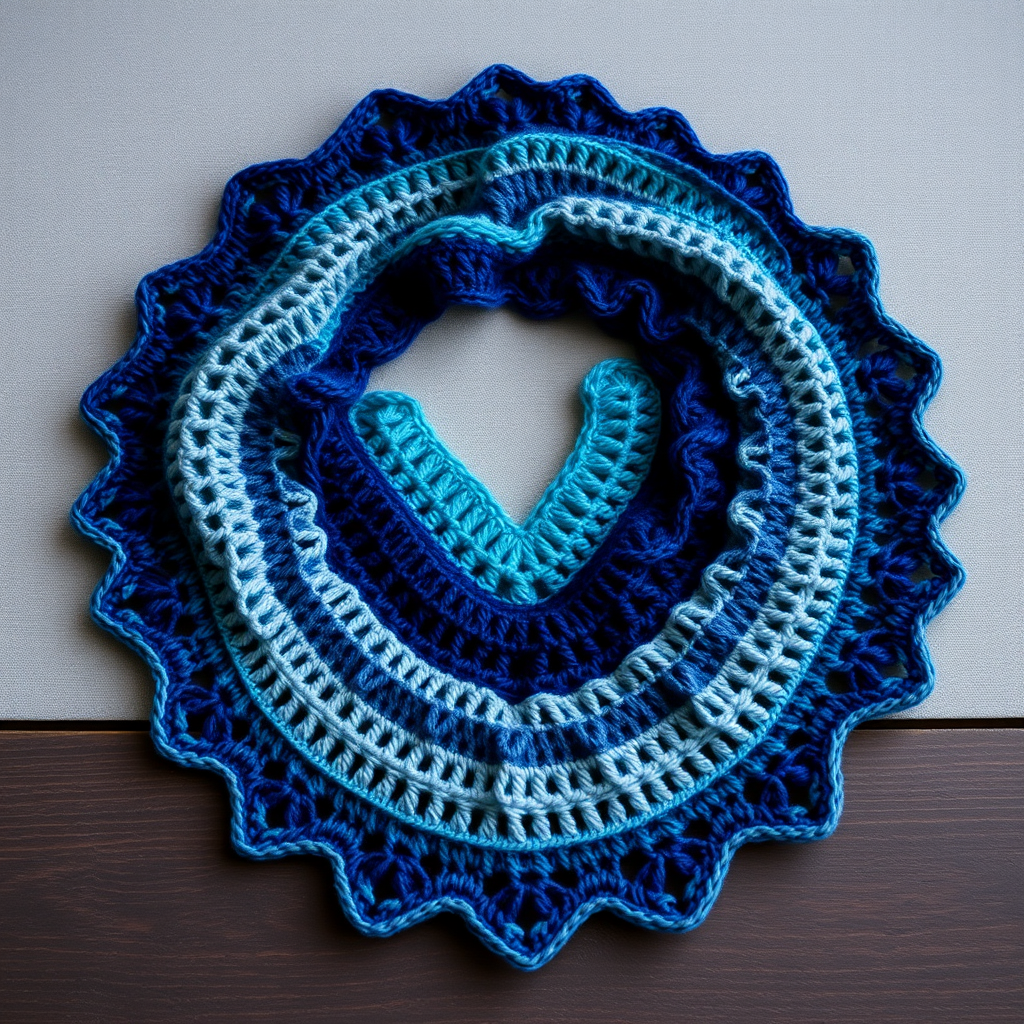
Harvest Halo Crochet Scarf Free Pattern – A Cozy Pilgrim-Inspired Neck Wrap

Wrap Yourself in Autumn: The Harvest Halo Crochet Scarf
There's a certain magic to the fall season—the crisp air, the vibrant foliage, and the desire to wrap yourself in something warm and handmade. The Harvest Halo Crochet Scarf captures this rustic charm perfectly. Inspired by classic pilgrim aesthetics, this free pattern uses a palette of warm earth tones and a delicate, textured shell stitch to create a cozy accessory that's as beautiful as it is functional. Whether you're heading to a holiday gathering or enjoying a quiet walk through fallen leaves, this scarf is the perfect companion.
This pattern is designed with beginners in mind, using basic stitches and a simple construction method. The result is a soft, reversible scarf with a beautiful drape that you'll be proud to say you made yourself. Let's gather our materials and get started!
Materials Needed
Before you begin, make sure you have all the necessary supplies. This project uses chunky yarn and a large hook, so it works up quickly—perfect for a weekend project.
- Yarn: Bernat Softee Chunky (100% acrylic, 5 oz/140 g, 180 yds/164 m) in 3 colors:
- Color A - Camel (approx. 1 ball)
- Color B - Rust (approx. 1 ball)
- Color C - Cream (approx. 1 ball)
- Hook: US Size L/8 (8.0 mm) crochet hook
- Notions: Tapestry needle for weaving in ends and seaming, scissors
Gauge: 12 sc x 13 rows = 4 x 4 inches (10 x 10 cm) in single crochet. Matching gauge isn't critical for this scarf, but it ensures you use the correct amount of yarn.
Step-by-Step Instructions
This scarf is worked in two identical rectangular panels that are seamed together, creating a reversible design with a beautiful drape. We'll start by learning the special stitches, then move on to the panels.
Special Stitches
- Shell (sh): Work 5 double crochet (dc) in the same stitch.
- V-stitch (v-st): (dc, chain 1, dc) in the same stitch.
Panel 1 (Color A - Camel)
We'll begin with the first panel in the warm Camel color. This panel features the beautiful shell stitch pattern.
Row 1: Chain 26. Single crochet (sc) in the 2nd chain from the hook and in each chain across. You should have 25 sc stitches. Chain 1 and turn.
Row 2: Sc in the first sc. *Skip the next 2 sc, work a shell (sh) in the next sc, skip the next 2 sc, sc in the next sc. Repeat from * across the row. You will have 4 shells and 5 sc stitches total. Chain 1 and turn.
Row 3: Sc in the first sc. *Chain 2, sc in the center dc of the next shell (the 3rd dc of the 5-dc group), chain 2, sc in the next sc. Repeat from * across. You will have 4 chain-2 spaces and 5 sc stitches. Chain 1 and turn.
Row 4: Sc in the first sc. *Work a shell (sh) in the next chain-2 space, sc in the next sc. Repeat from * across. You will have 4 shells and 5 sc stitches. Chain 1 and turn.
Rows 5-12: Repeat Rows 3 and 4 alternately. This means you'll work Row 3, then Row 4, then Row 3, and so on. End with a Row 4 repeat (a shell row). Fasten off and weave in the yarn end.
Panel 2 (Color B - Rust)
Now, we'll create the second panel using the rich Rust color. This panel is worked exactly the same as Panel 1.
Rows 1-12: Work exactly as you did for Panel 1, but using Color B (Rust). Fasten off and weave in the yarn end.
Joining the Panels
With both panels complete, it's time to join them together to create the body of the scarf.
Step 1: Place the two panels together with their right sides facing each other. The wrong sides should be on the outside.
Step 2: Thread your tapestry needle with a length of Color C (Cream) yarn.
Step 3: Using a whip stitch, sew the two panels together along the long edges. Start at one end and work your way to the other. Leave the short ends open. This creates a tube-like structure.
Step 4: Once seamed, turn the scarf right side out. The seam will be hidden on the inside.
Edging (Color C - Cream)
The cream edging adds a crisp, polished finish to the scarf. We'll work two rounds of single crochet around the entire outer edge.
Round 1: With the right side of the scarf facing you, join Color C (Cream) with a slip stitch to any corner of the scarf. Chain 1. Work single crochet (sc) evenly around the entire outer edge of the scarf. When you reach each corner, work 3 sc in the corner stitch to help the edging lay flat. Join with a slip stitch to the first sc of the round.
Round 2: Chain 1 and turn your work. Sc in each sc around, working 3 sc in each corner again. Join with a slip stitch to the first sc of the round. Fasten off and weave in all remaining ends.
Finishing Touches
Your Harvest Halo Scarf is almost complete! Here are two stylish ways to wear it:
- Infinity Scarf: Fold the scarf in half lengthwise to create a loop. Pull the folded end through the opposite open end, creating a twisted infinity scarf effect.
- Traditional Scarf: Simply wear it open, draped around your neck for a classic, cozy look.
Weave in any remaining yarn ends with your tapestry needle. Give your scarf a gentle block if desired, and it's ready to wear!
This pattern is a wonderful way to practice shell stitches and create a beautiful, textured accessory. The earthy tones of Camel, Rust, and Cream make it a versatile piece that will complement any autumn wardrobe. Happy crocheting!