Hygge Sunset Striped Crochet Market Bag Free Pattern

Hygge Sunset Striped Crochet Market Bag – Free Beginner Pattern
Introduction
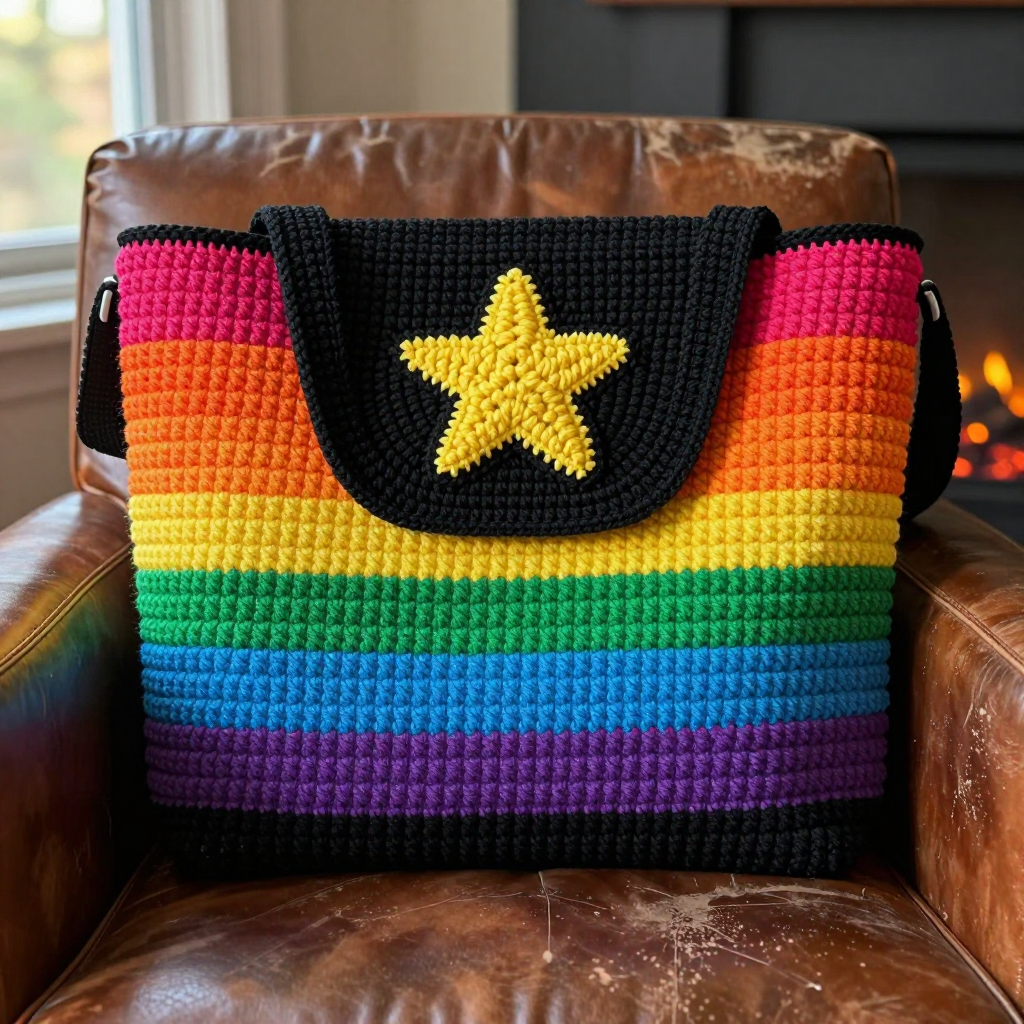
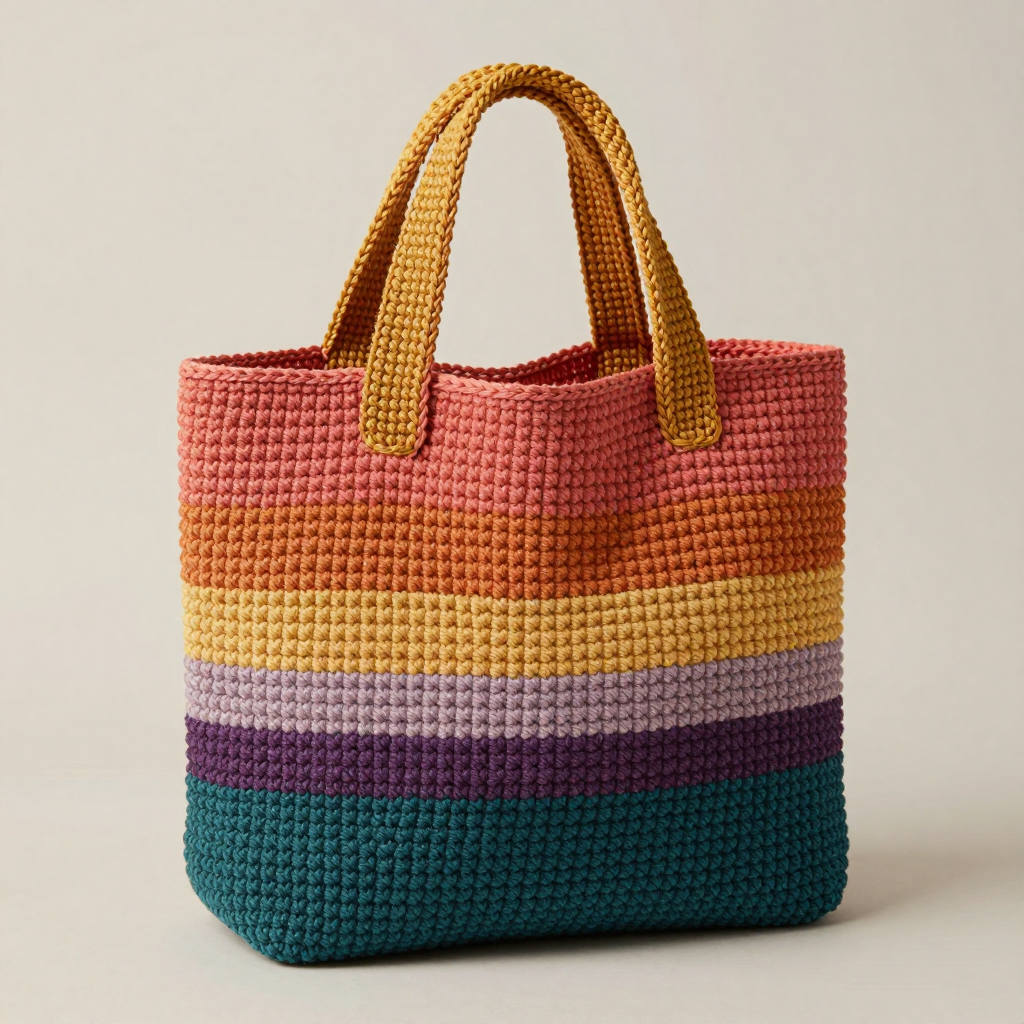
If you have never held a crochet hook before, this is the project I would hand you first. The Hygge Sunset Striped Crochet Market Bag is worked as one simple flat rectangle in seven bright rainbow stripes, then folded in half and seamed into a soft, slouchy shoulder tote. It is perfect for absolute beginners because you only need to learn two stitches, and you get to practice them over and over until they feel natural. The finished bag is about 14 inches wide and 14 inches tall, with a cozy woven ridge texture and a sturdy red strap that sits comfortably on your shoulder. When you carry it, the fabric slouches gently and the sunset stripes glow like a warm evening at the farmers market.
Materials Needed
- Yarn: Worsted weight (Category 4) acrylic or cotton-acrylic blend, approximately 380–420 yards total, in 7 bright rainbow colors. Each color needs about 55 yards: Red, Orange, Yellow, Green, Blue, Indigo, and Violet. You also need about 40 extra yards of Red for the strap and top edging.
- Crochet hook: H/8 (5.0 mm), or the size you need to match gauge.
- Stitch markers: At least 2, to mark your side seams and the start of your edging rounds.
- Tapestry needle (yarn needle): A blunt, large-eyed needle for seaming and weaving in ends.
- Scissors: Sharp ones for cutting yarn.
- Measuring tape: For checking gauge and strap length.
- Finished size: The flat rectangle before folding is 14 inches wide x 28 inches long (35.5 cm x 71 cm). The finished folded bag is approximately 14 inches wide x 14 inches tall (35.5 cm x 35.5 cm), with a strap about 40 inches long.
Abbreviations and Beginner Glossary
- ch – chain. Make a loop of yarn on your hook, wrap the yarn over the hook, and pull it through the loop. That is one chain. Chains are the foundation you build on.
- sc – single crochet. Insert your hook into the stitch, wrap yarn over the hook, pull up a loop (you now have 2 loops on the hook), wrap yarn over again, and pull through both loops. One loop remains.
- hdc – half double crochet. Wrap yarn over the hook first, insert the hook into the stitch, wrap yarn over and pull up a loop (3 loops on the hook), wrap yarn over again, and pull through all 3 loops at once.
- blo – back loop only. Every stitch has two loops at the top, a front loop (closer to you) and a back loop (farther away). Working in the back loop only means you insert your hook under just the back loop, not both. This creates the raised ridge texture.
- sl st – slip stitch. Insert your hook into the stitch, wrap yarn over, and pull it straight through both the stitch and the loop on your hook in one motion. It makes a nearly invisible joining stitch.
- st(s) – stitch or stitches.
- turn – flip your work over so you can work back across the row you just made.
- fasten off – cut the yarn a few inches from your work, then pull the tail all the way through the last loop to lock it.
- whipstitch – a simple seaming stitch: bring the needle through both edges from front to back, over and over, like lacing.
Gauge
Gauge: 14 hdc x 11 rows = 4 inches (10 cm) in half double crochet worked in the back loop only.
Gauge means how many stitches and rows fit into a square of fabric. It matters because it decides your finished size: if your stitches are bigger than mine, your bag will come out larger and use more yarn; if smaller, the bag will shrink. To check, crochet a small practice swatch of 20 hdc in blo. It should measure about 5.5 inches wide. If it is wider, go down one hook size; if narrower, go up one hook size. Then begin the bag.
Beginner Tips Before You Start
- Count every row. The bag is 48 rows tall. Keep a tally on paper or use a row counter so you never lose your place in the stripes.
- Do not pull your yarn too tight. Tension is how firmly you hold the yarn. Relaxed tension makes soft, even stitches; tight tension makes a stiff, small bag.
- Use stitch markers. Place one at each side seam before seaming, and one at the start of each edging round so you know where the round ends.
- Carry your colors loosely. When you change colors, you can carry the old color up the side instead of cutting it, but leave it loose so the edge does not pucker.
- Always work the first stitch of each row. It is easy to skip it by accident, which makes your rectangle narrow into a triangle. Count 49 stitches at the end of every row.
- Practice the two stitches first. Make a small practice square of hdc blo before starting so your hands learn the motion.
Step-by-Step Instructions
Body (worked flat as one long striped rectangle)
Note on texture: Every row of the body is worked in the back loop only (blo). This creates the cozy horizontal woven ridge texture that gives the bag its hygge feel.
With RED, ch 50.
Row 1: Hdc in 2nd ch from hook and in each ch across. (49 hdc) Turn.
Row 2: Ch 1, hdc blo in each st across. (49 hdc) Turn.
Rows 3–6: Repeat Row 2 with RED. (49 hdc) (6 rows of Red total)
Change to ORANGE. Do not cut Red; carry it loosely up the side, or cut it and weave in the end later.
Rows 7–12: With ORANGE, repeat Row 2. (49 hdc) (6 rows)
Change to YELLOW.
Rows 13–18: With YELLOW, repeat Row 2. (49 hdc) (6 rows)
Change to GREEN.
Rows 19–24: With GREEN, repeat Row 2. (49 hdc) (6 rows)
Change to BLUE.
Rows 25–30: With BLUE, repeat Row 2. (49 hdc) (6 rows)
Change to INDIGO.
Rows 31–36: With INDIGO, repeat Row 2. (49 hdc) (6 rows)
Change to VIOLET.
Rows 37–42: With VIOLET, repeat Row 2. (49 hdc) (6 rows)
Change back to RED for the top band.
Rows 43–48: With RED, repeat Row 2. (49 hdc) (6 rows)
Fasten off. Weave in all ends. You now have a flat rectangle approximately 14 inches wide x 28 inches long, with 7 bold horizontal rainbow stripes (Red, Orange, Yellow, Green, Blue, Indigo, Violet) and a second Red band at the top.
Folding and Seaming
Fold the rectangle in half crosswise so the two short ends meet, with the right side (the smoother, prettier side) facing out. The fold forms the bottom of the bag; the two open short ends form the top opening.
Seam the two side edges: Using a length of matching yarn and a yarn needle, whipstitch the left side edges together from the bottom fold up to the top opening. Repeat on the right side. You now have a tube-shaped bag with a closed bottom and an open top.
Top Edging
Round 1: Join RED with a sl st at one side seam at the top opening. Ch 1, work sc evenly around the entire top opening (approximately 50 sc). Join with sl st to first sc.
Round 2: Ch 1, sc in each st around. Join with sl st. Fasten off and weave in ends. This firms up the opening so it holds its shape.
Strap (single crochet shoulder strap)
With RED, leave a long 12-inch tail and ch 4.
Row 1: Sc in 2nd ch from hook and in each ch across. (3 sc) Turn.
Row 2: Ch 1, sc in each st across. (3 sc) Turn.
Repeat Row 2 until the strap measures approximately 40 inches long (or your desired shoulder length). Fasten off, leaving a long tail.
Attaching the Strap
Try the bag on and adjust the strap length as needed. Using the long tails and a yarn needle, sew one end of the strap securely to the inside of the top edge on one side, and the other end to the inside of the top edge on the opposite side, centering each attachment over a side seam. Sew back and forth several times for strength, then weave in all ends.
Assembly and Finishing
Seaming: If you prefer to seam with your hook instead of a needle, hold the two edges together and work a slip stitch seam through both layers from the bottom fold to the top opening. Keep your stitches even and not too tight so the seam lies flat.
Weaving in ends: Thread each yarn tail onto the tapestry needle and run it back and forth through the inside of the fabric for about 2 inches, changing direction once so it cannot work loose. Trim the tail close to the fabric.
Blocking: Gently steam the bag or dampen it lightly and lay it flat, shaping it to the finished measurements. Let it dry completely. Blocking evens out the stripes and relaxes the fabric so it slouches softly when carried, showing off the woven ridge texture and bright sunset stripes.
Pro Tips and Variations
- Change the colors: Use any 7 colors you love, or make a two-color bag by alternating just two shades every 6 rows for a simpler, modern look.
- Adjust the size: For a wider bag, start with a longer chain in multiples of 2 plus 1 (for example, ch 60 for a wider tote). For a taller bag, add extra rows in any stripe; just keep each stripe an even number of rows.
- Substitute yarn: Cotton or cotton-acrylic blends give a sturdier bag that holds its shape; acrylic gives a softer, more slouchy bag. Always check your gauge again when you change yarn.
- Make the strap stronger: Work the strap in sc blo, or add a second layer of sc along the strap for extra durability if you plan to carry heavy market haul.