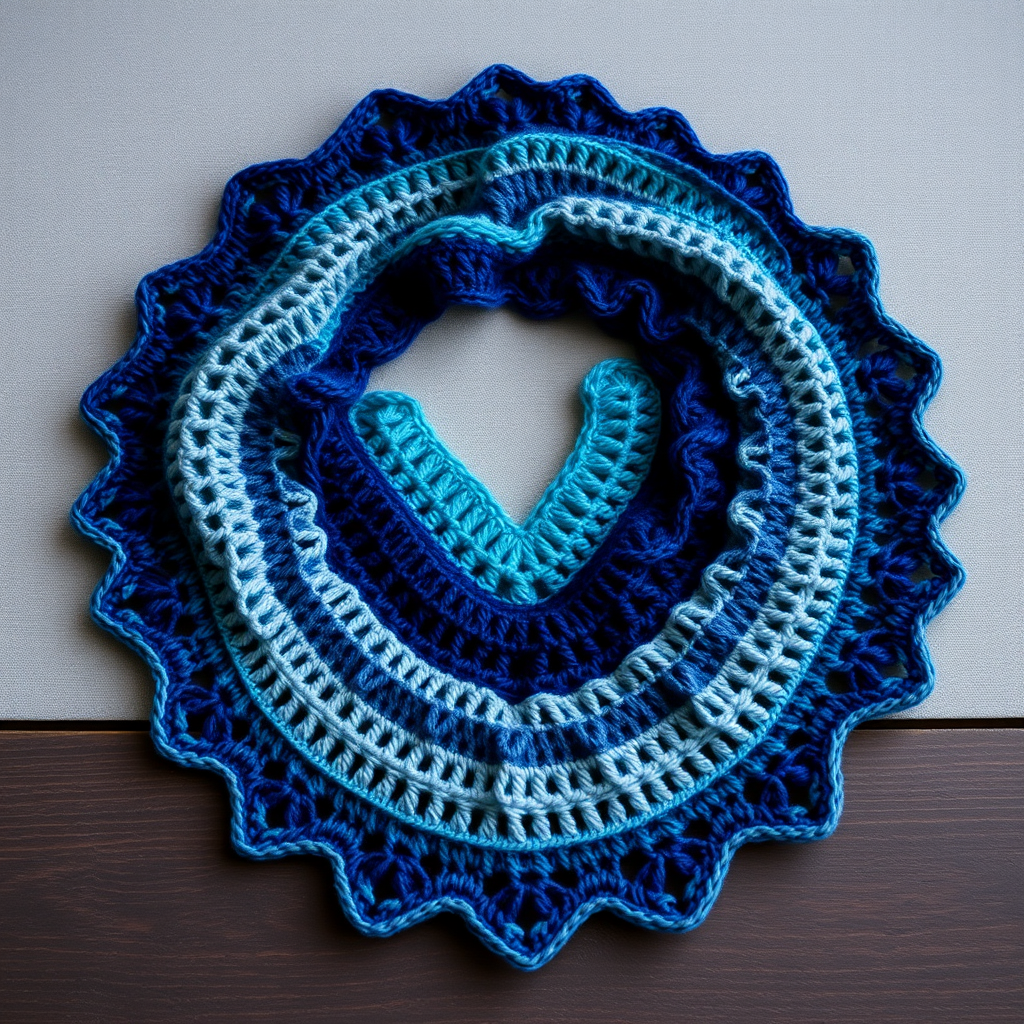
Misty Fjord Gradient Crochet Scarf with Fringe Free Pattern

Misty Fjord Gradient Crochet Scarf with Fringe – Free Pattern
Wrap yourself in the serene beauty of a Nordic coastline with this stunning gradient crochet scarf. Featuring a unique shell-stitch texture and a soft, flowing fringe, this accessory shifts through hues of sea-glass and stormy sky to create a mesmerizing, one-of-a-kind piece. Whether you're a seasoned crocheter or a confident beginner looking for a rewarding project, this pattern is designed to be both relaxing and achievable. The rhythmic shell stitch is easy to memorize, and the color changes every 12 rows make it a perfect "mindless" project for cozy evenings. Let's dive in and create something beautiful together!
Materials Needed
Before you begin, gather the following supplies. This project uses worsted weight yarn, which is widely available and perfect for creating a warm, drapey fabric.
- Yarn: Worsted weight (#4) yarn in 4 colors:
- Color A: Misty Blue (approx. 75g)
- Color B: Seafoam Green (approx. 75g)
- Color C: Stormy Gray (approx. 75g)
- Color D: Pearl White (approx. 75g)
- Crochet Hook: 5.5 mm (I-9) crochet hook
- Other: Yarn needle for weaving in ends, scissors, and a measuring tape.
Gauge: 14 sts x 8 rows = 4 inches in shell stitch pattern (after blocking). Gauge is important for achieving the correct size, but since this is a scarf, slight variations are acceptable.
Step-by-Step Instructions
This scarf is worked lengthwise in rows, creating a beautiful, long rectangular shape. The shell stitch pattern is simple to memorize and creates a lovely, drapey fabric. We'll change colors every 12 rows to create the gradient effect.
Abbreviations
- ch = chain
- sc = single crochet
- dc = double crochet
- sk = skip
- st(s) = stitch(es)
- RS = right side
- WS = wrong side
Special Stitch
Shell: Work 5 double crochet (dc) in the same stitch.
Pattern Notes
- The scarf is worked in one piece, changing colors every 12 rows to create the gradient.
- Chain 2 at the beginning of a row counts as the first dc.
- The fringe is added at the very end.
- Always work into the center dc of the shell from the previous row, unless otherwise stated.
Foundation and First Section (Color A)
Foundation Row: With Color A, ch 42 loosely.
Row 1 (RS): Sc in 2nd ch from hook, *sk 2 ch, shell (5 dc) in next ch, sk 2 ch, sc in next ch; repeat from * across. Turn. (You will have 7 shells)
Row 2 (WS): Ch 2 (counts as dc), *sk 2 dc, shell in next sc, sk 2 dc, dc in next sc; repeat from * across, ending with dc in last sc. Turn.
Row 3: Ch 1, sc in first dc, *sk 2 dc, shell in next dc (the center dc of the shell from previous row), sk 2 dc, sc in next dc; repeat from * across, ending with sc in top of turning ch. Turn.
Rows 4-12: Repeat Rows 2 and 3 alternately, ending with a Row 2 repeat. Fasten off Color A.
Color Change and Second Section (Color B)
Color Change: Attach Color B to the last stitch of Row 12 with a slip stitch. Ch 2 (counts as first dc).
Repeat Rows 2-12 with Color B. Fasten off.
Third Section (Color C)
Attach Color C to the last stitch of Row 12 (from Color B section). Ch 2 (counts as first dc).
Repeat Rows 2-12 with Color C. Fasten off.
Final Section and Edging (Color D)
Attach Color D to the last stitch of Row 12 (from Color C section). Ch 2 (counts as first dc).
Repeat Rows 2-12 with Color D. Do NOT fasten off at the end of Row 12. Instead, ch 1 and turn.
Edging Row: Sc evenly across the short end of the scarf (the last row worked). This will create a neat, finished edge. Fasten off and weave in all ends.
Adding the Fringe
The fringe is the perfect finishing touch, adding movement and a bohemian feel to your scarf.
- Cut Strands: Cut strands of yarn in all four colors, each 12 inches long. You'll need about 14-16 fringe groups total (7-8 per short end).
- Group Strands: For each fringe group, take 3 strands. You can mix colors for a gradient effect or use one color per group for a more structured look. We recommend mixing colors to echo the scarf's gradient.
- Attach Fringe: Fold the 3 strands in half. Insert your crochet hook from the wrong side (WS) to the right side (RS) through the edge stitch at the short end of the scarf. Pull the folded loop through the fabric.
- Secure: Pull the ends of the strands through the loop and tighten gently. This creates a secure knot.
- Spacing: Place fringe groups evenly across both short ends of the scarf, spacing them about 1 inch apart. Use the shell stitches as a guide—placing one fringe in each "valley" between shells works beautifully.
- Trim: Once all fringe is attached, trim the ends evenly with scissors for a polished look.
Finishing Touches
Weave in any remaining loose ends with your yarn needle. Block your scarf gently to enhance the drape and even out the stitches. Lay it flat on a towel, mist with water, and shape it to the desired dimensions. Allow it to dry completely.
Your Misty Fjord Gradient Scarf is now complete! The soft, flowing texture and serene color transitions make it a stunning accessory for any season. Enjoy the compliments and the cozy warmth it brings. Happy crocheting!