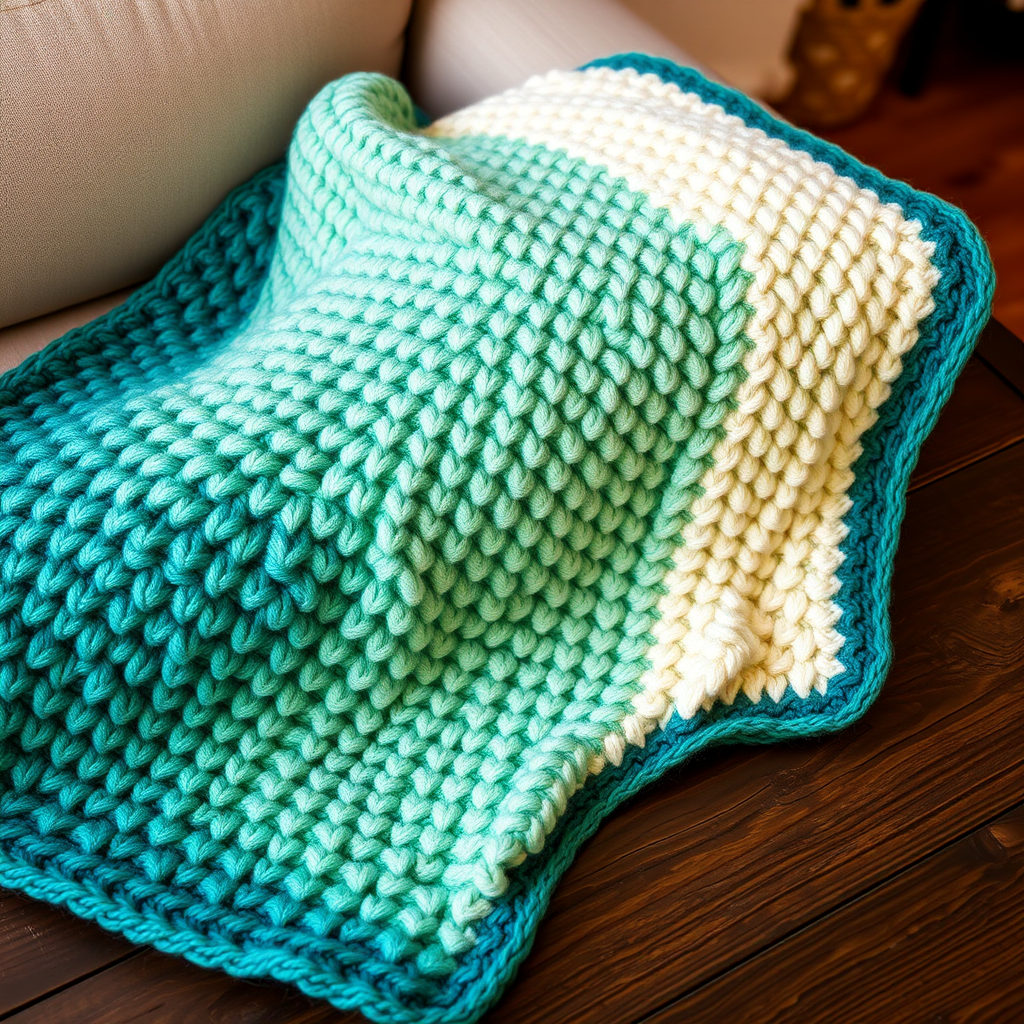
Mitered Tulips Blanket Free Pattern – Knit a Blooming Garden Throw

Mitered Tulips Blanket Free Pattern – Knit a Blooming Garden Throw
Imagine wrapping yourself in a garden of delicate tulips, hand-knitted into a cozy, textured throw that feels like a warm embrace. The Mitered Tulips Blanket is a stunning heirloom piece that combines the classic mitered square technique with charming floral motifs, creating a modern, graphic look that's both elegant and inviting. Each square is knitted individually, making this a perfect portable project for on-the-go crafting. Whether you're a seasoned knitter looking for a new challenge or a confident beginner ready to expand your skills, this pattern will guide you through creating a breathtaking 48" x 60" throw that will be treasured for generations.
This free pattern features a soft, romantic palette of cream, dusty rose, sage green, and blush pink, but feel free to customize with your favorite colors to match your home decor. The geometric, angular petals of the tulips, created by the mitered decreases, give this blanket a contemporary twist on a classic floral design. Let's dive into this rewarding project!
Materials Needed
Before you begin, gather the following materials to ensure a smooth knitting experience:
- Yarn: Worsted weight yarn in 4 colors:
- Cream (MC): Approximately 1200 yards
- Dusty Rose (A): Approximately 600 yards
- Sage Green (B): Approximately 400 yards
- Blush Pink (C): Approximately 300 yards
- Knitting Needles: US 7 (4.5 mm) knitting needles, or size needed to obtain gauge
- Tapestry Needle: For weaving in ends and seaming squares
- Stitch Markers (optional): To help keep track of color changes and decreases
Gauge: 20 stitches and 28 rows = 4 inches in stockinette stitch. Always knit a gauge swatch to ensure your blanket matches the finished measurements.
Step-by-Step Instructions
This blanket is constructed from 20 individual mitered squares, each featuring a beautiful tulip motif in the center. After knitting all squares, you'll seam them together in a 4x5 grid and finish with a clean, knitted border. Let's break it down step by step.
Square Pattern (Make 20)
Each square begins with a classic mitered decrease section, followed by the intricate tulip motif. Take your time with the color changes, and remember to twist your yarns at each color change to prevent holes.
Foundation:
Using MC (Cream), cast on 41 stitches.
Row 1 (Right Side): Knit across all stitches.
Row 2 (Wrong Side): K1, purl to last stitch, k1. (This creates a neat garter stitch edge on both sides.)
Row 3 (Decrease Row - RS): K1, k2tog, knit to 3 stitches before the center stitch, k2tog, k1 (center stitch), k2tog, knit to last 3 stitches, k2tog, k1. (You have decreased 4 stitches this row.)
Row 4 (WS): K1, purl to last stitch, k1.
Repeat Rows 3 and 4 until 21 stitches remain, ending with a wrong side row. Your square should now have a distinct mitered shape with a single center stitch.
Tulip Motif Section
Now we begin the beautiful tulip motif. Pay close attention to the color changes. When switching colors, bring the new yarn over the old yarn to avoid gaps.
Row 1 (RS): K1, k2tog, k6 in MC, switch to A (Dusty Rose), k3, switch to MC, k1, switch to B (Sage Green), k3, switch to MC, k6, k2tog, k1. (19 stitches remain)
Row 2 (WS): K1, p5 in MC, switch to B, p3, switch to MC, p1, switch to A, p3, switch to MC, p5, k1.
Row 3 (RS): K1, k2tog, k4 in MC, switch to A, k5, switch to MC, k1, switch to B, k5, switch to MC, k4, k2tog, k1. (17 stitches)
Row 4 (WS): K1, p3 in MC, switch to B, p5, switch to MC, p1, switch to A, p5, switch to MC, p3, k1.
Row 5 (RS): K1, k2tog, k2 in MC, switch to A, k7, switch to MC, k1, switch to B, k7, switch to MC, k2, k2tog, k1. (15 stitches)
Row 6 (WS): K1, p1 in MC, switch to B, p7, switch to MC, p1, switch to A, p7, switch to MC, p1, k1.
Row 7 (RS): K1, k2tog, switch to A, k9, switch to MC, k1, switch to B, k9, switch to MC, k2tog, k1. (13 stitches)
Row 8 (WS): Switch to B, p11, switch to MC, p1, switch to A, p11. (Note: no edge stitches on this row – the entire row is worked in color blocks.)
Row 9 (RS): Switch to A, k11, switch to MC, k1, switch to B, k11. (13 stitches)
Row 10 (WS): Switch to B, p11, switch to MC, p1, switch to A, p11.
Row 11 (RS): Switch to A, k2tog, k7, switch to MC, k1, switch to B, k7, k2tog. (11 stitches)
Row 12 (WS): Switch to B, p9, switch to MC, p1, switch to A, p9.
Row 13 (RS): Switch to A, k2tog, k5, switch to MC, k1, switch to B, k5, k2tog. (9 stitches)
Row 14 (WS): Switch to B, p7, switch to MC, p1, switch to A, p7.
Row 15 (RS): Switch to A, k2tog, k3, switch to MC, k1, switch to B, k3, k2tog. (7 stitches)
Row 16 (WS): Switch to B, p5, switch to MC, p1, switch to A, p5.
Row 17 (RS): Switch to A, k2tog, k1, switch to MC, k1, switch to B, k1, k2tog. (5 stitches)
Row 18 (WS): Switch to B, p3, switch to MC, p1, switch to A, p3.
Row 19 (RS): Switch to A, k2tog, switch to MC, k1, switch to B, k2tog. (3 stitches)
Row 20 (WS): Switch to B, p1, switch to MC, p1, switch to A, p1.
Row 21 (RS): Switch to A, k2tog, switch to B, k1. (2 stitches)
Row 22 (WS): Switch to B, p2tog. (1 stitch)
Cut yarn, leaving a 6-inch tail. Pull the yarn through the last stitch to secure. Weave in all ends carefully with your tapestry needle, making sure to secure each color change.
Finishing and Assembly
Now that you've knitted all 20 squares, it's time to bring your blanket together.
Arranging the Squares:
Lay out your squares in a 4x5 grid (4 squares across, 5 squares down). Since all squares are identical, orientation doesn't matter, but you may want to rotate them for visual interest if you've made any variations.
Seaming:
Using MC (Cream) yarn and a tapestry needle, seam the squares together using the mattress stitch. Work through the back loops of the edge stitches for a flat, invisible join. Start by seaming the squares into rows (4 squares per row), then seam the rows together to form the complete blanket.
Knitted Border
The border adds a clean, polished finish to your blanket.
Picking Up Stitches:
With the right side facing you and using MC, pick up and knit stitches evenly around the entire blanket. Pick up approximately 1 stitch per row along the sides and 1 stitch per cast-on/bound-off stitch along the top and bottom. Make sure to pick up an odd number of stitches on each side for the corner increases to work properly.
Border Rows:
Work in garter stitch (knit every row) for 6 rows. On every row, increase 1 stitch at each corner by knitting into the front and back of the corner stitch. This will keep the corners flat and prevent curling.
Binding Off:
Bind off loosely in knit stitch. A loose bind-off is crucial to prevent the edges from pulling in. You can use a larger needle for binding off if needed.
Final Touches
Weave in Ends:
Weave in any remaining ends with your tapestry needle, being careful to match the yarn color to the section you're working on.
Blocking:
Block your blanket to the finished measurements of approximately 48" x 60". Wet blocking is recommended for this project. Soak the blanket in lukewarm water with a gentle wool wash, gently squeeze out excess water (never wring), and lay flat on towels. Pin to the correct measurements and allow to dry completely. Blocking will even out the stitches and make your tulip motifs crisp and beautiful.
Congratulations! You've created a stunning Mitered Tulips Blanket that will be a cherished addition to your home or a heartfelt gift for someone special. The combination of classic technique and modern floral design makes this a truly unique piece. Enjoy snuggling under your blooming garden throw!