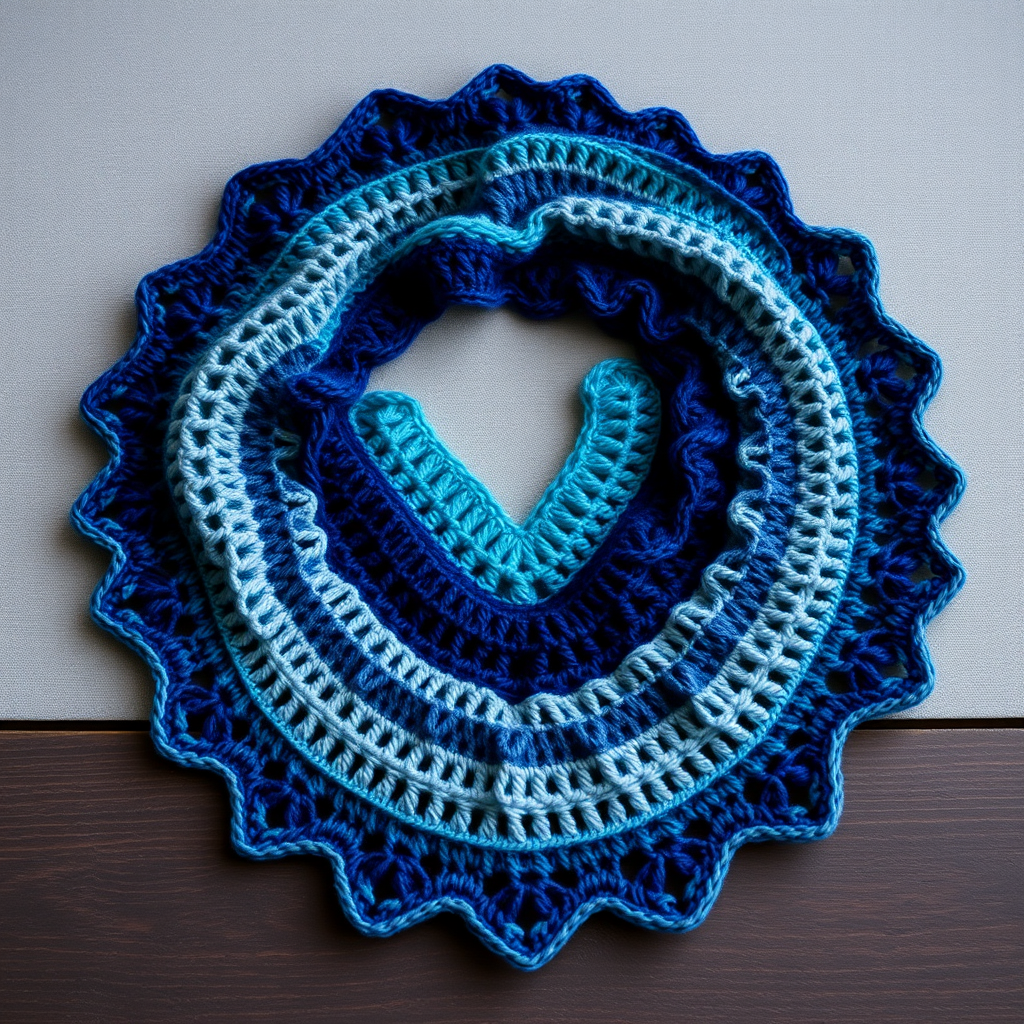
Moonlit Meadow Broomstick Lace Scarf Free Pattern

Moonlit Meadow Broomstick Lace Scarf: A Free Beginner-Friendly Crochet Pattern
Wrap yourself in the ethereal beauty of a moonlit meadow with this breathtaking broomstick lace scarf. The airy, floral-inspired stitches create a delicate yet cozy accessory that feels like a gentle breeze on a summer night. This free pattern is perfect for beginners who want to try something new and magical—the broomstick lace technique looks intricate, but once you get the rhythm, it's surprisingly simple and meditative. With its soft sage green and cream color palette, this scarf will become your go-to layering piece for spring and summer evenings.
Why You'll Love This Pattern
This scarf is worked lengthwise in broomstick lace, creating a stunning drape that flows beautifully around your neck. The two-color design adds a subtle gradient effect, making it look like a high-end boutique piece. Plus, it's an infinity scarf, so there's no fiddly tying—just wrap and go! The open, lacy stitches make it breathable and lightweight, perfect for transitional weather.
Materials Needed
Before you begin, gather these supplies. All items are readily available at craft stores or online.
- Yarn: 2 skeins of Lion Brand Comfy Cotton Blend (or any light worsted weight cotton blend yarn) in Sage Green and Cream. You'll use approximately one skein of each color.
- Crochet Hook: Size H/8 (5.0 mm) crochet hook
- Broomstick Lace Needle: A size 35 (19.0 mm) broomstick lace knitting needle or a large dowel (at least 12 inches long). If you don't have a broomstick needle, a large knitting needle or even a thick wooden dowel works perfectly.
- Yarn Needle: For weaving in ends and sewing the seam
- Scissors
- Optional: One large wooden button (about 1.5 inches in diameter) for a decorative closure
Gauge Information
Gauge is important for achieving the right size and drape. The gauge for this pattern is:
- 4 broomstick lace repeats (each repeat = 5 stitches) = 4 inches wide
- 4 rows = 3 inches tall
If your gauge is off, don't worry too much—this scarf is forgiving. However, if your stitches are very tight or loose, adjust your hook size accordingly. A looser gauge creates a more flowing drape, while a tighter gauge makes a denser fabric.
Abbreviations
Here are the abbreviations used in this pattern. Familiarize yourself with them before starting:
- ch = chain
- sc = single crochet
- dc = double crochet
- st(s) = stitch(es)
- sk = skip
- sl st = slip stitch
- RS = right side
- WS = wrong side
Step-by-Step Instructions
Follow these detailed instructions carefully, and you'll have a gorgeous scarf in no time. Remember, the key to broomstick lace is keeping your loops consistent in size—don't pull them too tight or too loose.
Foundation Row
With Sage Green yarn, chain 26 loosely. (Your foundation chain should be a multiple of 5 + 1, so 26 works perfectly: 5 groups of 5 stitches = 25, plus 1 for the turning chain.)
Row 1 (Right Side)
Single crochet in the 2nd chain from your hook and in each chain across. Turn your work. You should have 25 single crochet stitches total.
Row 2 (Broomstick Lace Row)
This is the magical row that creates the beautiful loops. Follow these steps carefully:
- Pick up loops: Insert your broomstick needle into the first single crochet stitch. Yarn over and pull up a loop, then place that loop onto the broomstick needle. Repeat this process for each single crochet stitch across the row. You will have 25 loops on your broomstick needle. Do not turn your work.
- Work the groups: Now, working from left to right (or right to left, whichever feels more comfortable), insert your crochet hook into the first group of 5 loops on the broomstick needle. Slide these 5 loops off the needle.
- Create the cluster: Work 5 single crochet stitches over these 5 loops. To do this: insert your hook through all 5 loops at once, yarn over, pull through, yarn over, pull through two loops on your hook. Repeat this process 4 more times, so you have 5 single crochet stitches total worked over that group of 5 loops.
- Continue across: Repeat step 3 for each group of 5 loops. You will have 5 groups of 5 loops, resulting in 25 single crochet stitches at the end of the row. Turn your work.
Row 3
Chain 1, then single crochet in each stitch across the row. Turn. You should still have 25 single crochet stitches.
Row 4 (Color Change Row)
Change to Cream yarn. Repeat Row 2 (the broomstick lace row) using the Cream yarn. Remember: pick up 25 loops on the broomstick needle, then work 5 single crochet over each group of 5 loops.
Row 5
With Cream yarn, repeat Row 3 (chain 1, single crochet in each stitch across, turn).
Row 6
Change back to Sage Green yarn. Repeat Row 2 (broomstick lace row).
Row 7
Repeat Row 3 with Sage Green.
Rows 8-13
Continue alternating colors every two rows (Sage, Cream, Sage) and repeating Rows 2 and 3. Here's the breakdown:
- Row 8: Cream broomstick lace row
- Row 9: Cream single crochet row
- Row 10: Sage broomstick lace row
- Row 11: Sage single crochet row
- Row 12: Cream broomstick lace row
- Row 13: Cream single crochet row
By the end of Row 13, you will have completed a total of 7 broomstick lace rows (Rows 2, 4, 6, 8, 10, 12) and 7 single crochet rows (Rows 1, 3, 5, 7, 9, 11, 13).
Row 14 (Final Row)
With Sage Green yarn, chain 1 and single crochet in each stitch across. Do not turn. Fasten off, leaving a long tail (about 12 inches) for sewing the seam.
Finishing Touches
Now it's time to transform your rectangular piece into a beautiful infinity scarf.
- Fold the scarf: Fold the scarf in half lengthwise, with the right sides together. The right side is the side with the broomstick lace loops facing up.
- Sew the seam: Using your yarn needle and the long tail, sew the short ends together using a whip stitch. Important: Leave a 2-inch opening in the center of the seam for a buttonhole.
- Turn right side out: Carefully turn the scarf right side out through the opening. Gently push out the corners to make them neat.
- Weave in ends: Use your yarn needle to weave in all loose ends from color changes and the beginning of the work. Trim any excess yarn.
- Optional button closure: Sew a large wooden button to the end opposite the buttonhole. This creates a decorative closure that adds a boho touch. Alternatively, you can simply wear it as an infinity scarf without the button—the opening will be hidden when wrapped.
Care Instructions
To keep your Moonlit Meadow Scarf looking beautiful for years to come:
- Hand wash in cold water with a mild detergent
- Gently squeeze out excess water—do not wring or twist
- Lay flat to dry on a clean towel
- Reshape while damp to maintain the lacy structure
Tips for Perfect Broomstick Lace
Here are some expert tips to make your broomstick lace experience smooth and enjoyable:
- Consistent tension: When pulling up loops onto the broomstick needle, keep the tension even. The loops should be loose enough to slide easily but not so loose that they're sloppy.
- Count your loops: After picking up loops, count to make sure you have 25. It's easy to accidentally skip a stitch or double up.
- Practice makes perfect: If this is your first time doing broomstick lace, practice on a small swatch first. Once you get the hang of it, the rhythm becomes very relaxing.
- Use stitch markers: If you find it hard to keep track of your groups of 5, place a stitch marker every 5 stitches on the broomstick needle.
Wear It Your Way
This scarf is incredibly versatile. Wear it as a traditional infinity scarf wrapped twice around your neck, or let it hang loose for a more dramatic look. The sage green and cream colors pair beautifully with denim, neutrals, and even floral prints. It also makes a thoughtful handmade gift for a friend or loved one—imagine their delight when they receive a one-of-a-kind, handcrafted piece!
We hope you enjoy creating your Moonlit Meadow Broomstick Lace Scarf. The combination of the soothing, repetitive stitches and the beautiful result makes this a truly rewarding project. Happy crocheting!