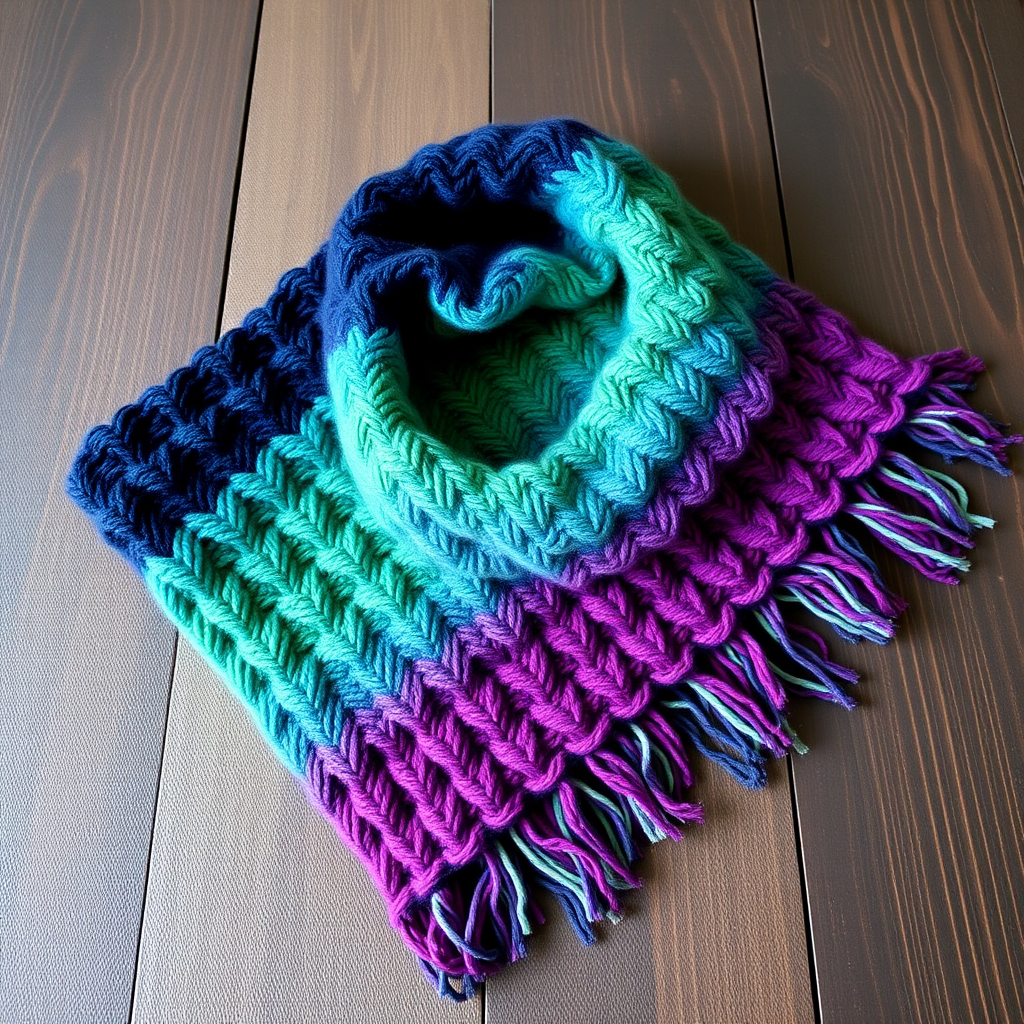
Mosaic Meadow Scarf Free Pattern – A Knitted Patchwork Neck Wrap

Introducing the Mosaic Meadow Scarf: A Cozy Knitted Patchwork Neck Wrap
Imagine wrapping yourself in a field of wildflowers and grasses—that's the feeling you'll get with the Mosaic Meadow Scarf. This free knitting pattern is a delightful patchwork of textured squares, each one a tiny landscape of moss, heather, and wheat. Knit in soft, earthy tones, this scarf offers a modern, rustic take on a classic accessory. Whether you're a seasoned knitter looking for a relaxing project or a confident beginner ready for a new challenge, this pattern is designed to be both enjoyable and rewarding. The finished piece is not just a scarf; it's a statement of handmade artistry, perfect for adding a touch of cozy elegance to any outfit.
This project is built on a simple, modular concept: you'll knit 12 individual 6-inch squares and then seam them together in a beautiful checkerboard pattern. The alternation between smooth stockinette and textured ribbed stitches creates a tactile, visually interesting fabric that is both warm and stylish. Let's gather your materials and get started on this journey to creating your own Mosaic Meadow masterpiece.
Materials Needed: Your Knitting Toolkit
Before you cast on, ensure you have all the necessary supplies. This pattern is wonderfully portable because each square is worked individually, making it perfect for knitting on the go.
Yarn
- Worsted weight yarn in 4 colors. The pattern uses approximately 200g of each color. Here are the suggested shades:
- Color A (Moss Green): A deep, earthy green.
- Color B (Heather Purple): A soft, muted purple.
- Color C (Wheat Gold): A warm, golden yellow.
- Color D (Cream): A creamy, off-white for seaming and edging.
Needles & Notions
- US 8 (5mm) knitting needles. Straight or circular needles both work well for this project.
- Tapestry needle for seaming the squares together and weaving in ends.
- Scissors for cutting yarn.
- Stitch markers (optional) to help keep track of your rows if you prefer.
Gauge
To ensure your scarf turns out the correct size, it's crucial to check your gauge. The pattern calls for 18 stitches and 24 rows = 4 inches in stockinette stitch. Knit a small swatch to confirm your tension matches before starting your squares.
Step-by-Step Instructions: Knitting Your Patchwork Squares
The entire scarf is constructed from 12 squares. You will make 3 squares in each of the 4 color combinations described below. Each square measures 6 inches by 6 inches.
Square Pattern: Color Combo 1 (Moss/Heather) - Make 3
This square uses a smooth stockinette stitch for a clean, flat texture.
- Cast On: With Color A (Moss Green), cast on 27 stitches.
- Row 1: Knit all stitches.
- Row 2: Purl all stitches.
- Repeat: Continue repeating Rows 1 and 2 until the piece measures 6 inches from the cast-on edge, ending with a purl row (Row 2).
- Bind Off: Bind off all stitches knitwise. Weave in the yarn tail.
Square Pattern: Color Combo 2 (Wheat/Cream) - Make 3
This square is also worked in a smooth stockinette stitch, but with a different color palette.
- Cast On: With Color C (Wheat Gold), cast on 27 stitches.
- Row 1: Knit all stitches.
- Row 2: Purl all stitches.
- Repeat: Continue repeating Rows 1 and 2 until the piece measures 6 inches from the cast-on edge, ending with a purl row (Row 2).
- Bind Off: Bind off all stitches knitwise. Weave in the yarn tail.
Square Pattern: Color Combo 3 (Moss/Cream) - Make 3
This square introduces a ribbed texture, adding wonderful depth to the patchwork.
- Cast On: With Color A (Moss Green), cast on 27 stitches.
- Row 1: *K1, P1*; repeat from * to * across the row, ending with K1.
- Row 2: *P1, K1*; repeat from * to * across the row, ending with P1.
- Repeat: Continue repeating Rows 1 and 2 until the piece measures 6 inches from the cast-on edge, ending with a Row 2.
- Bind Off: Bind off all stitches in pattern (knit the knits and purl the purls). Weave in the yarn tail.
Square Pattern: Color Combo 4 (Heather/Wheat) - Make 3
This final square type also uses the ribbed texture for a cohesive look.
- Cast On: With Color B (Heather Purple), cast on 27 stitches.
- Row 1: *K1, P1*; repeat from * to * across the row, ending with K1.
- Row 2: *P1, K1*; repeat from * to * across the row, ending with P1.
- Repeat: Continue repeating Rows 1 and 2 until the piece measures 6 inches from the cast-on edge, ending with a Row 2.
- Bind Off: Bind off all stitches in pattern. Weave in the yarn tail.
Assembly: Seaming Your Patchwork Together
Once all 12 squares are complete, it's time to bring your scarf to life. Lay them out on a flat surface in a 3x4 grid, following this exact arrangement to achieve the intended checkerboard pattern:
- Row 1: Combo 1, Combo 2, Combo 1
- Row 2: Combo 3, Combo 4, Combo 3
- Row 3: Combo 2, Combo 1, Combo 2
- Row 4: Combo 4, Combo 3, Combo 4
Now, you will seam the squares together.
- Thread Your Needle: Thread a tapestry needle with a long piece of Color D (Cream) yarn.
- Whip Stitch Seams: Place two squares together with their wrong sides facing each other. Using the whip stitch, sew along the matching edges. Start by seaming the squares into rows (joining the 3 squares in each row horizontally).
- Join the Rows: After all 4 rows are assembled, seam the rows together vertically, matching the edges carefully to keep your grid aligned.
- Weave In Ends: Once all squares are securely seamed, weave in all remaining yarn ends on the wrong side of the scarf using your tapestry needle.
Finishing Touches: The Garter Stitch Edging
The edging gives your scarf a polished, professional finish and helps it lay flat.
- Pick Up Stitches: With Color D (Cream) and your knitting needles, pick up and knit stitches along the edges of the scarf.
- Along the long edges, pick up 1 stitch for every 2 rows.
- Along the short edges, pick up 1 stitch for every stitch.
- Knit Garter Stitch Border: Once you have picked up all the stitches around the entire perimeter, work in garter stitch (knit every row) for 4 rows.
- Bind Off Loosely: Bind off all stitches very loosely to prevent the edges from curling or pulling. Weave in all remaining ends.
Your Mosaic Meadow Scarf is now complete! The finished piece will be approximately 18 inches wide and 72 inches long, a generous and cozy wrap. The combination of earthy colors and contrasting textures creates a beautiful, modern accessory that you'll be proud to say you made yourself. Enjoy your new handmade treasure!