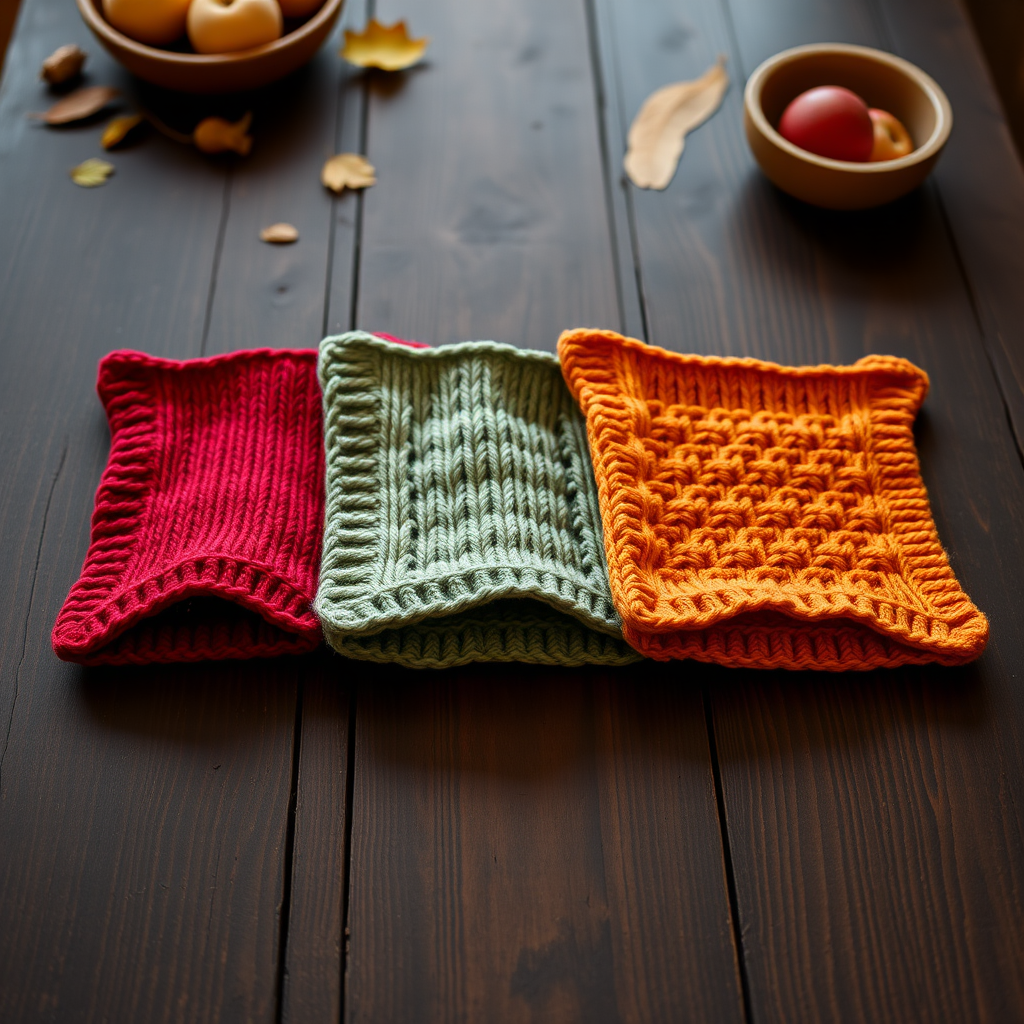
Ocean Mist Dish Towel Free Pattern – Knit a Textured Coastal Weave

Ocean Mist Dish Towel Free Pattern – Knit a Textured Coastal Weave
Bring the serene rhythm of the sea into your kitchen with this beautifully textured dish towel, featuring a gentle wave stitch and soft gradient of ocean blues. Knit in a durable cotton blend, it's both a practical workhorse and a piece of coastal art. This free pattern is perfect for intermediate beginners who want to expand their skills with slipped stitches and yarn overs while creating a stunning, functional piece for their home.
The Ocean Mist Dish Towel measures approximately 12 inches wide and 24 inches long, making it the perfect size for drying dishes, wiping counters, or simply adding a touch of coastal charm to your kitchen decor. The slip-stitch pattern creates a woven, textured effect that mimics the ebb and flow of ocean waves, while the three-color striping adds visual interest and depth.
Materials Needed
Before you begin, gather the following materials to ensure a smooth knitting experience:
Yarn
- Lion Brand Kitchen Cotton (or any worsted-weight cotton yarn) in 3 colors:
- Ocean Mist (MC) – Main Color: approximately 60g
- Sand Dune (CC1) – Contrast Color 1: approximately 30g
- Seafoam (CC2) – Contrast Color 2: approximately 30g
- Total yarn needed: approximately 120g
Needles and Tools
- US 7 (4.5mm) knitting needles – straight or circular, whichever you prefer
- Yarn needle for weaving in ends
- Scissors
- Stitch markers (optional, but helpful for keeping track of pattern repeats)
Gauge
20 stitches and 28 rows = 4 inches in stockinette stitch (after blocking). Be sure to check your gauge before starting to ensure your towel comes out the correct size. If your gauge is off, adjust your needle size accordingly.
Step-by-Step Instructions
This dish towel is knit in one piece from the top down, using a simple slip-stitch pattern to create a woven, textured effect that mimics the ebb and flow of ocean waves. The color changes are worked in horizontal stripes, with the wave pattern created by slipped stitches and yarn overs.
Abbreviations
- CO: cast on
- K: knit
- P: purl
- Sl: slip stitch purlwise
- YO: yarn over
- K2tog: knit two together
- SSK: slip, slip, knit (decrease)
- MC: main color (Ocean Mist)
- CC1: contrast color 1 (Sand Dune)
- CC2: contrast color 2 (Seafoam)
- RS: right side
- WS: wrong side
Getting Started
Row 1 (RS): With MC, CO 40 stitches.
Row 2 (WS): Knit all stitches. This creates a garter stitch base that will form the bottom edge of your towel.
Main Wave Pattern
Now you'll begin the wave stitch pattern. The pattern repeat is worked over 16 rows, with color changes every 4 rows. Pay close attention to the direction of your decreases (K2tog leans right, SSK leans left) to maintain the wave effect.
Row 3 (RS): K2, *YO, K2tog, K2, Sl 1, K2, YO, K2tog, K1, repeat from * to last 2 stitches, K2.
Row 4 (WS): Purl all stitches.
Row 5 (RS): K2, *K2tog, YO, K2, Sl 1, K2, K2tog, YO, K1, repeat from * to last 2 stitches, K2.
Row 6 (WS): Purl all stitches.
Row 7 (RS): Change to CC1. K2, *K2, YO, K2tog, Sl 1, K2, YO, K2tog, K1, repeat from * to last 2 stitches, K2.
Row 8 (WS): Purl all stitches.
Row 9 (RS): K2, *K2, K2tog, YO, Sl 1, K2, K2tog, YO, K1, repeat from * to last 2 stitches, K2.
Row 10 (WS): Purl all stitches.
Row 11 (RS): Change to CC2. K2, *YO, K2tog, K2, Sl 1, K2, YO, K2tog, K1, repeat from * to last 2 stitches, K2.
Row 12 (WS): Purl all stitches.
Row 13 (RS): K2, *K2tog, YO, K2, Sl 1, K2, K2tog, YO, K1, repeat from * to last 2 stitches, K2.
Row 14 (WS): Purl all stitches.
Row 15 (RS): Change to MC. K2, *K2, YO, K2tog, Sl 1, K2, YO, K2tog, K1, repeat from * to last 2 stitches, K2.
Row 16 (WS): Purl all stitches.
Row 17 (RS): K2, *K2, K2tog, YO, Sl 1, K2, K2tog, YO, K1, repeat from * to last 2 stitches, K2.
Row 18 (WS): Purl all stitches.
Continuing the Pattern
Repeat Rows 3–18 until the towel measures approximately 24 inches from the cast-on edge, ending with a WS row. This will give you roughly 6-7 full pattern repeats, depending on your gauge. The stripes will alternate in a rhythmic sequence: MC, CC1, CC2, MC, CC1, CC2, and so on.
Pro tip: When changing colors, do so on a RS row as indicated in the pattern. Carry the unused yarn loosely up the side of your work, or cut and rejoin as preferred. For a cleaner edge, twist the yarns together at each color change.
Final Border
Once your towel reaches the desired length, it's time to add a simple garter stitch border to finish the top edge:
Row 1 (RS): With MC, K all stitches.
Row 2 (WS): K all stitches.
Row 3 (RS): K all stitches.
Row 4 (WS): Bind off all stitches knitwise.
This creates a clean, sturdy edge that won't curl and provides a nice contrast to the textured wave pattern below.
Finishing
Weave in all ends using your yarn needle, being careful to secure them on the wrong side of the work. Take your time with this step – proper finishing makes a huge difference in the final appearance of your towel.
Blocking: Block the towel by soaking in cool water for 15-20 minutes, gently squeezing out excess water (do not wring or twist), and laying flat to dry. The slip-stitch pattern will relax and open up, revealing the beautiful woven texture. Pin the edges if needed to ensure straight, even sides.
Hanging Loop (Optional)
To add a convenient hanging loop to your towel:
- With MC, pick up and knit 3 stitches from the top corner of the towel.
- Work an I-cord for 4 inches (knit 3 stitches back and forth on double-pointed needles, or use the I-cord method on your straight needles).
- Bind off and sew the end to the opposite corner to create a loop for hanging.
This simple addition makes it easy to hang your towel on a hook or oven handle for quick access while cooking.
Tips for Success
- Count your stitches after each pattern row to ensure you haven't accidentally dropped or added a stitch. Each pattern repeat should maintain the same stitch count.
- Slip stitches purlwise with the yarn in back (for RS rows) to keep the slipped stitch loose and create the woven effect.
- Keep your tension even when working the yarn overs – they should be loose enough to create visible eyelets but not so loose that they look sloppy.
- Use stitch markers between pattern repeats if you find yourself losing your place, especially when working the longer rows.
Your Ocean Mist Dish Towel is now complete! This beautiful, textured piece will add a touch of coastal elegance to any kitchen while being durable enough for everyday use. The cotton yarn becomes softer and more absorbent with each wash, making it a gift that keeps giving. Whether you keep it for yourself or share it with a fellow knitting enthusiast, this towel is sure to be treasured for years to come.
Happy knitting, and may your kitchen always feel like a seaside retreat!