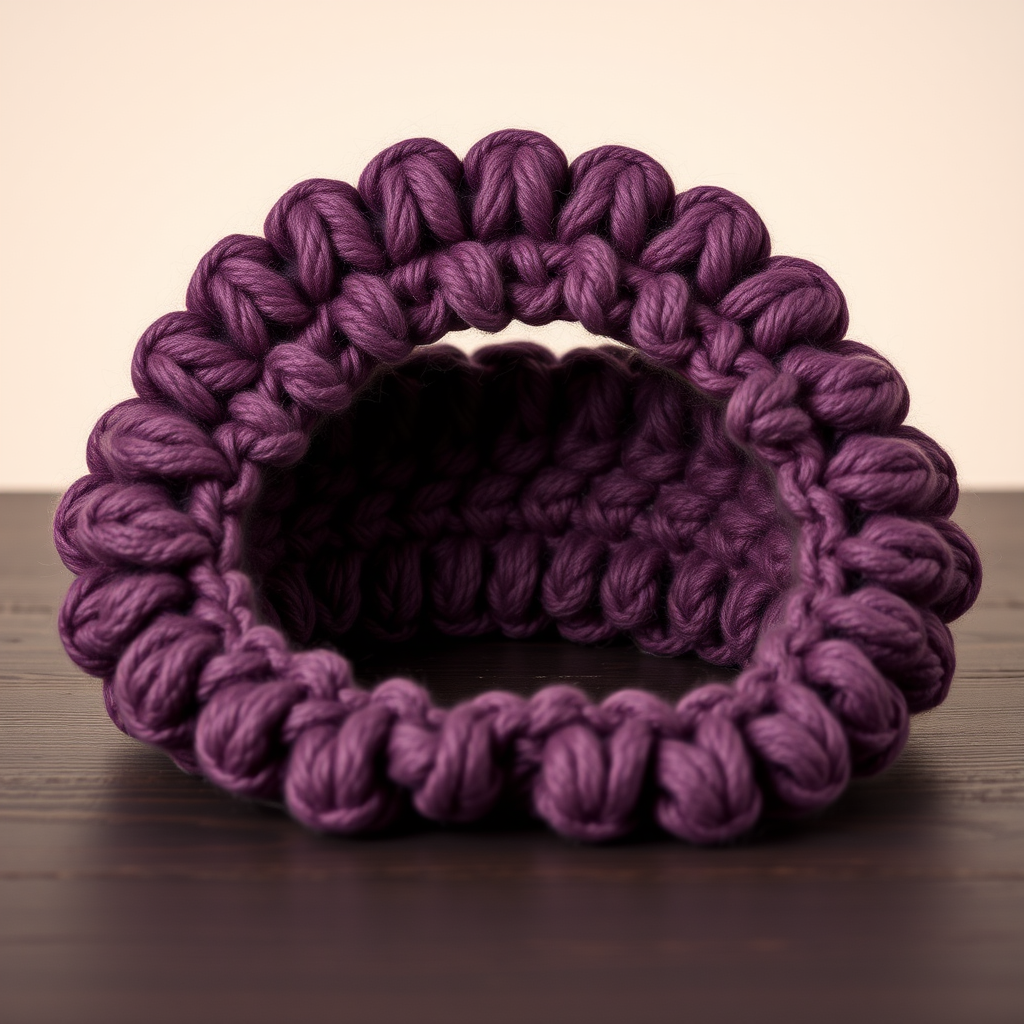
Serene Meadow Double Bow Crochet Headband Free Pattern

Serene Meadow Double Bow Crochet Headband: A Free Pattern for Beginners
There's something truly magical about creating a beautiful accessory with your own two hands. Today, I'm thrilled to share a pattern that captures the gentle elegance of a summer meadow—the Serene Meadow Double Bow Crochet Headband. This charming piece features a delicate lace stitch that evokes a soft breeze, and its double bow design adds a touch of handmade grace to any outfit. Whether you're dressing up for a garden party or adding a feminine touch to your everyday jeans, this headband is the perfect project. Best of all, it's beginner-friendly, works up quickly, and uses simple double crochet stitches to create a stunning result.
In this comprehensive guide, I'll walk you through every step, from gathering your materials to the final assembly. By the end, you'll have a gorgeous, one-of-a-kind headband that you'll be proud to wear or gift. Let's dive in!
Materials Needed
Before we begin, let's gather all the supplies you'll need for this project. The beauty of this pattern is its simplicity—you don't need a lot of fancy equipment, just quality materials that will make your headband shine.
Yarn
- Worsted weight cotton or cotton-blend yarn (approx. 100g total) in two complementary colors:
- Main Color (MC): Sage Green – for the band and smaller bow
- Contrast Color (CC): Cream – for the larger bow
Pro tip: Cotton yarn is ideal for this project because it has a beautiful matte finish, holds its shape well, and is comfortable against the skin. The sage green and cream palette evokes a serene, natural aesthetic that's both timeless and trendy.
Hook and Notions
- 5.0 mm (H-8) crochet hook
- Yarn needle for weaving in ends and seaming
- Scissors
- Stitch markers (optional, but helpful for keeping track of rows)
Gauge
16 dc x 9 rows = 4 inches (10 cm) in double crochet. While gauge isn't critical for this project (since you'll adjust the band length to fit your head), it's always good practice to check your tension. If your headband turns out too loose or too tight, you can adjust your hook size accordingly.
Step-by-Step Instructions
This headband is worked in two main parts: the main band and the double bow. The band is crocheted flat and then seamed into a loop, while the bow is made separately in two layers and attached to the front. Don't worry—each step is broken down clearly, and I'll provide plenty of detail to ensure your success.
Part 1: The Main Band
The main band forms the foundation of your headband. It's a simple rectangle worked in double crochet, which creates a lovely, even texture that's both stretchy and comfortable.
Step 1: Foundation Chain
With your Main Color (Sage Green), make a slip knot and chain 8 stitches. This will give you a band that's approximately 2 inches wide once crocheted.
Step 2: Row 1
Double crochet (dc) in the 4th chain from your hook. This counts as your first double crochet. Then, dc in each of the remaining chains across. You should have 6 double crochet stitches total at the end of this row.
Remember: The first 3 chains you skip at the beginning count as your first dc, so when you count your stitches, include that turning chain as stitch number one.
Step 3: Row 2 and Beyond
Chain 3 (this counts as your first dc), then turn your work. Dc in each dc across the row. You'll still have 6 dc stitches.
Repeat Row 2 until your band measures approximately 18 inches (46 cm) long, or until it fits comfortably around your head with about 2 inches of negative ease (meaning it's 2 inches smaller than your actual head circumference, allowing for stretch).
Measuring tip: To find your ideal length, wrap a measuring tape around your head where you'd wear the headband. Subtract 2 inches from that measurement. For most adults, this will be between 16-20 inches.
Step 4: Finishing the Band
Once your band reaches the desired length, fasten off, leaving a long tail (at least 12 inches) for seaming. Thread this tail onto your yarn needle.
Step 5: Seaming the Band
Fold the band in half lengthwise with the right sides together (the side you want facing outward should be on the inside of the fold). Using your yarn needle and the long tail, whipstitch the short ends together to form a loop.
Whipstitch tutorial: Insert your needle through both layers from back to front, then bring it over the top and insert again from back to front, creating a spiral effect. Keep your stitches even and not too tight.
Once seamed, turn the band right side out. You should now have a smooth, continuous loop. Set this aside while we create the beautiful double bow.
Part 2: The Double Bow
The double bow is the star of this headband! It's made in two layers—a larger bow in Cream (CC) and a smaller bow in Sage Green (MC)—which are then stacked and attached to the band. This creates a dimensional, elegant look that's sure to turn heads.
First Bow Layer (Larger – Cream)
Step 1: Foundation Chain
With your Contrast Color (Cream), chain 10 stitches.
Step 2: Row 1
Dc in the 4th chain from your hook (counts as your first dc), then dc in each chain across. You should have 8 double crochet stitches.
Step 3: Row 2 and Beyond
Chain 3 (counts as first dc), turn. Dc in each dc across. Continue repeating this row until your piece measures 6 inches (15 cm) long. This will create a rectangle that's about 3 inches wide and 6 inches long.
Step 4: Forming the Bow
Fasten off, leaving a long tail (at least 15 inches). Fold the rectangle in half widthwise, bringing the short ends together. Using your yarn needle and the tail, whipstitch the short ends together to form a loop.
Step 5: Gathering the Center
Now for the fun part—creating the bow shape! Thread the tail onto your needle and weave it through the center of the loop, then pull tightly to gather the fabric into a bow shape. Wrap the yarn around the center several times to create a cinched, gathered middle. Secure with a knot and set aside (but don't cut the tail yet—you'll use it for assembly).
Second Bow Layer (Smaller – Sage Green)
Step 1: Foundation Chain
With your Main Color (Sage Green), chain 7 stitches.
Step 2: Row 1
Dc in the 4th chain from your hook, then dc in each chain across. You should have 5 double crochet stitches.
Step 3: Row 2 and Beyond
Chain 3 (counts as first dc), turn. Dc in each dc across. Repeat this row until your piece measures 4 inches (10 cm) long.
Step 4: Forming the Smaller Bow
Fasten off, leaving a long tail. Fold the rectangle in half widthwise, whipstitch the short ends together, and gather the center as you did for the larger bow. Wrap the yarn around the middle several times and secure with a knot. Leave the tail attached for assembly.
Part 3: Assembly
Now comes the exciting moment—bringing all the pieces together to create your finished headband!
Step 1: Stacking the Bows
Place the smaller Sage Green bow on top of the larger Cream bow, aligning the centers perfectly. Using the tail from the smaller bow, sew the two bows together securely at the center. Make several passes through both gathered centers to ensure they're firmly attached.
Step 2: Attaching the Bow to the Band
Position the double bow on the front center of your headband band. This should be directly opposite the seam you created earlier. Using the long tail from the larger Cream bow, sew the bow firmly to the band.
Attachment technique: Insert your needle through the gathered center of the bow and then through the band, making small, secure stitches. Go through the center of the bow and the band several times, creating a strong anchor. Be careful not to pull too tightly, as you don't want to pucker the band.
Step 3: Finishing Touches
Weave in all loose ends using your yarn needle. Trim any excess yarn close to the work, being careful not to cut your stitches.
Step 4: Optional Decorative Stitches
For an extra touch of charm, you can add a few small decorative stitches in Cream (CC) on the band. French knots or small straight stitches scattered along the band would add a lovely, delicate detail. To make a French knot: bring your yarn up through the band, wrap it around your needle 2-3 times, then insert the needle back down close to where you came up, pulling gently to create a small knot.
Wearing and Caring for Your Headband
Your Serene Meadow Double Bow Headband is now complete! It's designed to sit comfortably on your head, with the double bow positioned at the front for maximum impact. The cotton yarn is breathable and soft, making it perfect for all-day wear.
Care instructions: To keep your headband looking its best, hand wash it in cool water with a mild detergent. Gently squeeze out excess water (don't wring!) and lay it flat to dry on a towel. Reshape the bow while it's damp to maintain its beautiful silhouette.
Customization Ideas
One of the best things about this pattern is how easily it can be customized to suit your personal style:
- Color variations: Try dusty rose and ivory for a romantic look, or navy and gold for something more dramatic.
- Yarn substitutions: While cotton is recommended, you could use a soft acrylic or bamboo blend for a different drape and feel.
- Size adjustments: To make a child's headband, simply reduce the band length and use smaller hooks and yarn weights.
- Bow variations: Make the bows larger or smaller by adjusting your starting chain and row counts.
Final Thoughts
I hope you've enjoyed creating this Serene Meadow Double Bow Headband as much as I enjoyed sharing it with you. This project is perfect for beginners looking to practice their double crochet skills while creating something beautiful and functional. The combination of sage green and cream evokes a sense of calm and natural beauty, making this headband a versatile accessory for any season.
Remember, the beauty of handmade items lies in their imperfections—each stitch tells a story, and your headband is uniquely yours. Don't be afraid to experiment with colors and variations to make it truly your own.
Happy crocheting, and may your days be filled with the gentle serenity of a meadow breeze!